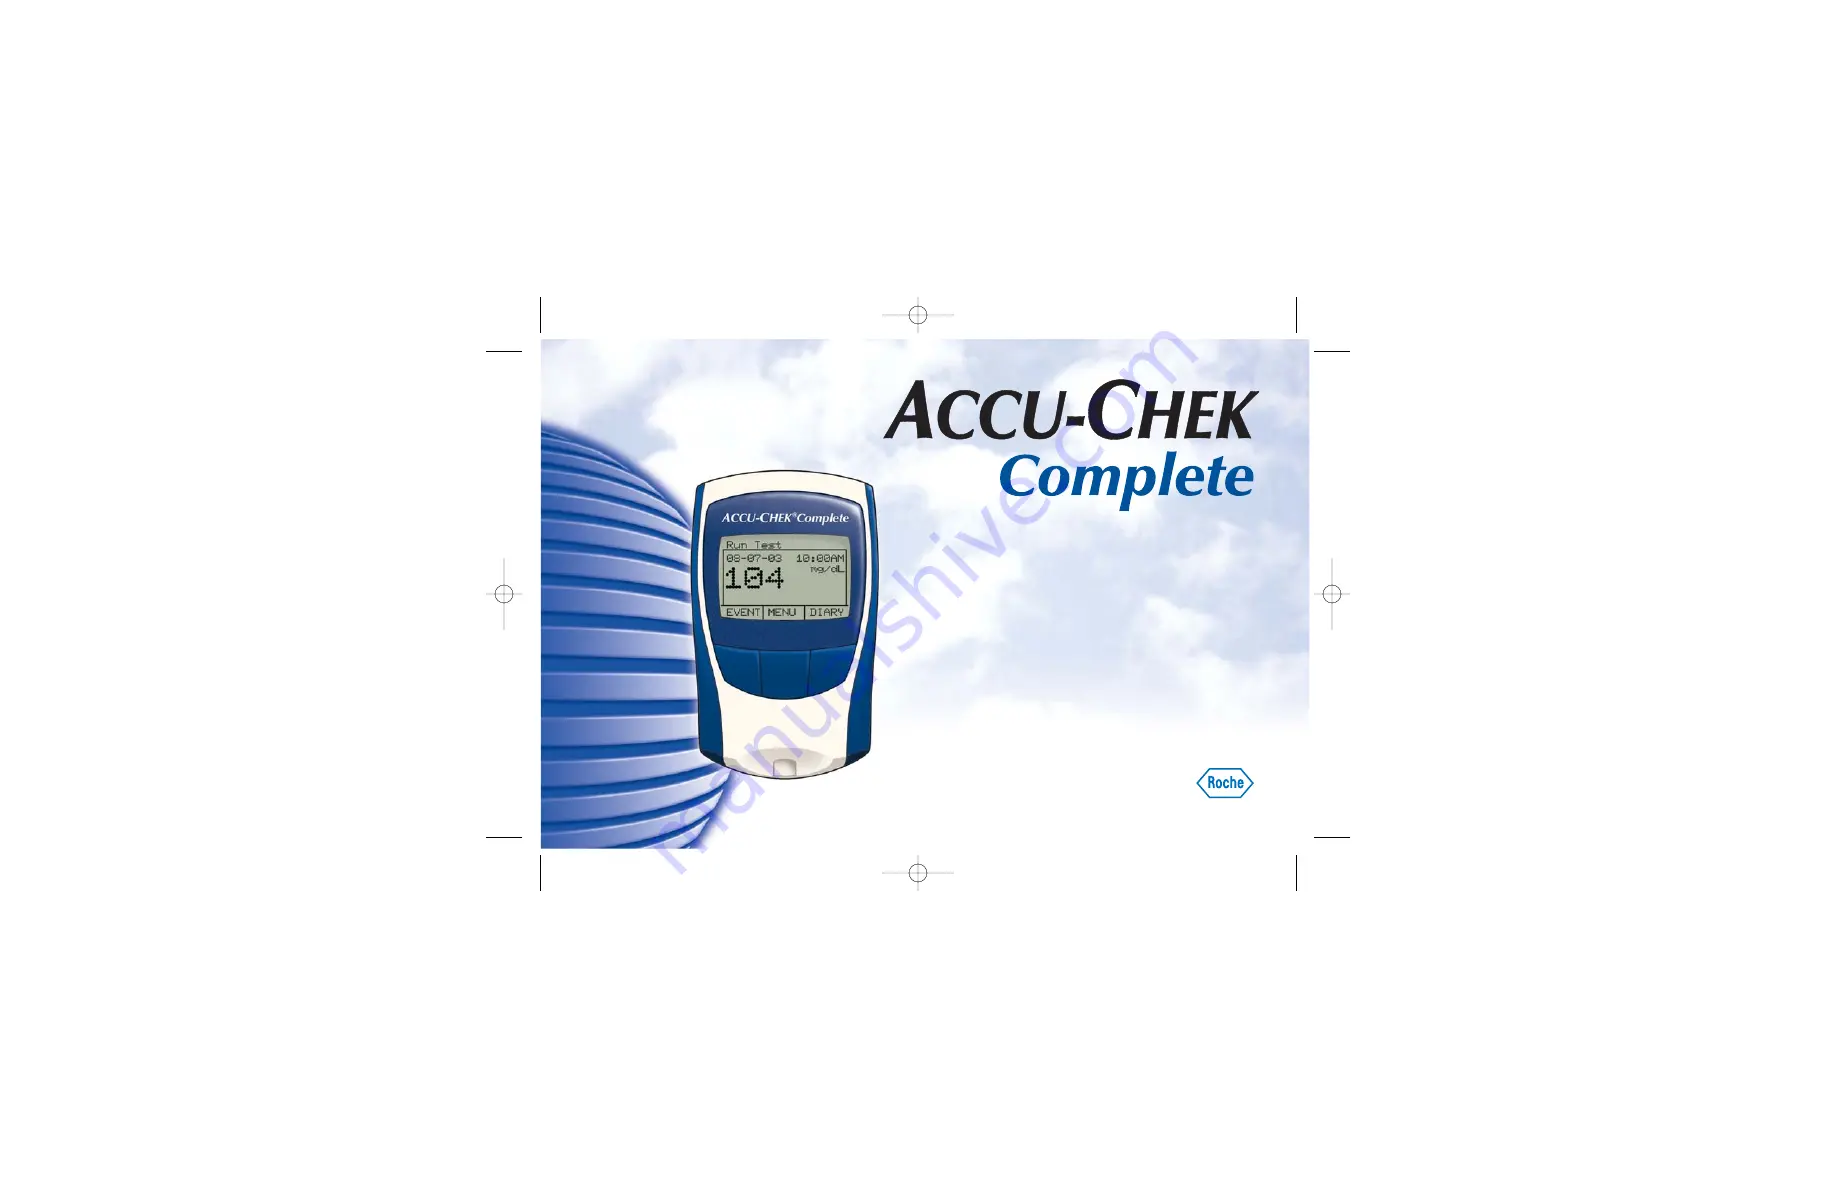
background image

Owner’s Booklet

®

362-24014

03503259003

All images are 4/c
throughout.

All unspecified
prints black
throughout.

Complete

” as

part of logo prints
100c, 69m, 11k.

Roche hex prints
100c, 52m.

NOTE:

This

document may not
view or print at
actual size.

362_24014_Manual_AC_Complete  2/4/05  2:40 PM  Page i

Summary of Contents for Accu-Chek Complete

Page 1: ...mages are 4 c throughout All unspecified prints black throughout Complete as part of logo prints 100c 69m 11k Roche hex prints 100c 52m NOTE This document may not view or print at actual size 362_2401...

Page 2: ...CHEK Comp living with diabete This booklet will h you to visit www a you manage your d To start testing qu If you have questio toll free at 1 800 and many other la Thanks again for c Inside front cov...

Page 3: ...Complete system We also invite you to visit www accu chek com to find out about services tools and information that can help you manage your diabetes To start testing quickly you can also refer to the...

Page 4: ...gular Blood Sugar Testing Is Important Checking your blood sugar can make a big difference in how well you can manage your diabetes on a daily basis We ve made it as simple and comfortable as possible...

Page 5: ...sure your system is working properly Carefully dispose of used test strips and lancets Health Related Information Being severely dehydrated or losing a lot of water may give you false low test results...

Page 6: ...trol Test Results 21 Chapter 3 Testing Your Blood Sugar 23 Preparing the Lancet Device 23 Running a Blood Sugar Test 25 Recording Your Results 27 Storing Your Supplies 27 Proper Testing Conditions 28...

Page 7: ...Number of Hypo Records 40 Reviewing Ketone Results 41 Reviewing A1c Test Results 42 Reviewing Pump Profile Settings 43 Downloading Your Meter to a Computer 44 Chapter 5 Setting Your Meter Options 45 S...

Page 8: ...nformation 62 Changing Insulin Pump Information 64 Changing Carbohydrate Information 68 Changing Event Marker Information 70 Changing Exercise Information 74 Changing Ketone Information 76 Changing A1...

Page 9: ...arranty 90 Money Back Guarantee 91 Additional Supplies 94 Information for Professional Caregivers 95 Index 96 7 Contents ACCU CHEK Customer Care Service Center 1 800 858 8072 46 48 50 51 52 54 56 58 5...

Page 10: ...tton turns on the meter Code Key Slot Insert code key through this opening Battery Cover Slide cover off to replace batteries 8 Chapter 1 Underst Buttons The function o will always be displayed direct...

Page 11: ...ces test results directions and messages At any time you can press the left and right buttons at the same time to return to the off function of the Main Menu Buttons The function of each button will a...

Page 12: ...d to transfer data from the meter to a computer Data Port Used to transfer data from the meter to a computer Lancet Lancet Device Test Strip Vial Protective Cover Release Button Test Strip Electrodes...

Page 13: ...s on top of the strips with the and ends matching the marks in the battery compartment 3 Slide the battery cover back in place st Strip Electrodes silver colored bars Yellow Window Plunger Installing...

Page 14: ...te but all test results stay in memory with their time and date If there is no strip in the meter it turns off automatically after three minutes of not being used When this happens test results are st...

Page 15: ...5 Press NEXT The minutes are highlighted Press or to set the minutes 6 Repeat step 5 to change AM PM date time format 12 or 24 hour and date format 7 Press SAVE to keep settings or EDIT to change the...

Page 16: ...ay matches the code on the test strip vial 4 Press OFF to turn the meter off Throw away the old code key Coding the Meter Notes If the message Code Key Missing appears on the display turn off the mete...

Page 17: ...ery time you get a new box of test strips Store test strips in their original vial Close the vial cap tightly immediately after removing a test strip After you take a test strip out of the vial be sur...

Page 18: ...d bars Yellow window Touch and hold a drop to the edge not the top of the yellow window Fill the yellow window completely Using ACCU CHEK Advantage Test Strips Electrodes silver colored bars Yellow wi...

Page 19: ...d with ACCU CHEK Comfort Curve test strips When you first open the bottle write the date on the label the control solution is good for three months from that date or until the expiration date on the b...

Page 20: ...ol solution and a napkin or paper towel 1 Insert the end of the test strip with the silver colored bars into the meter with the yellow window facing up The meter turns on automatically 2 Make sure the...

Page 21: ...08 07 03 10 00AM 59 mg dL MENU DIARY EVENT If the result is not within the acceptable range see Understanding Control Test Results on page 21 Example Range mg dL Level 1 LO 42 72 Level 2 HI 290 328 E...

Page 22: ...Enter Events 08 07 03 10 00AM EDIT BACK SAVE No Event No Event Enter Events 08 07 03 10 00AM NEXT L1 Control No Event Level 2 Testing Level 1 testing is all you need to do most of the time If you thin...

Page 23: ...ns Your control test results should be within the listed range Make sure you compare the result to the range for the level of control solution you used Level 1 or Level 2 When a control test result is...

Page 24: ...s 5 Make sure the temperature was within the appropriate range for running a test 6 If none of the above apply Action Replace solution or strips that have expired or solution you opened more than thre...

Page 25: ...e 3 Twist off the lancet s protective cover ce Center 1 800 858 8072 have expired or three months ago hile replace the ge 14 gain or ask your nsert for the and repeat the test new test strip e accepta...

Page 26: ...s yellow when the device is ready Set aside until later in the test Notes The best depth setting is the lowest number that lets you get enough blood for a test Try different settings to find the one t...

Page 27: ...ns on automatically If you prefer you may first press any button to turn on the meter Press ENTER to select Run a Glucose Test then insert the strip and continue with Step 4 4 Make sure the code on th...

Page 28: ...f blood within 15 seconds or start over with a new test strip 8 After you apply blood to the strip a status bar will appear to show you how much of the test is complete then the test result will appea...

Page 29: ...lts in the self test diary included in your kit or on your computer Storing Your Supplies Make sure you close the test strip vial and control solution bottles tightly after each use You can keep all y...

Page 30: ...ure range At temperatures outside this range the results are displayed with a thermometer symbol Humidity must be below 85 so that moisture doesn t condense on or inside the meter If it does let the m...

Page 31: ...t tingling or numbness around mouth or fingertips If you are experiencing any of these symptoms test your blood sugar If your blood sugar result is displayed as LO or HI contact your doctor immediatel...

Page 32: ...uring illness You can find more details in Chapter 6 Adding and Changing Information in Memory Follow these steps to add event markers immediately after a test 1 With the result still on the display a...

Page 33: ...ry to make sure the result is not included as an actual blood glucose result in your data Enter Events 08 07 03 10 00AM NEXT Fasting No Event Diary Information Like event markers diary information can...

Page 34: ...f the information is okay press SAVE If you want to change it press EDIT 5 Press or to change the information 6 Press NEXT to see other diary information 7 Press SAVE to store the information with you...

Page 35: ...Pump Profile Review Memory Glucose Ranges Trend Graph ENTER Averages You can see the 10 formats by pressing any button to turn on the meter and then selecting the second menu option Review Memory Revi...

Page 36: ...e results more quickly For instructions on reviewing memory in a specific format see the format descriptions beginning on page 33 Review Memory Glucose Ranges Trend Graph ENTER Averages Notes Do not c...

Page 37: ...he first screen or MENU to return to the Review Memory screen Reviewing Averages You can review your average blood sugar results for certain parts of the day time blocks and over specific periods of t...

Page 38: ...ress or until the date range you want is highlighted then press ENTER The first screen shows what part of your test results fell in your hypoglycemic range in the time period you selected along with t...

Page 39: ...page 34 selecting Trend from the Review Memory screen 2 Press to see additional dates Test results that were marked with a warning sign such as are highlighted in this display 3 Press to see the last...

Page 40: ...our period The vertical line on the left shows the range for blood glucose values from 50 to 350 mg dL Values below or above that range are shown as or along the bottom or top of the graph Each on the...

Page 41: ...ou see all the information that was stored with your blood glucose and control test results to help you and your doctor make informed decisions about food intake activity and medication 1 Follow Steps...

Page 42: ...K Customer Care Service Center 1 800 858 8072 1 Follow Steps 1 5 on page 34 selecting of Hypo from the Review Memory screen 2 Press until the date range you want is highlighted then press ENTER The fi...

Page 43: ...D Actual hypo 1 0 Feel hypo 1 1 Reviewing Ketone Results This option lets you see the ketone level information you ve entered in the meter along with the date and time of each entry For more informati...

Page 44: ...f Hemoglobin A1c tests that you have entered into the meter along with the date and time of each entry A1c tests provide a 3 4 month average of your blood sugar level and can help you and your doctor...

Page 45: ...8072 1 Follow Steps 1 5 on page 34 selecting Pump Profile from the Review Memory screen 2 Press or to scroll through the four pump profile settings Hmlog is used as an example only The insulin type p...

Page 46: ...NS DEVICE USE ONLY ACCU CHEK INTERFACE CABLES TO CONNECT TO THE METER S DATA PORT You can use the cable and software that came with your meter to transfer your stored results to a computer so you can...

Page 47: ...Set Options menu Set Options Time Blocks Diary Defaults Country Options ENTER Previous Menu Chapter 5 Setting Your Meter Options Set Options Menu You can use the Set Options menu to change several me...

Page 48: ...rting a test A result is displayed Buttons are pushed An error occurs while testing Batteries are installed A temperature error occurs The beeper will sound for these events even if it is turned off D...

Page 49: ...the information in the highlighted area of the screen or NEXT to highlight the next area 5 Press SAVE to store the changes If you press MENU before you press SAVE the changes you made will not be save...

Page 50: ...the Insulin menu 2 When Insulin is highlighted press ENTER The first screen allows you to change the on off setting and the increment The second screen allows you to change the insulin type s 3 Press...

Page 51: ...store the settings If you press MENU before you press SAVE the changes you made will not be saved 6 To turn off the meter press to highlight OFF and press ENTER Chapter 5 Setting Your Meter Options A...

Page 52: ...ACCU CHEK Customer Care Service Center 1 800 858 8072 1 Follow Steps 1 6 on page 45 to get to the Insulin Pump menu 2 When Insulin Pump is highlighted press ENTER 3 Press EDIT to change the setting 4...

Page 53: ...2 When Glucose Ranges is highlighted press ENTER 3 Press EDIT to change the settings 4 Press or to change the setting in the highlighted area of the screen or NEXT to highlight the next area 5 Press S...

Page 54: ...manage your diabetes You only need to set the start time for each time block Your meter will automatically set the finish time when you set the start time for the next block Each block must be at leas...

Page 55: ...T to change the settings 4 Press or to change the highlighted starting time or NEXT to move to the next time block 5 Press SAVE to store the settings If you press MENU before you press SAVE the change...

Page 56: ...ohydrate amounts etc so your meter automatically displays that information each time you test your blood sugar Then you can easily change them or save them in memory along with the result Chapter 5 Se...

Page 57: ...t Options menu press MENU To turn off the meter press to highlight OFF and press ENTER Chapter 5 Setting Your Meter Options ACCU CHEK Customer Care Service Center 1 800 858 8072 Enter Diary 08 07 03 1...

Page 58: ...ne number is also listed on the back of your meter Glucose Unit The meter is set at the factory to give glucose values in mg dL or mmol L whichever is typical in the country where the meter was purcha...

Page 59: ...the language resets the meter to no language and causes the Language menu to appear the next time the meter is turned on A language must be selected for the meter to operate 5 Press SAVE to store the...

Page 60: ...formation to the memory or change EDIT information already stored there While you can t change the results of a blood glucose or control test you can edit all the types of information shown in the Edi...

Page 61: ...you have more than one type of information to add or change because you can edit different categories without going back to the Edit Enter menu 2 Individual Screens You can also add or change one typ...

Page 62: ...information on this screen or press MORE next screen or BACK previous screen to find the screen you want then press EDIT Screens will not appear for features you have not enabled See page 70 for infor...

Page 63: ...next area 6 Press SAVE to store the changes or new information in the meter s memory If you press MENU before you press SAVE the changes you made will not be saved 7 To turn off the meter press to hig...

Page 64: ...wo values appear on the display New is automatically highlighted 3 Press ENTER to add new information or press to highlight the date you want to change then press ENTER Edit Enter Diary Insulin Pump C...

Page 65: ...nformation on insulin dosages see page 48 6 Press SAVE to store the changes or new information in the meter s memory If you press MENU before you press SAVE the changes you made will not be saved 7 To...

Page 66: ...ACCU CHEK Customer Care Service Center 1 800 858 8072 1 Follow Steps 1 5 on page 58 to get to the Edit Enter menu 2 When Insulin Pump is highlighted press ENTER Bolus is automatically highlighted 3 P...

Page 67: ...For the Basal Profile screen press EDIT to change insulin type then MORE and EDIT to change the 12 profile settings Enter Bolus 08 07 03 10 00AM Hmlog 05 0 EDIT MENU SAVE Sq Wave Bolus 08 07 03 10 00...

Page 68: ...f eight hours The insulin type appears on the screen along with the pump profile start date and time The first four basal rates appear along with the start time The temporary basal insulin rate can be...

Page 69: ...basal rates for each 24 hour basal profile up to a total of four profiles Each rate will continue until the start time of the next rate 8 Press SAVE to store the changes or new information in the met...

Page 70: ...arbohydrates is highlighted press ENTER The date and time of your last two values appear on the display New is automatically highlighted 3 Press ENTER to add new information or press to highlight the...

Page 71: ...hlighted numbers are the ones you can change The highest number of grams you can enter is 255 6 Press SAVE to store the changes or new information in the meter s memory If you press MENU before you pr...

Page 72: ...Service Center 1 800 858 8072 The Event Markers in your meter include Before Meal After Meal Fasting Snack Feel Hypo Before Exercise After Exercise Illness Invalid Test Other s Result User Defined Str...

Page 73: ...Alcohol Activity Comments Bed Time Before Exercise Wake up Time Night Time After Exercise Active Inactive Vacation Physiological Comments Feel Hypo Infection Feel High Sugar Stress Illness Menses Misc...

Page 74: ...last two values appear on the display New is automatically highlighted 3 Press ENTER to add new information or press to highlight the date you want to change then press ENTER The date and time of the...

Page 75: ...e next Event Marker The highlighted Event Markers are the ones you can change 6 Press SAVE to store the changes or new information in the meter s memory If you press MENU before you press SAVE the cha...

Page 76: ...ps 1 5 on page 58 to get to the Edit Enter menu 2 When Exercise is highlighted press ENTER The date and time of your last two values appear on the display New is automatically highlighted 3 Press ENTE...

Page 77: ...u can select Easy Mild or Hard You can adjust duration in five minute segments up to 12 hours 6 Press SAVE to store the changes or new information in the meter s memory If you press MENU before you pr...

Page 78: ...esults to your blood sugar test information in this section 1 2 ACCU CHEK Customer Care Service Center 1 800 858 8072 1 Follow Steps 1 5 on page 58 to get to the Edit Enter menu 2 When Ketones is high...

Page 79: ...NE when finished For ketone results you can choose Negative Trace Small Moderate or Large 6 Press SAVE to store the changes or new information in the meter s memory If you press MENU before you press...

Page 80: ...U CHEK Customer Care Service Center 1 800 858 8072 1 Follow Steps 1 5 on page 58 to get to the Edit Enter menu 2 When HbA1C is highlighted press ENTER The date and time of your last two values appear...

Page 81: ...ight the next area Press DONE when finished You can adjust test values by 0 1 at a time from 0 to 25 0 6 Press SAVE to store the changes or new information in the meter s memory If you press MENU befo...

Page 82: ...r is turned off Gently wipe the meter s surface with a soft cloth slightly dampened with one of these cleaning solutions 70 alcohol Mild dishwashing liquid mixed with water 10 household bleach solutio...

Page 83: ...re that your test strips and control solution haven t expired then run a control test Cleaning Your Lancet Device To clean the ACCU CHEK Softclix lancet device use a mild dishwashing liquid and a soft...

Page 84: ...Set Date and Time Set Options Check Battery ENTER 1 Press any button to turn on the meter 2 Press to highlight More then press ENTER 3 Press to highlight Check Battery 4 Press ENTER The Battery indic...

Page 85: ...ff the meter and put in the code key See page 14 The wrong type of code key was inserted Turn off the meter and put in the correct code key See page 14 Code key missing Turn off monitor Insert correct...

Page 86: ...r the test strip is damaged or inserted improperly If you see this error message after you put blood on the test strip see page 29 If you see this error message before you put blood on the strip remov...

Page 87: ...range See page 29 immediately Run Test 08 07 03 10 00AM Insert test strip OFF MENU Run Test Apply blood OFF MENU 3 Replace batteries HI is displayed for the blood glucose result LO is displayed for t...

Page 88: ...memory may not be accurate because the test was performed outside the operating temperature range of the system Blood sugar result is out of normal range or below hypo If this is consistent with the w...

Page 89: ...Customer Care service center at 1 800 858 8072 There may be moisture in the meter Turn off the meter and take out the batteries Place the meter in a cool dry place and wait several hours If the beepin...

Page 90: ...ort 3 wire RS 232C serial port Accuracy and precision Refer to the test strip package insert Measuring range Refer to the test strip package insert Sample size Refer to the test strip package insert M...

Page 91: ...85 2 00 2 15 2 30 mm Product Safety Information Explanation of Symbols CAUTION Please refer to safety related notes in the manual accompanying this instrument AAA batteries The ACCU CHEK Complete mete...

Page 92: ...nal warranty expiration or 90 days after the shipment of a replacement system whichever period is longer The purchaser s exclusive remedy with respect to the ACCU CHEK Complete meter shall be replacem...

Page 93: ...h the same or similar product Replacement meters will be warranted for a period of 90 days from shipment under a limited warranty providing for replacement of parts and labor at no charge Warranty and...

Page 94: ...he ACCU CHEK Complete system when used with ACCU CHEK Comfort Curve test strips and 5 352 351 A license to use the ACCU CHEK Complete system is only granted when the ACCU CHEK Complete meter is used w...

Page 95: ...strips or code keys Patent Information This product is covered by one or more of the following U S Patent Nos 4 999 632 4 999 582 4 963 814 5 508 171 5 352 351 5 405 511 5 438 271 5 997 817 6 254 736...

Page 96: ...supply dealers Test Strips ACCU CHEK Comfort Curve Test Strips Cat Nos 2030365 2030373 2030381 2030420 3000141 ACCU CHEK Advantage Test Strips Cat Nos 336 553 966 Control Solutions ACCU CHEK Comfort C...

Page 97: ...iate for your facility References 1 Stedman Thomas Lathrop Stedman s Medical Dictionary 27th Edition pg 2082 1999 2 American Diabetes Association Clinical Practice Recommendations 2003 Diabetes Care V...

Page 98: ...od sugar testing 23 26 blurred vision 29 button on off 8 9 code key 14 computer connecting your meter to 44 control solution 17 22 94 control test results understanding 21 control test acceptable rang...

Page 99: ...s 94 sweating 29 symbols 89 technical information 88 test results understanding 29 test results unusual 29 test strips ACCU CHEK Advantage 15 test strips ACCU CHEK Comfort Curve 15 test blood sugar 23...

Page 100: ...98 Notes Notes Notes ACCU CHEK Customer Care Service Center 1 800 858 8072 Notes Notes prints 56c 51m 362_24014_Manual_AC_Complete 2 4 05 2 41 PM Page 98...

Page 101: ...99 Notes ACCU CHEK Customer Care Service Center 1 800 858 8072 Notes ce Center 1 800 858 8072 Notes prints 56c 51m 362_24014_Manual_AC_Complete 2 4 05 2 41 PM Page 99...

Page 102: ...100 100 100 Notes ACCU CHEK Customer Care Service Center 1 800 858 8072 Notes Notes prints 56c 51m 362_24014_Manual_AC_Complete 2 4 05 2 41 PM Page 100...

Page 103: ...Inside back cover ce Center 1 800 858 8072 362_24014_Manual_AC_Complete 2 4 05 2 41 PM Page 101...

Page 104: ...cu chek com 2004 Roche Diagnostics All rights reserved Roche Diagnostics 9115 Hague Road Indianapolis IN 46256 ACCU CHEK COMPLETE ADVANTAGE COMFORT CURVE SOFTCLIX ACCU CHEK COMPASS and CHEMSTRIP are t...

Reviews: