Chapter 9 Replacing Consumables
165
9
■
[Disposal Box Space]
Shows the remaining amount of space in the
master disposal box with an icon.
■
[Drum Information]
Shows the size and color of the print drum (cyl-
inder) that is set in this machine. When [Ink
Saving] (
58) is used for making the master
on the print drum (cylinder), [Ink Saving] is dis-
played.
■
Date and Time
Shows the internal clock of this machine.
You can adjust the clock in [Clock/Calendar]
(
■
[My Counter]
Shows [My Counter] in the [
I
Info] screen if
149) is set to on.
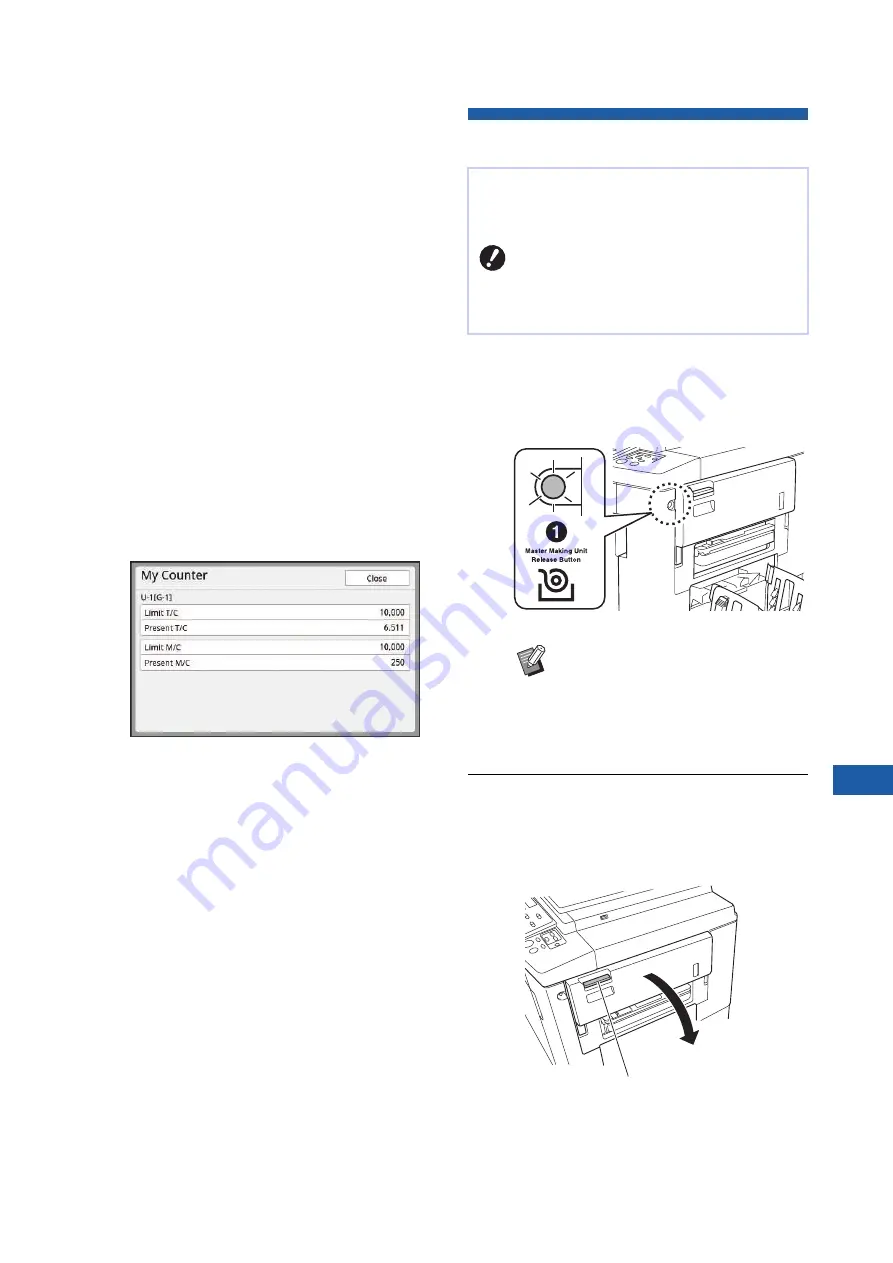
Touching [My Counter] displays the [My Coun-
ter] screen.
You can check the counter of the currently
authenticated users in the [My Counter] screen.
(
122 “Calculating the Total Number of Cop-
Setting the Master Roll
1
Check that the [Master Making Unit
Release Button] lamp is lit.
If the lamp is off, press [Master Making Unit
Release Button] to light it up.
2
Open the pull-out cover of the
master making unit.
Grasp the master making unit removal lever
and open the cover to the front.
If a master roll is depleted, a message is displayed
and this machine stops. Set a new master roll in
place.
B
It is recommended to use products
specified by RISO when replacing the
master roll.
B
Keep the power on while replacing the
master roll.
B
When the print drum (cylinder) is
pulled out, you cannot pull out the
master making unit. Return the print
drum (cylinder) to its original posi-
tion, and then press [Master Making
Unit Release Button].
Master making unit removal lever
Summary of Contents for MH 9350
Page 21: ...Chapter 1 19 1 About This Machine ...
Page 31: ...29 2 Chapter 2 Basic Operations ...
Page 53: ...51 3 Chapter 3 Functions for Master Making ...
Page 97: ...95 4 Chapter 4 Functions for Printing ...
Page 109: ...107 5 Chapter 5 Useful Functions ...
Page 130: ...Chapter 5 Useful Functions 128 ...
Page 131: ...129 6 Chapter 6 Functions for Scanning ...
Page 137: ...135 7 Chapter 7 Setting the Operation Conditions ...
Page 159: ...157 8 Chapter 8 RISO Console ...
Page 165: ...163 9 Chapter 9 Replacing Consumables ...
Page 177: ...175 10 Chapter 10 Maintenance ...
Page 181: ...179 11 Chapter 11 Troubleshooting ...
Page 205: ...203 12 Chapter 12 Appendix ...
Page 215: ...Chapter 12 Appendix 213 12 V View edit 48 W WAKE UP key 23 Z Zoom 71 ...


