Evaporative Air Coolers
Installation Manual
Brivis Models:
Contour SeriesPromina SeriesAdvance SeriesAD Series
by
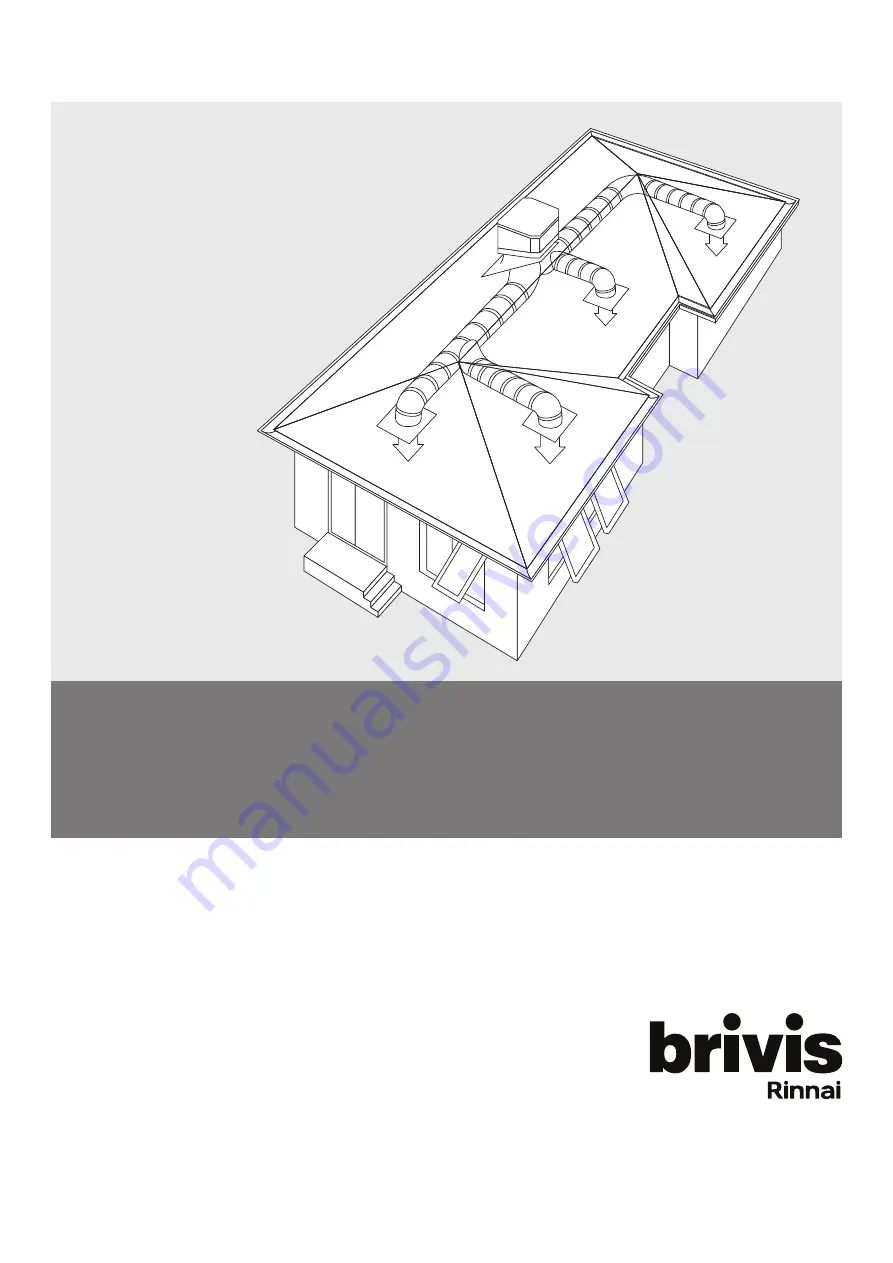
Page 1: ...Evaporative Air Coolers Installation Manual Brivis Models Contour Series Promina Series Advance Series AD Series by ...
Page 2: ...AS NZS 3000 Local Regulations and Municipal Building Codes including local OH S requirements This appliance must be installed maintained and removed only by an Authorised Person For continued safety of this appliance it must be installed and maintained in accordance with the manufacturer s instructions ...
Page 3: ...5 3 Fitting the Brivis Promina Brivis Contour Series Cooler 12 6 Installation Brivis Advance 13 6 1 Brivis Advance Series Dropper Duct Specific 13 6 2 Fitting the Brivis Advance Unit 13 7 Network Connection 14 7 1 Wiring Connection Brivis Networkers 14 7 2 Installing Dual Brivis Networkers 14 7 3 Dual Brivis Networkers 14 7 4 Master and Slave Addressing 15 7 5 Wiring the Programmable or Manual Wal...
Page 4: ...ting Details 24 12 3 Brivis AD Bleed Off 24 12 4 Brivis AD Bleed Rate Settings 24 12 5 Brivis AD Bleed Setting Instructions 25 12 6 Brivis AD Dump Valve Functions 25 13 Brivis AD Timing Cooler Functions 26 13 1 Start up Brivis AD Model with Dump Valve 26 13 2 Pre Wet 26 13 3 Programmable Wall Control Models in auto mode 26 13 4 Shut down Times Dump Valve 26 14 Commissioning Checklist 27 14 1 Isola...
Page 5: ... INSTALLATION SAFETY This appliance SHALL BE installed in accordance with Manufacturer s Installation Instructions Current AS NZS 3000 electrical codes Local Regulations and Municipal Building Codes including local OH S requirements Local water authority regulations Duct fixing regulations EPA guidelines and AS HB276 2004 A Guide to Good Practice ALWAYS comply with the following precautions to avo...
Page 6: ... NOT be installed or operated under any circumstances No responsibility will be accepted for installation or operation of damaged or incorrect appliances Installation of damaged or incorrect appliances may also contravene local regulations IMPORTANT MODELS COVERED IN THIS MANUAL Brivis Contour Series L37 L47 L57 L67 L77 Brivis Promina Series P36 P46 P56 P66 P76 Brivis Advance Series F36DS F46DS F5...
Page 7: ...and enables only fresh outside air to be drawn into the unit The cost of any equipment and additional labour involved in accessing cooler installations will not be accepted by Brivis Avoid positioning the cooler near any source of smoke dust or objectionable fumes so that only fresh outside air will be drawn into it Coolers should not be sited close to the windows or bedrooms of neighbouring house...
Page 8: ...gh lock up pressures or freezing water in pipes may occur For the owner s convenience an additional isolating valve may be provided at ground level to isolate the water supply The water supply pipe MUST BE supported and secured so as not to place strain on the Cooler s water connection fittings or cause water hammer noise Water quality should be checked and filtration fitted where necessary e g ta...
Page 9: ...ak should be fitted with an additional water diverting channel on the dropper duct high side that extends beyond the dropper duct sides by at least 50mm see diagram below NOTE This diagram is for Brivis Promina and Brivis Contour Series Models 3 4 DROPPER DUCT INSTALLATION GUIDELINES The dropper duct on which the Cooler is mounted MUST BE properly secured to the roof structure or timbers Ensure th...
Page 10: ...ng the location of an evaporative cooler Ensure there is a clear pathway from the roof access point to cooler Remain clear of solar panels or other roof mounted fixtures that would adversely affect the required service clearances or safe access to the cooler For Multi Storey Flat Roof Maintain a safe distance from a fall edge 3m Consider installing a roof hatch to avoid extension ladders or two pe...
Page 11: ...eas the 100mm template position is used with the templates placed on the roof tile batten Clamp the templates in position or use a screw or rivet through the template hole provided to securely hold them to the dropper duct Insert the dropper duct between the roof rafters see diagram Ensure the template levelling bracket is positioned on the high roof side of the dropper duct Rest the templates equ...
Page 12: ... the cooler Lock the other side into place ensuring that they have been placed in the correct direction and that they are both free moving Then proceed with the mounting of the cooler into the dropper duct 5 3 FITTING THE BRIVIS PROMINA BRIVIS CONTOUR SERIES COOLER The Cooler should now be mounted into position Insert the Cooler s air outlet fully into the dropper duct Ensure the Cooler base sits ...
Page 13: ...pper duct Cut a 43mm hole in the dropper duct below the roof line on the left hand side on the low side of the roof to accept the wiring grommet This will allow the 3 pin plug and lead and the Wall Control Loom connection lead to be withdrawn from the dropper into the roof cavity 6 2 FITTING THE BRIVIS ADVANCE UNIT The Brivis Advance Series Cooler chassis comprises latching brackets to secure the ...
Page 14: ...ther on a system The Brivis Networkers should be wired in parallel never in series see diagram of typical wiring The two Brivis Networkers are identified as either Master or Slave All Brivis Networkers come set as Master by default and the slave Brivis Networker will need to be configured upon installation NOTE Both Brivis Networkers cannot be set as Master on a system otherwise it will malfunctio...
Page 15: ...tworker will now become the Slave Brivis Networker and the installer parameters can no longer be accessed from this Brivis Networker The Master Brivis Networker MUST now be used to access the installer parameters 7 5 WIRING THE PROGRAMMABLE OR MANUAL WALL CONTROL After the Cooler s power supply and pre wired wall control leads are fed down from the base into the roof cavity connect the 20 metre wa...
Page 16: ...ler is configured correctly to the Brivis Networker each Cooler MUST BE Given a different specific identification number starting at No 1 Designated to a zone refer to the Brivis Networker Advanced Programming Manual No 404 Each Cooler comes with the ID number set at number 1 To give it a new number first complete the installation and wiring of all the units as described previously and follow the ...
Page 17: ...Cooler as shown below by unit number 2 Wait one minute before proceeding to allow for the programming change Press the Brivis Networker ON OFF button to exit the program Turn the power supply at the Cooler OFF to save the new ID number Repeat the sequence for each Cooler Then follow the Brivis Networker Advanced Programming Instructions to allocate the Coolers to their respective zones On Off Butt...
Page 18: ...table water the manufacturer recommends that the outlet of the discharge pipe is separately drained to avoid any contamination of water intended for potable use If a discharge pipe is required the manufacturer recommends that the outlet is located such that water is adequately dispersed and does not cause nuisance or damage for example gutter overflow and accelerated corrosion Check requirements w...
Page 19: ...or longer than 15 minutes it will begin with a 2 minute Pre wet then turn OFF the pump and start the fan Depending on the room conditions and the wall control setting the Cooler may perform another Pre Wet as described previously when the pump is turned ON again forcing the fan to turn OFF for that period 9 4 TANK WATER QUALITY AND REPLENISHMENT DURING OPERATION During the Cooler s operation with ...
Page 20: ...NG THE SIDE PADS Remove the front and back pads as above then Disconnect the 19mm clear hose supplying water to the roof distribution spreader at the fitting in the cooler s base squeeze clip then pull to release Ensure that all thumb screws have been removed Remove the roof assembly Slide the filter pads up and out of their frames 10 3 DISMANTLING THE FRAMEWORK Complete all the steps above then F...
Page 21: ... inside of the dropper duct Cut a 43 mm hole in the dropper duct below the roof line on the back left hand side on the high side of the roof to accept the wiring grommet This will allow the 3 pin plug and lead and the Wall Control Loom connection lead to be withdrawn from the duct into the roof cavity 11 2 INSTALLING THE DROPPER DUCT AND FITTING THE BRIVIS AD COOLER Place the Cooler on the dropper...
Page 22: ...agram below Rotate the fold up corner up until the frame aligns with the marked lines allowing fitting tabs to jam tight against the dropper duct sides Check again that the large 45º fold up is in the correct corner as per previous instructions Align the top edge on the marked lines and drill through frame holes from inside to out Pop rivet or screw from outside to in making sure screw or rivet ta...
Page 23: ... internal and can be accessed by removing a screw from the top of the control then removing the top access panel The Programmable Controller Route the wall control wire loom to the wall control mounting position ensure mount position is within reach of 20 m loom Remove cable puller from the loom Plug wire loom onto the back of the wall control and then fix control to mounting plate Mains Power Sup...
Page 24: ...down is approximately 10 mm above the initial water level setting as water returns to the tank from the pads 12 3 BRIVIS AD BLEED OFF To ensure the water in the tank is clean and fresh a small amount continuously flows from the unit during operation This is called bleed off This prevents a build up of salts and minerals in the tank which can accelerate filter pad and component deterioration by con...
Page 25: ...empties the tank after the Cooler is turned OFF leaving it dry When using the Cooler again refilling the tank will take 4 minutes before Pre Wet begins When the Cooler is turned OFF at the end of use the Dump Valve will wait 45 minutes before turning OFF the water supply and draining the tank If the Cooler is in continuous operation the Dump Valve will flush the tank automatically after 35 hours o...
Page 26: ...es Pre Wet 1 minute Longer than 10 minutes Pre Wet 4 minutes Longer than 45 minutes Dump Model Only Tank has to be filled Therefore total time including Pre Wet is 8 minutes 13 3 PROGRAMMABLE WALL CONTROL MODELS IN AUTO MODE These models operate similar to Brivis Networker and Manual wall control models but in auto mode the Pre wet operates slightly differently If the Cooler has been OFF for longe...
Page 27: ...s Contour Models only The isolating valve on the water supply is turned ON The water tank fills with water and the water inlet valve closes when the tank is full The water level is set correctly Brivis AD Models There is no foreign matter in the water tank or fan housing The pads are correctly located The pump operates when turned ON at the Wall Control The fan operates through the entire speed ra...
Page 28: ... is correctly located in the power socket For power at the power socket plug in another appliance and test The isolating switches at the unit and the supply power socket are turned ON The unit is turned ON at the Brivis Networker Wall Control The pump is not in a delay due to ServoSeal damper or tank filling operation Brivis Promina Brivis Contour Brivis Advance Brivis AD Dump Models The filter ba...
Page 29: ...rivis Models Number of average size windows doors suggestions only Highest Fan Setting Lowest Fan Setting Contour Series Promina Series Advance Series AD Series L37 P36 F36DS One door and a hinged window 1 9 m2 1 1 m2 L47 P46 P56 F46DS F56DS AD56D BAL Three sliding windows or one door two hinged windows 2 3 m2 1 4 m2 L57 P66 F66DS AD66D BAL Four sliding windows or one door and four hinged windows ...
Page 30: ... which are no longer Networker compatible Angle of Dropper Box Dropper Box Size Minimum Dropper Box Length Fan Impellor Blades Water Connection nk acity es Dump Drain Connection 2 315 2 4 6 Flexible hose connection with 1 2 BSP thread with 1 2 BSP thread with 1 2 BSP thread with 1 2 BSP thread with 1 2 BSP thread with 1 2 BSP thread with 1 2 BSP thread with 1 2 BSP thread with 1 2 BSP thread with ...
Page 31: ...nual wall control except AD s which are no longer Networker compatible Angle of Dropper Box Dropper Box Size Minimum Dropper Box Length Fan Impellor Blades Water Connection k city s Dump Drain Connection 315 2 4 6 Flexible hose connection with 1 2 BSP thread with 1 2 BSP thread with 1 2 BSP thread with 1 2 BSP thread with 1 2 BSP thread with 1 2 BSP thread with 1 2 BSP thread with 1 2 BSP thread w...
Page 32: ...higher from mobile or public phones For further information visit www rinnai com au or email enquiry rinnai com au Rinnai has a Service and Spare Parts network with personnel who are fully trained and equipped to give the best service on your Rinnai appliance If your appliance requires service please call our National Help Line Rinnai recommends that this appliance be serviced every 2 years With o...