


Change Printer Driver Settings
You can change the printer driver properties to select print quality, print orientation, ink
volume, or other image adjustments.
1. On
the
Start
menu, point to
Settings
, and then click
Printers
.
2. Right-click the printer you want to change on the shortcut menu, and then left-click
Printing
Preferences
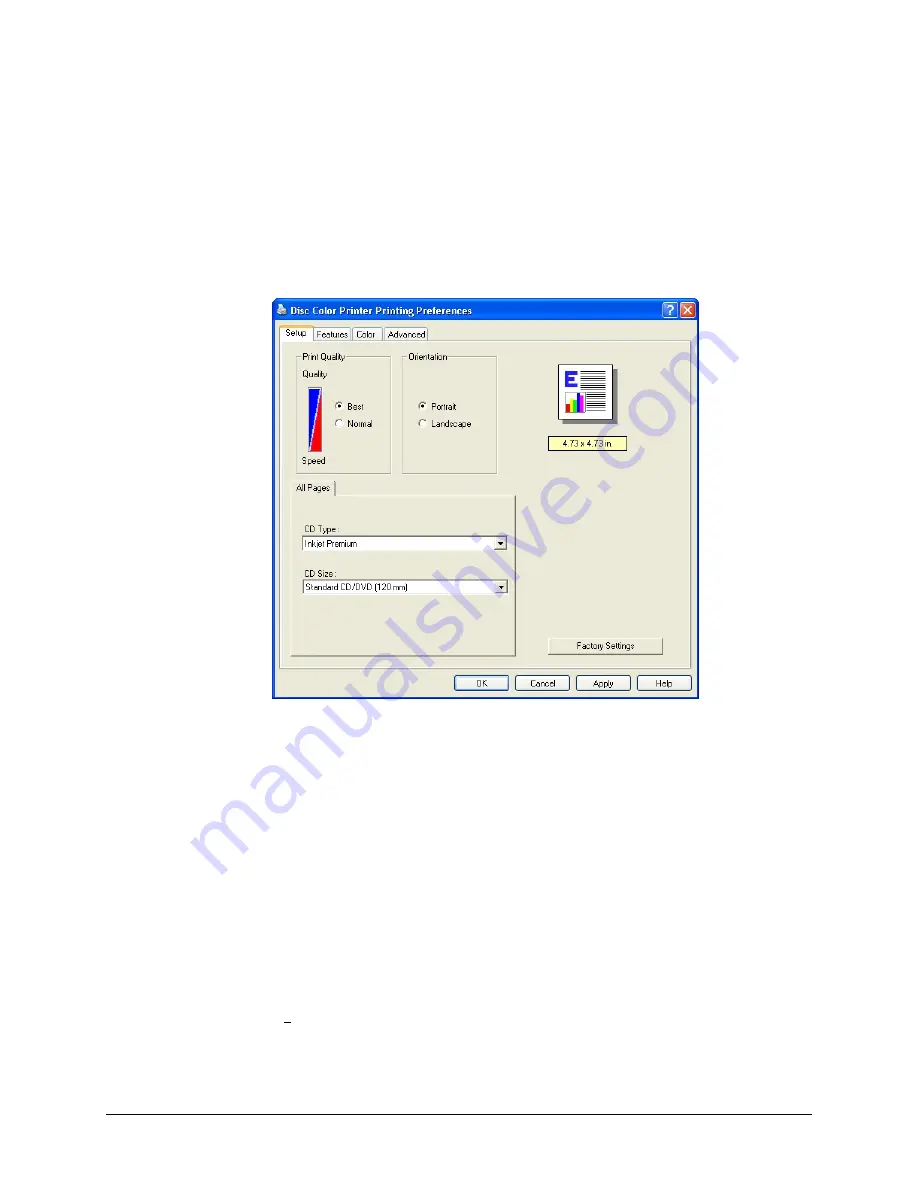
. The Liberty
Disc Color Printer Printing Preferences
dialog
box opens.
3. At
the
Setup
tab, select the
Print Quality
(
Best
or
Normal
) and select the
Orientation
(
Portrait
or
Landscape
).
Best
quality produces the highest print quality and can eliminate the 'banding' effect
that sometimes occurs in solid print areas. However,
Best
quality prints slower than
Normal
quality for most applications.
Normal
quality delivers high-quality output at a faster print rate.
Portrait
orientation prints the label vertically so the top of the label comes out of the
printer first.
Landscape
orientation prints the label horizontally so the top of the label
is located on the side of the printer tray.
Select the
CD Type
(
Inkjet Premium, Photo,
or
Plain
) and
CD Size
(
Standard
CD/DVD (120 mm)
.
Photo
prints the highest quality and
Inkjet Premium
is the next
step lower, but provides a faster print while maintaining a high quality print. The
Plain
setting provides the fastest print.
The
Photo
and
Inkjet Premium
settings eliminate banding issues. You may select
Factory Settings
to return all settings to their factory default settings.
16