7
Operating the Copy Station
For more information vist
rimage.com/support
2001809_A
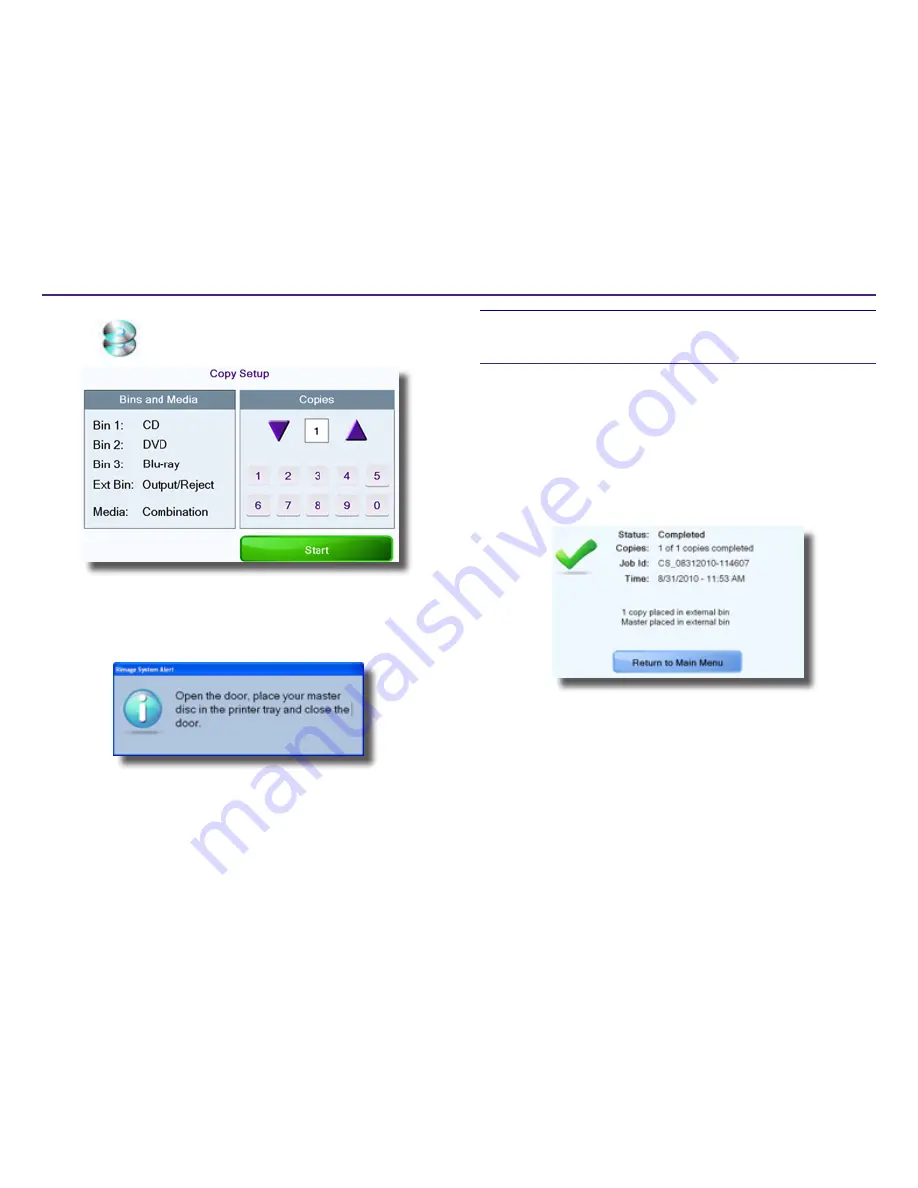
1. Select
Copy Discs
. The
Copy Setup
screen displays.
2. Use the
up and down arrows
or the
numeric keypad
to select the
number of disc copies you want to create.
3. Select
Start
. The system prepares for disc copying. A notice displays
when the system is ready.
4. When the notice displays, follow the prompts to load the master disc.
a. Open the
front door
.
b. Place the
master disc
on the open printer tray.
c. Close the
front door
.
The copying process begins.
Tips:
•
Throughout the process, the job status displays on the touch screen.
•
Select
Stop
at any time to cancel the copying process.
The master disc’s label is photographed by the integrated camera. This
image is printed on each copy of the disc that is made. The master disc
is then placed in Recorder 1. When the data on the master disc has been
read, the system places the disc in the external bin. A blank disc is placed in
Recorder 2. After the content has been recorded, the disc is placed on the
printer tray and the label is printed on the disc. As each copy completes, the
new disc is placed in the output bin.
When the process is complete a message displays.
The message indicates where the master disc was placed and where the
copied disc or discs were placed.
Select
Return to Main Menu
. The
Main Menu
screen displays. The copy job
is complete.


