


SYMPTOM
PROBABLE CAUSE
CORRECTIVE ACTION
Burn marks on work piece.
1. Using a sanding grit that is too
fine.
2. Using too much pressure.
3. Work held still for too long
against the sandpaper.
1. Use a coarser-grit sandpaper.
2. Reduce work piece pressure on the
sandpaper while sanding.
3. Do not keep the work piece sanding in
one place for too long.
Deep sanding grooves or
scars in work piece.
1. Sanding belt/disc grit is too
coarse for the desired finish.
2. Work piece is being sanded
across the grain.
3. Too much sanding force on the
work piece.
4. Work piece held still against the
belt-disc for too long.
1. Use a finer-grit sanding belt or disc.
2. Sand with the grain of the wood.
3. Reduce pressure on work piece while
sanding.
4. Keep work piece moving while sanding.
Sanding surface clogs
quickly.
1. Too much pressure against the
belt or disc.
2. Sanding softwood or highly
resinous woods.
1. Reduce pressure on work piece while
sanding.
2. Use different stock, sandpaper grits, or
accept that this will happen and plan
on cleaning or replacing belts & discs
frequently.
Sanding grains easily rub
off the belt or disc.
1. Sandpaper has been stored in
an incorrect environment.
2. Sandpaper has been damaged
or folded.
1. Ensure sandpaper is stored
away from extremely hot & dry
or damp/humid conditions.
2. Store sanding accessories flat –
not bent or folded.
Work piece lifts up from
the sanding disc-table.
1. Sanding on the “up” , right side
of the disc, where rotation is
up and away from the table.
1. Sand on the left side of the disc,
where the disc rotates down
towards the table.
TROUBLESHOOTING
For parts or technical questions contact: [email protected] or 877-884-5167.
21
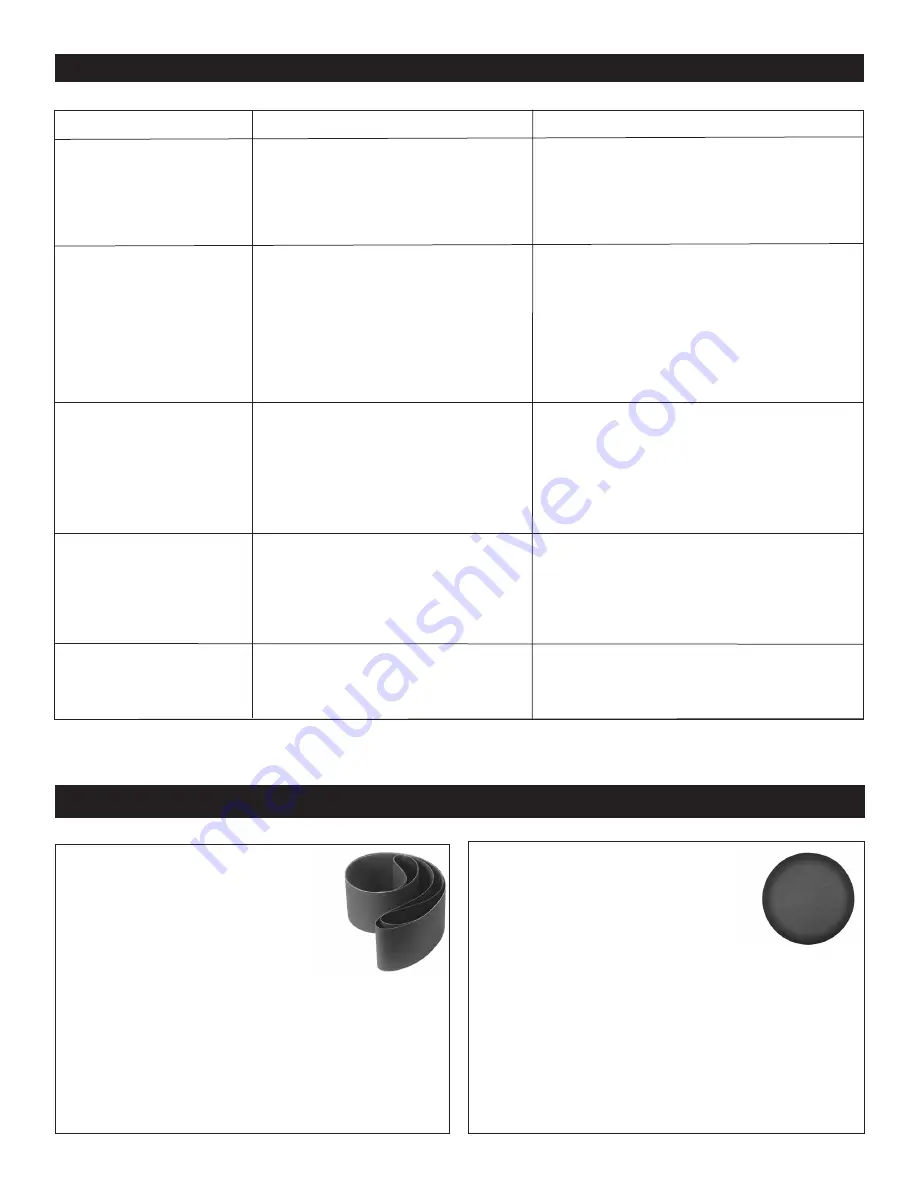
ACCESSORIES
SANDING DISCS
10” Diameter, PSA,
Aluminum Oxide
50-10060
60 Grit
Pack of 2
50-10080
80 Grit *
Pack of 2
50-10120
120 Grit *
Pack of 2
50-10180
180 Grit
Pack of 2
50-10220
220 Grit *
Pack of 2
50-10999
Assortment Pack of 6
* 2 each 3 grits 80, 120 & 220
SANDING BELTS
6” x 48” Aluminum Oxide
50-6080
80 Grit *
Pack of 2
50-6120
120 Grit
Pack of 2
50-6150
150 Grit *
Pack of 2
50-6180
180 Grit
Pack of 2
50-6220
220 Grit *
Pack of 2
50-6999
Assortment Pack of 6
* 2 each 3 grits 80,150 & 220


