


RICOH SP 311DNw B&W Network Laser Printer
Getting Started Guide
11
STEP 3
Install Printer Driver & Utility
The supplied
Printer Drivers, Utilities and Manuals
CD contains the software that
enables the printer and computer to communicate. Printer drivers are programs that control print
output on the device, so when you print a document, the driver sends the data to the printer using
the correct commands. Also on the CD is the Smart Organizing Monitor software utility that allows
you to modify the printer’s settings or view the machine’s status from your computer.
Important
:
•
If you do not have the printer’s software CD, you can download the files from Ricoh’s website
(
www.ricoh-usa.com
). Download instructions for the Printer Driver and Smart Organizing Monitor
can be found in the
Appendix C
and
Appendix D
, respectively.
3.1 USB Quick Install
If you have a local connection to your computer, using a
USB cable
, you must install the printer driver and
utility.
Note
:
•
The following components will be installed:
−
Network PCL 6 Printer Driver
−
Smart Organizing Monitor
•
Close all applications currently running, and ensure that no documents are in the
print queue
.
•
The procedures in this section are a based on Windows 7. The actual procedures may vary depending on
the computer operating system in use.
To install the USB printer driver and utility, proceed as follows
:
1.
Confirm that
USB cable (rectangular plug) is connected to your computer
, and
square plug to printer is
disconnected
. Also make sure the printer
power switch is Off
.
Note
:
•
During software installation, you will connect the USB cable (square plug) to your printer, and turn the
printer On.
2.
Insert supplied
Printer Drivers, Utilities and Manuals
CD into CD-
ROM drive.
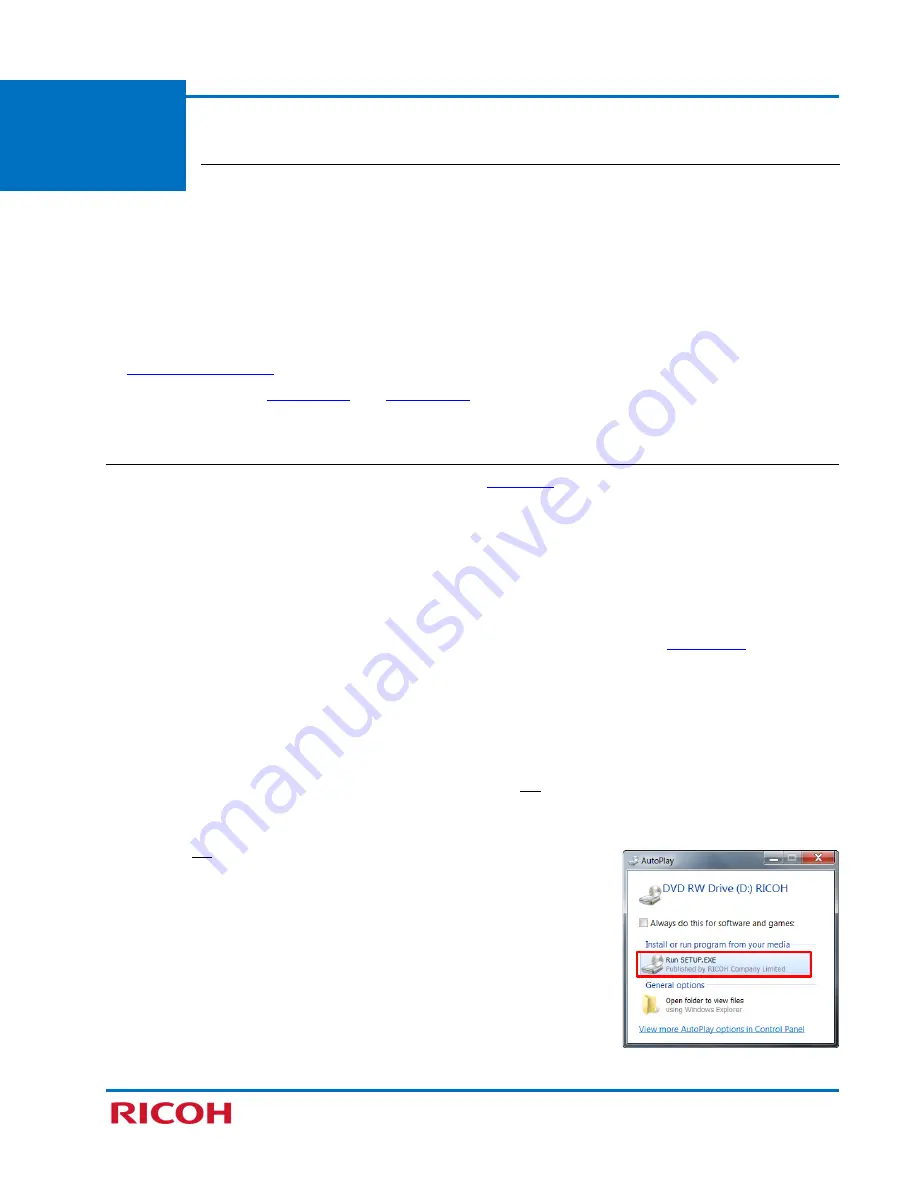
3.
Click [
Run SETUP.EXE
].
Note
:
•
The installer launches automatically. If not, double-click
SETUP.EXE
from the CD’s root directory.


