


15
Changing the IP Address Settings Using the Web Image Monitor
Starting Web Image Monitor
1. Launch the Web browser.
2. In the address bar, enter "http://(machine's IP address)/".
IPv4 Address
Enter the IP address shown on the network setting list.
Use a computer using the IP address shown on the network setting list with its variable
part modified.
IPv6 Address
Enter the IP address shown in "Link-local Address" in the network setting list. Enclose the
IP address in square brackets, thus: "http:/[fe80:226:73ff:fe47:62e]/".
3. Click [Log in].
4. Enter the administrator password, and then click [Log in].
If you are logging in for the first time, enter "admin133" as the password.
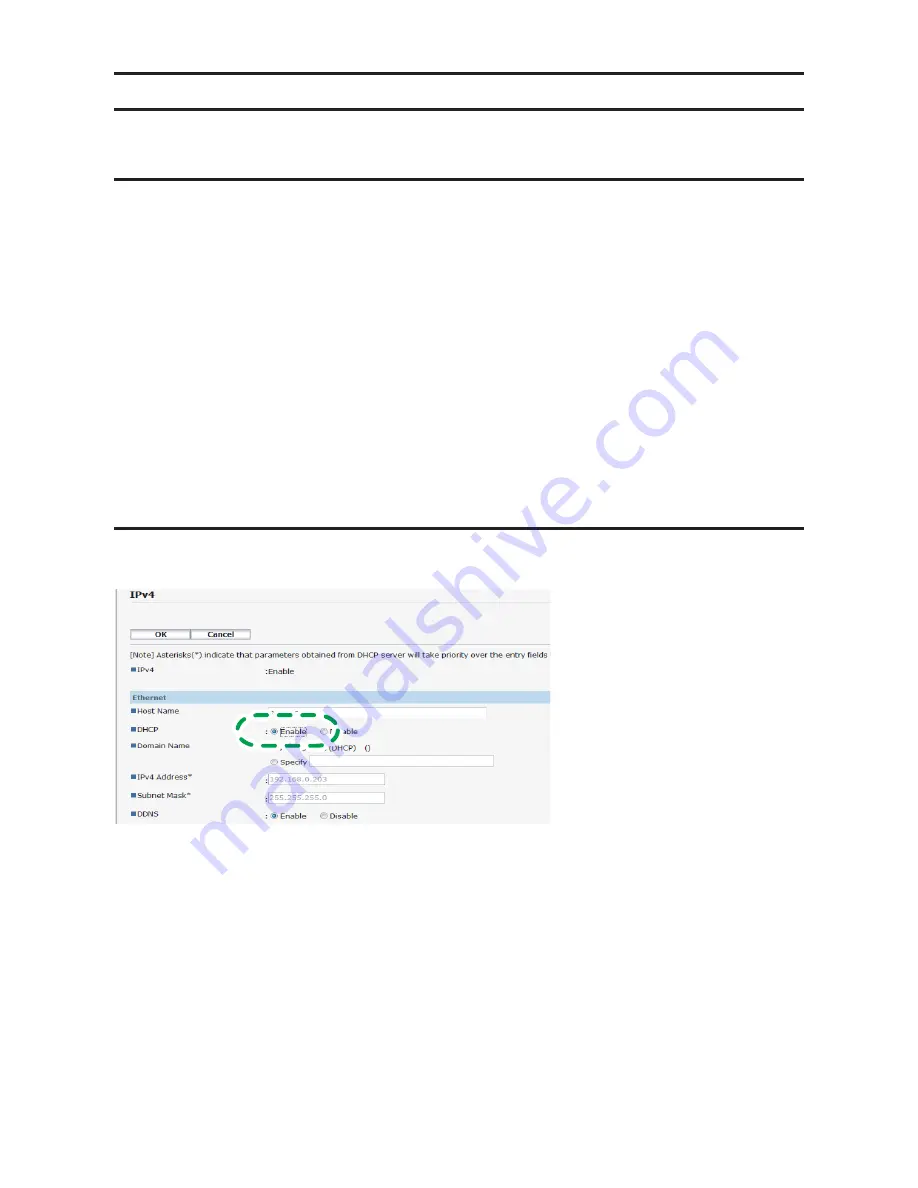
Configuring the Machine Settings to Obtain an IPv4 Address Automatically
Check that [DHCP] is set to [Enable] in [IPv4] in Web Image Monitor. If [DHCP] is set to [Enable],
the machine can automatically obtain the IP address.
CTT163
•
•
Summary of Contents for SP 200
Page 19: ...19 ...