20
PICAXE-08 ALARM PROJECT
revolution
© copyright 2002 - AXE102 Alarm Student Project Notes Version 1.1
Revolution Education Ltd. Email: [email protected] Web: www.rev-ed.co.uk
20
Supported by:
S
ECTION
3
P
ROGRAMMING
- D
RAWING
F
LOWCHARTS
Flowcharts are a useful tool that allow programs to be drawn graphically to make them
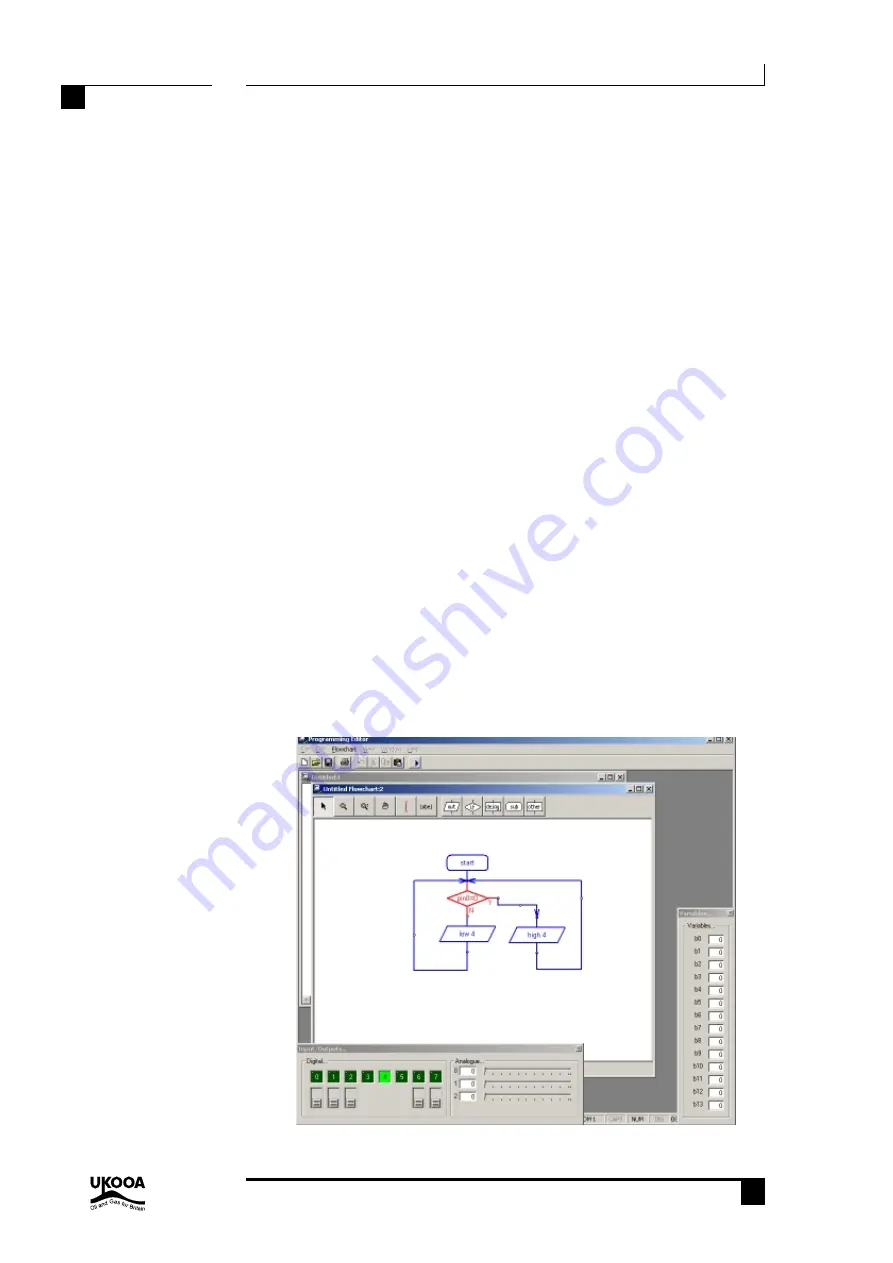
easier to understand. The Programming Editor software includes a flowchart editor that
allows flowcharts to be drawn on screen. These flowcharts can then be converted to
BASIC listings for download into the PICAXE. The flowcharts can also be printed or
exported as graphics files for inclusion within project portfolios.
Detailed instructions for drawing/downloading a flowchart:
1.
Connect the PICAXE cable to the computer serial port. Note which port it is
connected to (normally labelled COM1 or COM2).
2.
Start the Programming Editor software.
3.
Select View>Options to select the Options screen (this may automatically appear).
4.
Click on the ‘Mode’ tab and select PICAXE-08
5.
Click on the ‘Serial Port’ tab and select the serial port that the PICAXE cable is
connected to. Click ‘OK’
6.
Start a new flowchart by clicking the File>New Flowchart menu.
7.
Draw the flowchart by dragging the correct symbols onto the screen, and then using
the mouse to draw arrows between the symbols.
8.
Once the flowchart is complete it can be converted into a BASIC program by
selecting Flowchart>Convert Flowchart to BASIC. The BASIC program can then be
downloaded into the PICAXE by clicking the PICAXE>Run menu.
9.
To print or save the flowchart, use the File menu options. To export the flowchart as
a graphic file, use the File>Export menu. To publish the image in a Word document
select file type EMF. To publish the flowchart on an internet web page use the GIF
file type.


