


English
English
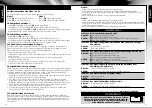
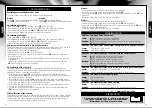
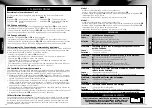
4 CHARGING THE MODEL
Attention:
The battery and motor must cool down for 15 to 30 minutes before charging
and after every flight. Otherwise they can be damaged. The charging process must
be constantly monitored. Always ensure that the charging process takes place on a
fireproof surface in a fire-resistant environment.
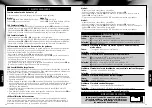
4A
• Remove the battery from the model to charge it.
4B
• Insert the USB plug of the USB charging cable into any USB interface on a computer or
similar device with output of at least 500 mA.
• Then connect the battery to the plug of the USB charger.
• An LED on the USB charger is illuminated during charging.
• The charging process is finished once the LED on the USB charger goes out.
The model can fly for approx. 5-7 minutes after a charge time of approx.
80 minutes.
Warning notice:
The battery does not normally heat up while charging. If it should
become warm or even hot and/or changes to the surface begin to appear, immediately
discontinue the charging process!
• When disposing of batteries, they
must be discharged or their capacity
must be fully depleted. Cover exposed
terminals with adhesive tape in order
to prevent short-circuiting!
Maintenance and care:
• Please only use a clean, damp cloth
to wipe off the model.
• Protect the model and batteries from
direct sunlight and/or direct heat.
• Never allow the remote control and
charging unit to come into contact
with water, because the electronics
will be damaged as a result.
Technical changes and differences in
color reserved!
Required batteries for the model:
Power supply:
Rated output:
1 x DC 3,7 V / 2 Wh
rechargeable
LiPo battery (included)
Capacity: 520 mAh
Battery requirement for the
remote control:
Power supply:
DC 6 V
Batteries:
4 x 1,5 V “AAA“
(not included)
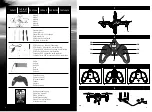
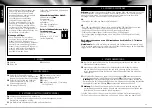
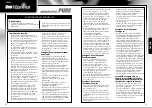
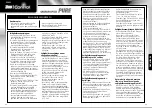
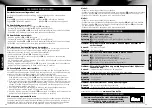
2 REMOTE CONTROL
2A
Control for thrust and rotation.
Briefly press vertically: Headless mode
Longer vertical pressing: Flip function
2B
Control for forward/backwards
and banking. Briefly press vertically:
Second speed level
2C
Trim for rotation
2D
Trim for forwards/backwards
2E
Trim for sideways
2F
ON/OFF switch
2G
Display
2H
Only with control mode 1: Trim for
forwards and backwards
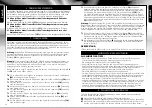
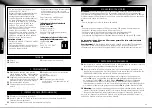
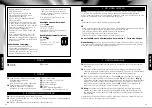
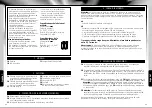
1 MODEL
1A
Rotors
1B
Status LED
1C
Battery compartment
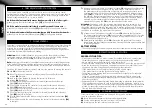
5 START PREPARATION
5A
To start the model, first switch on the remote control, then insert the battery into the
battery compartment of the model.
5B
Then connect the plug of the battery to the connection jack in the model and place the
model on a flat, level and stable surface. After a brief initialisation phase, the status
LEDs illuminate continuously and the model is ready for use.
5C
To start the rotors, move the control for thrust and rotation
2A
to the bottom left and
move the control for forward/backwards and banking
2B
to the bottom right at the
same time.
Attention:
With both controllers in the bottom inside or outside position,
the rotors switch off instantly, even while in the air. In order to switch off the rotors after
landing, move the control for thrust and rotation
2A
all the way down and hold.
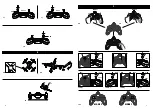
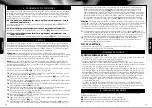
5D Attention:
A protective ring is included with the model. In order to assembly the ring,
all four rotors must be removed. Then the protective ring is fit in place from above and
firmly pressed down. Never fly without the protective ring mounted.
Once you have finished flying, switch the model off first and then the remote control.
Unplug the battery from the model and remove the battery from the model.
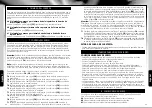
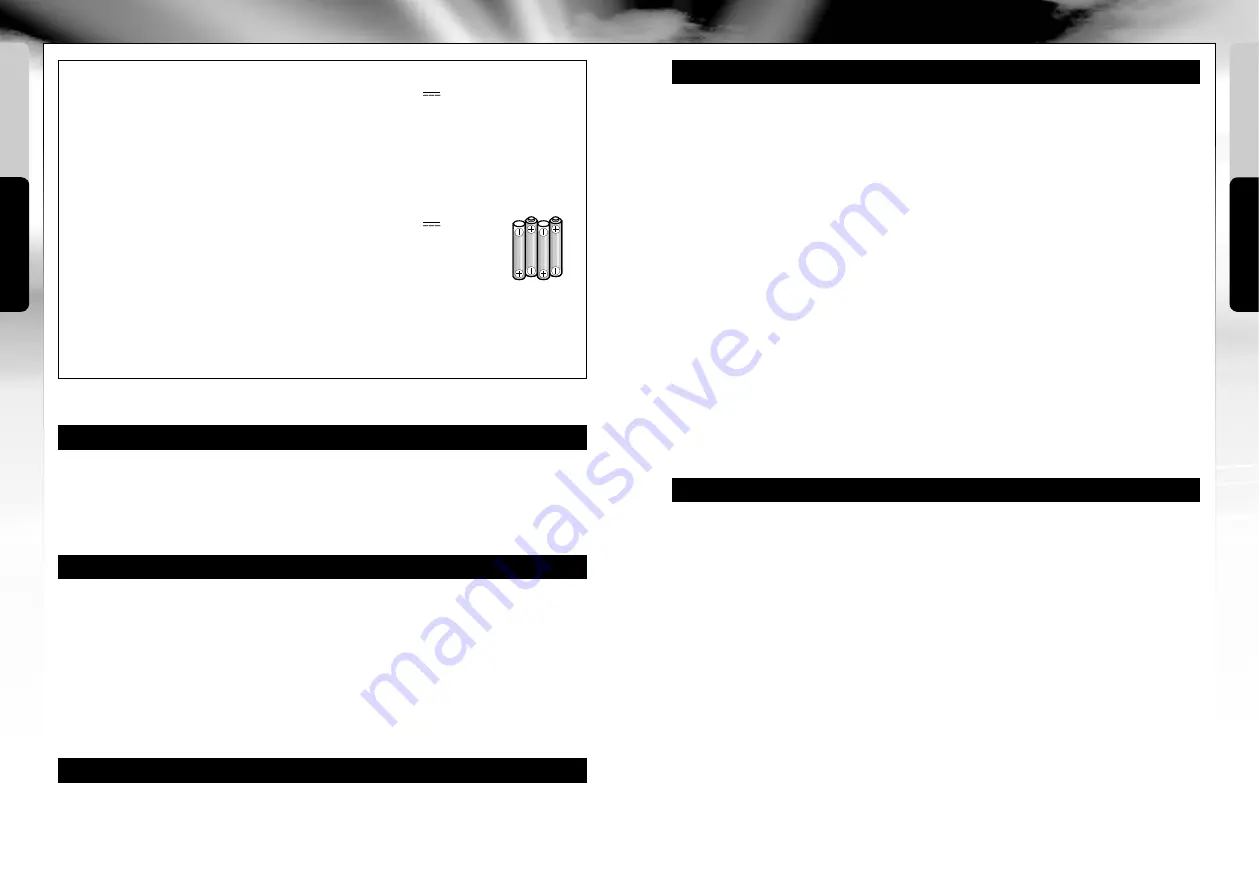
3 INSERTING BATTERIES (REMOTE CONTROL)
3A
Unscrew and remove the cover.
3B
Insert 4 x 1,5 V AAA batteries and pay attention to the polarity,
as shown in the battery compartment.
3C
Close the battery cover and secure with the screw.
A A A
A A A
A A A
A A A
18
19


