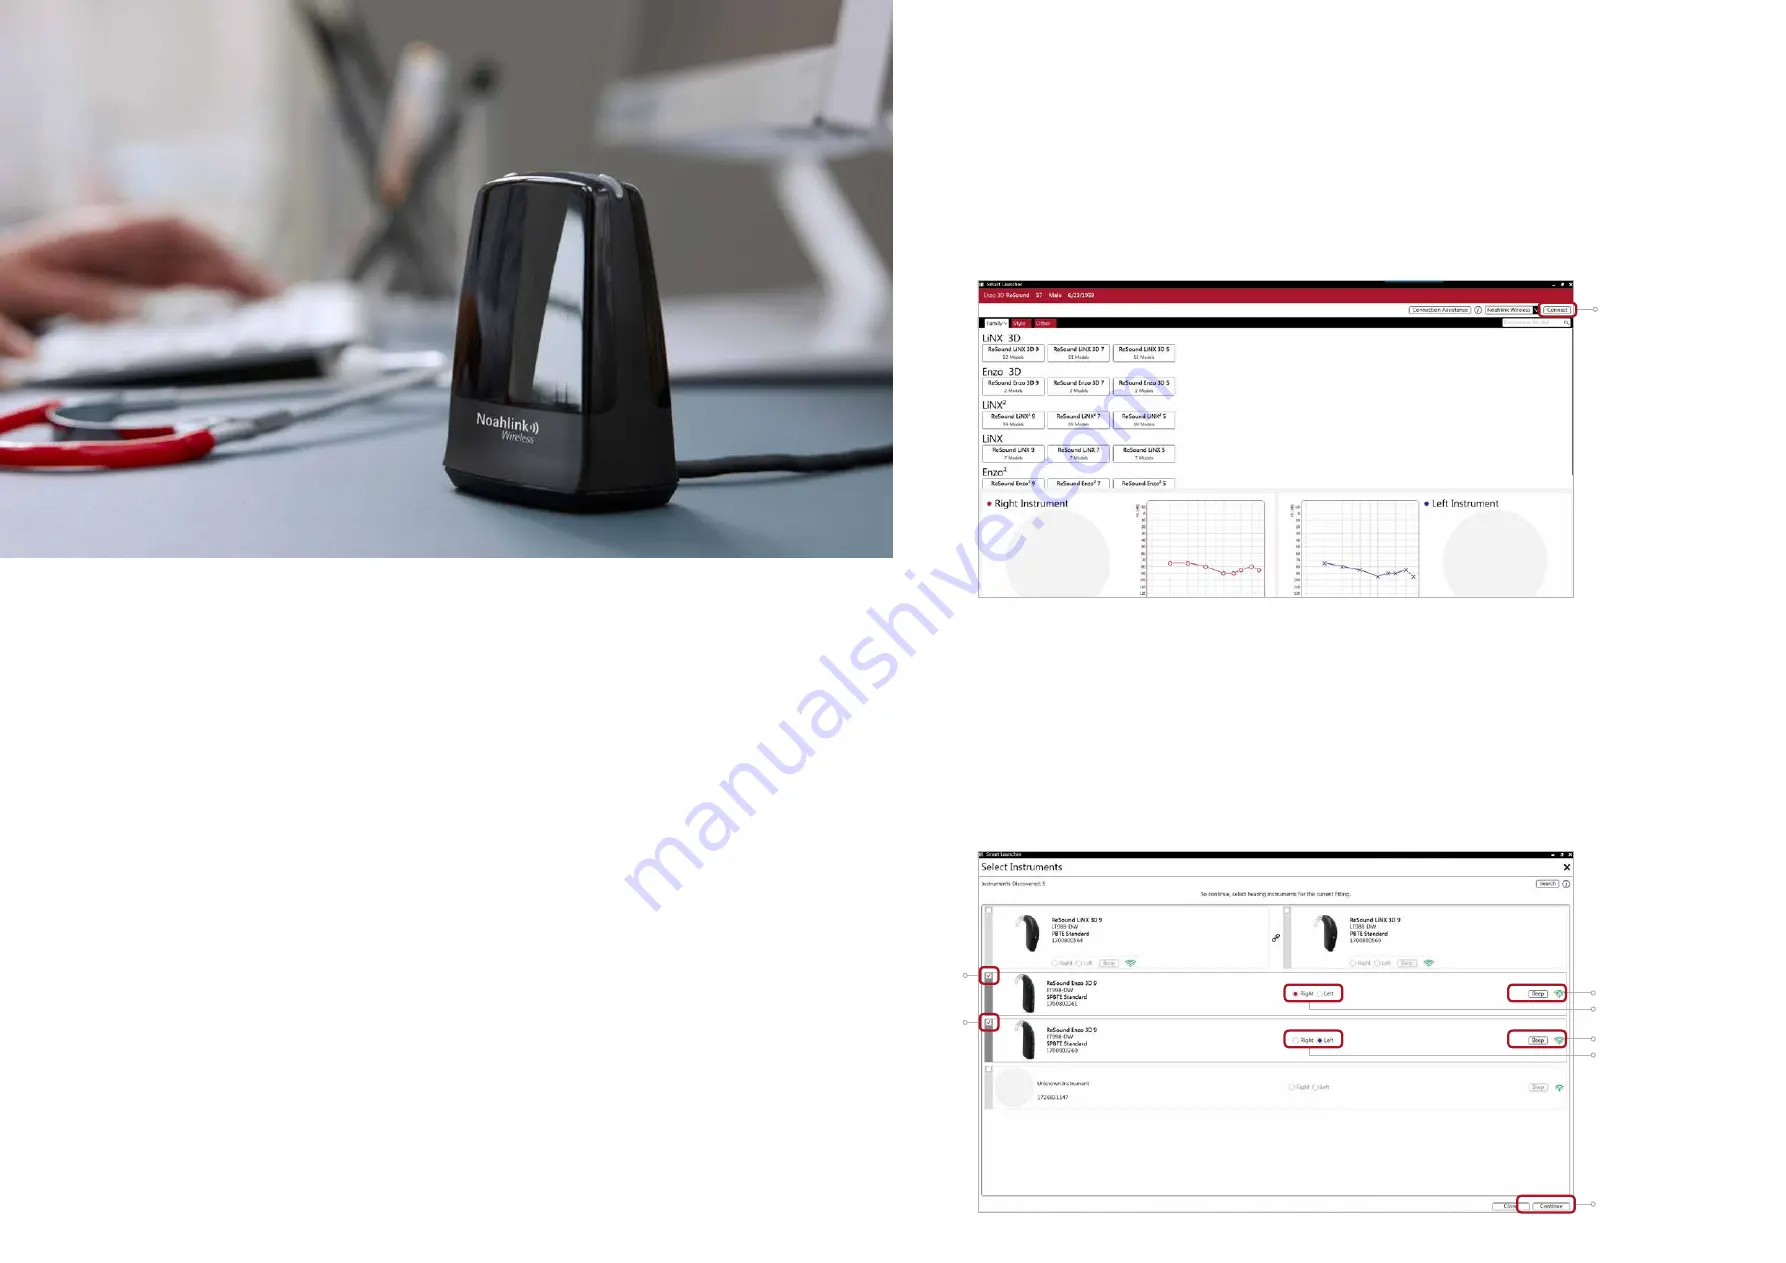
First fitting with
ReSound Smart Fit
TM
1.1
This fitting guide gives an overview of how to fit ReSound ENZO 3D wireless hearing
instruments with ReSound Smart Fit 1.1. A ReSound ENZO 3D 998 wireless binaural
fitting is depicted. Not all features described in this fitting guide are applicable for
ReSound ENZO 3D 7 and 5 fittings.
ReSound Smart Fit 1.1 fitting software supports all ReSound ENZO 3D and ReSound
LiNX3D hearing instruments.
Prior to connecting to ReSound Smart Fit
ReSound hearing instruments require a fresh battery when fitting. Remove the stickers from the
batteries to activate them. Wait for 2 minutes for best results.
• Wireless fittings: Insert Noahlink Wireless in a USB slot on the fitting PC and wait for the message
that new hardware has been found. Then open ReSound Smart Fit.
• Wired fittings: Ensure that the programming interface (Speedlink, Hi-PRO USB or NOAHlink) is
connected to the PC before launching ReSound Smart Fit.
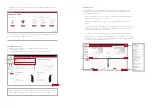
Open ReSound Smart Fit 1.1. For new fittings, the fitting software begins in the Smart Launcher.
Smart Launcher
Both ReSound Aventa 3.12 and ReSound Smart Fit 1.1 are contained within one
software installation. The Smart Launcher will detect both ReSound ENZO 3D and legacy
instruments, and then retrieve the software appropriate for the connected device.
1. Insert the battery and close the battery door of each hearing instruments to be
programmed.
2. Click ‘Connect’ in the upper right of the Launcher screen.
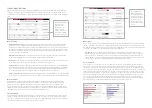
Select instruments
The hearing instruments will appear in the ‘Select instruments’ section.
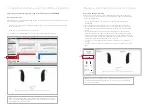
1. When the hearing instruments to be programmed have been identified, select them by
checking the box(es) on the left.
2. Assign the hearing instruments to the right and left ears by choosing the appropriate
radio button for the right and left sides. It is recommended to beep the instrument
for confirmation that the instrument selected in the software is in fact the instrument
being used in the fitting and on the correct side.
3. Continue in the lower right of the screen once the hearing instruments are selected
and assigned.
1
1
2
2
3
2
Summary of Contents for ENZO 3D
Page 1: ...ReSound ENZO 3D fitting guide A guide for professionals...
Page 8: ......


