


4
8.4 Assigning functions to buttons
Customize the mouse button/function mapping to meet your needs. Assign macros to mouse buttons as
executable functions.
Note:
At least one button must be the left mouse button.
P
RECONDITIONS
:
a
You have selected the user profile you want to customize.
1. In the software, open the
Customize
tab.
2. Click
to open the button menu.
3. Assign functions to mouse buttons.
4. Click
Apply
to save the settings.
8.5 Recording and assigning macros
Macros are short sequences of recorded user actions. Record your own macros and assign them to
mouse buttons as executable functions.
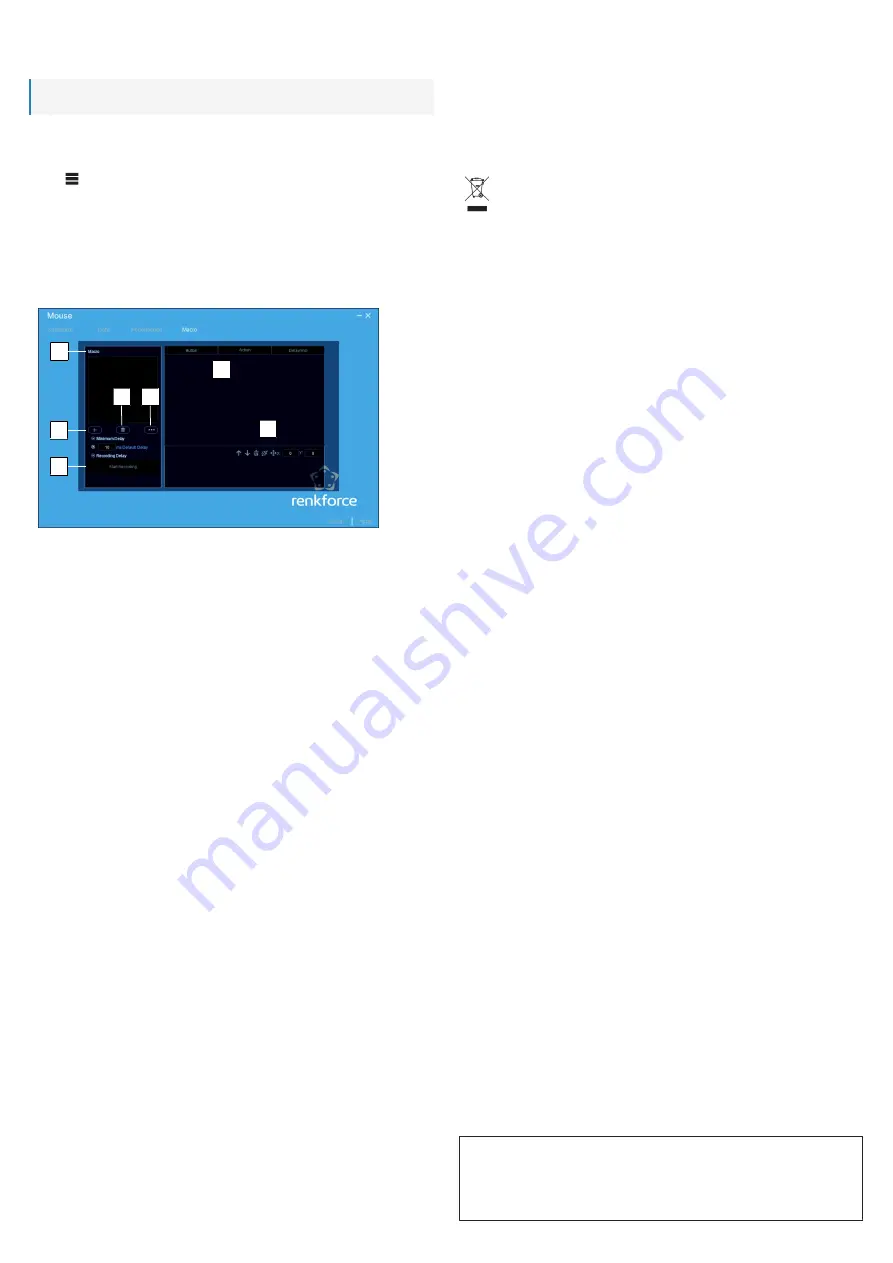
Interface
3
4
5
6
2
7
1
1 Macros
Available macros.
2 User actions
The fields lists recorded user actions.
3 New macro
(+)
Add new macros.
4 Deletion
Delete macros.
5 Macro menu
Export/import/rename macros.
6 Recording
Start and stop recording macros.
7 Editing menu
Re-sequence user actions / Delete steps / Clear all
steps / Set xy coordinates.
Procedure
You will record a macro and assign it to a mouse button as an executable function.
P
RECONDITIONS
:
a
You have selected the user profile you want to customize.
1. In the software, open the
Macro
tab.
2. Click
+
to add a new macro.
3. Click
Start Recording
to start recording a macro.
4. Create a sequence of steps by clicking the mouse buttons.
5. Click
Stop Recording
to stop recording.
6. Use the editing menu to edit the recorded steps.
7. Open the
Customize
tab.
8. From the menu, select a button to which you want to assign the macro.
9. Assign the macro to the button.
10. Click
Apply
to save the settings.
à
You have created and assigned a macro to a mouse button.
8.6 Resetting
Reset the software settings if the mouse behaves erratically.
1. Click
Reset
to reset the settings of the active profile.
à
The profile settings are reset.
9 Cleaning and care
Regularly clean the mouse to keep it in working order.
NOTICE! Do not use aggressive cleaning agents, rubbing alcohol or other chemical solutions as
they can cause damage to the housing and malfunctioning.
1. Disconnect the mouse from the PC.
2. Clean the mouse with a damp cloth.
NOTICE! Do not immerse in water.
3. Clean the sensor on the underside of the mouse with a clean brush or blow on the sensor.
10 Disposal
Electronic devices are recyclable waste and must not be disposed of in the household waste.
At the end of its service life, dispose of the product in accordance with applicable regulatory
guidelines.
You thus fulfill your statutory obligations and contribute to the protection of the environment.
11 Technical data
Power supply ......................................... 5 V/DC, min. 500 mA via USB
USB interface ......................................... min. USB 2.0
Cable length ........................................... 1.8 m
System requirements ............................. Windows® 7 and above
Sensor ................................................... Optical sensor
Sensor resolution (DPI) ......................... 100 - 12000 dpi
Operating temperature ........................... -20 to +45 °C
Operating humidity ................................. 10 – 85 % RH
Storage temperature .............................. -20 to +60 °C
Storage humidity .................................... 10 – 85 % RH
Dimensions (W x H x D) (approx.) ......... 129 x 67 x 38 mm
Weight (approx.) .................................... 102 g
This is a publication by Conrad Electronic SE, Klaus-Conrad-Str. 1, D-92240 Hirschau (www.conrad.com).
All rights including translation reserved. Reproduction by any method (e.g. photocopying, microfilming or the capture in
electronic data processing systems) requires prior written approval from the editor. Reprinting, also in part, is prohibited.
This publication reflects the technical status at the time of printing.
Copyright by Conrad Electronic SE.
*2376407_V1_0721_jh_mh_en


