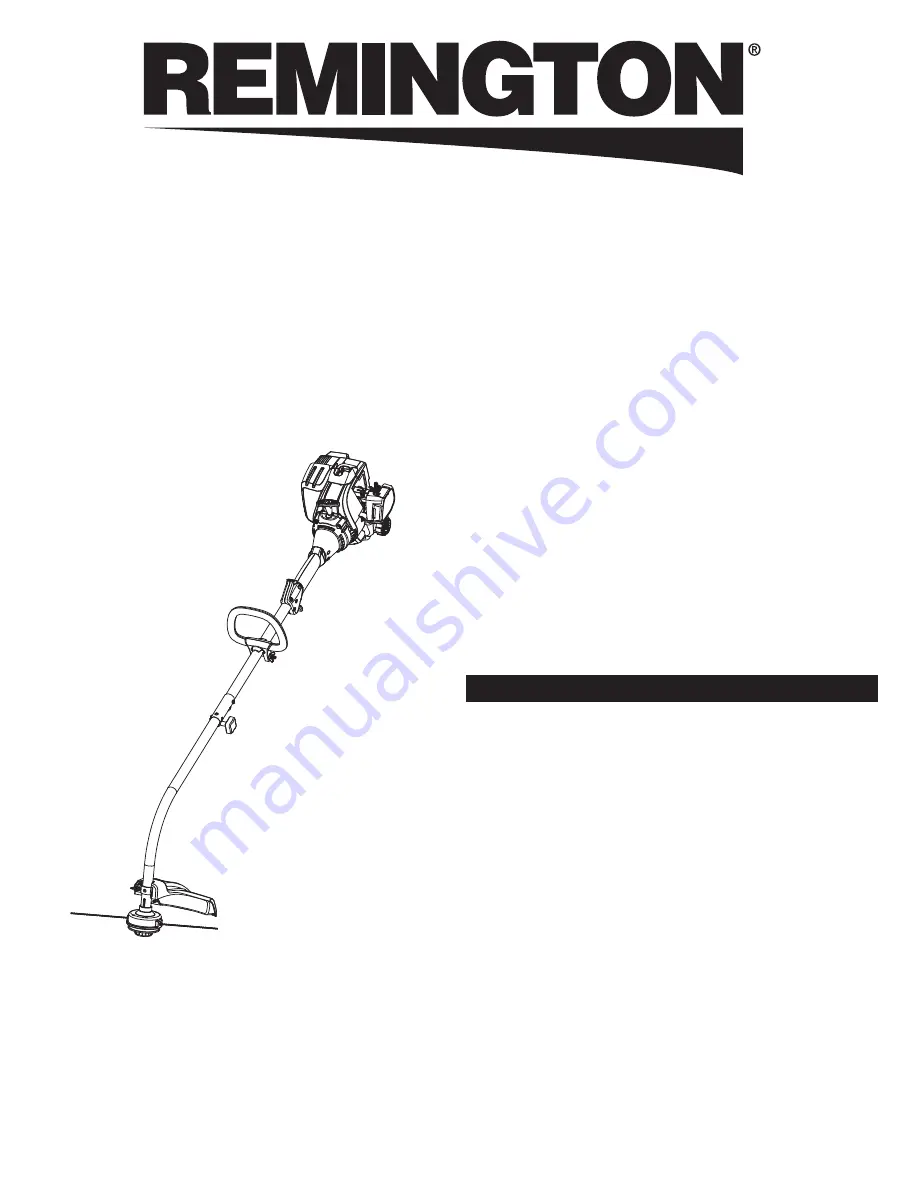
background image

769-07430 P00

02/12

Operator’s Manual

2-Cycle Trimmer

RM2520

TABLE OF CONTENTS

Service . . . . . . . . . . . . . . . . . . . . . . . . . . . . . . . . . . . . . . . . . . . . . . .1
Safety  . . . . . . . . . . . . . . . . . . . . . . . . . . . . . . . . . . . . . . . . . . . . . . .2
Know Your Unit  . . . . . . . . . . . . . . . . . . . . . . . . . . . . . . . . . . . . . . . .5
Specifications  . . . . . . . . . . . . . . . . . . . . . . . . . . . . . . . . . . . . . . . . .5
Assembly  . . . . . . . . . . . . . . . . . . . . . . . . . . . . . . . . . . . . . . . . . . . . .6
Oil and Fuel  . . . . . . . . . . . . . . . . . . . . . . . . . . . . . . . . . . . . . . . . . . .8
Starting and Stopping  . . . . . . . . . . . . . . . . . . . . . . . . . . . . . . . . . . .9
Operation . . . . . . . . . . . . . . . . . . . . . . . . . . . . . . . . . . . . . . . . . . . .10
Maintenance  . . . . . . . . . . . . . . . . . . . . . . . . . . . . . . . . . . . . . . . . .11
Cleaning and Storage  . . . . . . . . . . . . . . . . . . . . . . . . . . . . . . . . . .15
Troubleshooting . . . . . . . . . . . . . . . . . . . . . . . . . . . . . . . . . . . . . . .16
Warranty  . . . . . . . . . . . . . . . . . . . . . . . . . . . . . . . . . . . . . . . . . . . .18

All information, illustrations, and specifications in this manual are based
on the latest product information available at the time of printing. We
reserve the right to make changes at any time without notice.
Copyright© 2012 MTD SOUTHWEST INC, All Rights Reserved.

DO NOT RETURN THIS UNIT TO THE RETAILER. PROOF OF
PURCHASE WILL BE REQUIRED FOR WARRANTY SERVICE.

For assistance regarding the assembly, controls, operation or
maintenance of the unit, please call the Customer Support Department
at 

1-866-206-2707

in the United States or 

1-877-696-5533

in Canada.

Additional information about the unit can be found on our website at

www.remingtonpowertools.com

.

For service, please call the Customer Support Department to obtain
a list of authorized service dealers near you. Service on this unit,
both within and after the warranty period, should only be performed
by an authorized and approved service dealer. When servicing, use
only identical replacement parts.

SAVE THESE INSTRUCTIONS

SERVICE

Summary of Contents for RM2520

Page 1: ...ved DO NOT RETURN THIS UNIT TO THE RETAILER PROOF OF PURCHASE WILL BE REQUIRED FOR WARRANTY SERVICE For assistance regarding the assembly controls operation or maintenance of the unit please call the...

Page 2: ...rs FOR QUESTIONS CALL 1 866 206 2707 IN U S OR 1 877 696 5533 IN CANADA SYMBOL MEANING WARNING Signals a SERIOUS hazard Failure to obey a safety WARNING signal CAN result in serious injury to yourself...

Page 3: ...ames DO NOT smoke Never operate the unit without the fuel cap securely in place Avoid creating a source of ignition for spilled fuel Wipe up any spilled fuel from the unit immediately before starting...

Page 4: ...EL Always use clean fresh unleaded fuel OIL Refer to operator s manual for the proper type of oil DO NOT USE E85 FUEL IN THIS UNIT WARNING It has been proven that fuel containing greater than 10 ethan...

Page 5: ...e latest product information available at the time of printing We reserve the right to make changes at any time without notice Engine Type Air Cooled 2 Cycle Displacement 25 cc 1 52 cu in Idle Speed R...

Page 6: ...the unit without the cutting head shield in place Fig 2 Washer Square Bolt Slot Wing Nut Cutting Head Shield Mount Bracket Fig 3 Bolt Shaft Grip Minimum 6 in 15 24 cm Washer Handle Tighten Wing Nut IN...

Page 7: ...e upper shaft housing pull the attachment straight out of the coupler Fig 6 The EZ Link System The EZ Link system enables the use of these optional attachments Edger Cultivator Turbo Blower Brushcutte...

Page 8: ...ooled engines and mix it with a fuel additive such as STA BIL Fuel Stabilizer or an equivalent Add 0 8 oz 23 ml of fuel additive per gallon of fuel according to the instructions on the container NEVER...

Page 9: ...ntrol Pull the starter rope with a controlled and steady motion 3 to 5 times to start the engine 9 Continue to squeeze the throttle control Allow the engine to warm up for 30 to 60 seconds 10 Continue...

Page 10: ...y bent Hold the handle with the left hand Keep the left arm straight Hold the unit at waist level Keep the cutting head parallel to the ground so that it easily contacts the grass without the need for...

Page 11: ...o Maintaining the Air Filter Every 25 hours Check the spark plug condition and gap Refer to Maintaining the Spark Plug REPLACING THE TRIMMING LINE Only use the trimming line described in the Specifica...

Page 12: ...it each end about 6 inches 150 mm 2 Using one split end insert one line into the top hole and the other line into the bottom hole in the inner reel Fig 18A 3 Wind the line tightly in the direction sho...

Page 13: ...the unit Fig 20 Air Filter Air Filter Cover Lock Tab Fig 21 Idle Speed Screw ADJUSTING THE IDLE SPEED NOTE Careless adjustments can seriously damage the unit A qualified service dealer should make ca...

Page 14: ...cked fouled or dirty replace it with a replacement part 753 06193 a Champion RDJ7J or an equivalent spark plug 4 Use a feeler gauge to set the air gap at 0 025 in 0 635 mm Fig 22 5 Install the spark p...

Page 15: ...fuel cap tip the unit and drain the fuel into an approved container 2 Start the engine and allow it to run until it stalls This ensures that all fuel has been drained from the carburetor 3 Allow the...

Page 16: ...l is old over 30 days and or improperly mixed Drain the fuel tank and add fresh properly mixed fuel The spark plug is fouled Replace the spark plug TROUBLESHOOTING The fuel is old over 30 days and or...

Page 17: ...17 NOTES...

Page 18: ...ns and territories except those sold through Remington s authorized channels of export distribution Remington reserves the right to change or improve the design of any Remington Product without assumi...

Page 19: ...RAMENEZ PAS CET APPAREIL CHEZ LE D TAILLANT UNE PREUVE D ACHAT SERA EXIG E POUR TOUTE PRISE EN CHARGE DANS LE CADRE DE LA GARANTIE Si vous prouvez des difficult s assembler ce produit ou si vous avez...

Page 20: ...UX TATS UNIS OU LE 1 877 696 5533 AU CANADA SIGNIFICATION DES SYMBOLES AVERTISSEMENT Signale un risque GRAVE Le non respect d une consigne d un signa d AVERTISSEMENT de s curit PEUT entra ner des bles...

Page 21: ...ivent se trouver dans une position stable lors du d marrage Reportez vous D marrage et arr t Utilisez le bon outil N employez cet outil que pour l usage pour lequel il a t pr vu Tenez toujours l appar...

Page 22: ...ns oculaires graves et des pertes auditives Porter une protection oculaire respectant les normes courantes de l ANSI et une protection auditive lors du fonctionnement de cet appareil Prot gez vous le...

Page 23: ...tions est bas sur les toutes derni res informations disponibles sur le produit l impression de ce manuel Nous nous r servons le droit d apporter des modifications tout moment sans avis pr alable Type...

Page 24: ...la t te de coupe en place INSTALLER ET AJUSTER LA POIGN E Installer la poign e 1 Enfoncez la poign e sur le bo tier de l arbre Fig 3 Le trou pour boulon t te carr e dans la poign e devrait se trouver...

Page 25: ...ant fermement le logement de l arbre sup rieur tirez l accessoire tout droit hors du coupleur Fig 6 Le syst me EZ Link Le syst me EZ Link permet d utiliser les accessoires optionnels suivants Coupe bo...

Page 26: ...ssement par air en y ajoutant un additif pour carburant tel que le stabilisateur de carburant STA BIL ou un produit quivalent Ajoutez 23 ml 0 8 once liq d additif pour carburant dans 3 8 litres 1 gall...

Page 27: ...n Position 2 Fig 8 8 Continuez de presser la manette des gaz Tirez sur le cordon de d marrage 3 5 fois de suite d un mouvement contr l et ferme pour d marrer le moteur 9 Continuez de presser la manett...

Page 28: ...ec la main gauche Gardez le bras gauche bien droit Tenez l appareil hauteur de votre taille Gardez la t te de coupe parall le au sol de sorte qu elle entre facilement en contact avec l herbe sans que...

Page 29: ...tre air Toutes les 25 heures V rifiez l tat de la bougie d allumage ainsi que son cartement Reportez vous la section Entretien de la bougie d allumage REMPLACER LA LIGNE DE COUPE Utilisez exclusivemen...

Page 30: ...nviron 150 mm 6 pouces 2 Ins rez une ligne d une extr mit d doubl e de la ligne de coupe dans le trou sup rieur et l autre ligne de la m me extr mit d doubl e dans le trou inf rieur de l enrouleur int...

Page 31: ...rburateur doit tre confi un concessionnaire agr Si apr s avoir v rifi le niveau de carburant et nettoy le filtre air le moteur ne tourne toujours pas au ralenti ajustez la vis de r glage du ralenti co...

Page 32: ...une bougie Champion RDJ7J pi ce rechange de r f rence 753 06193 ou une bougie d allumage quivalente 4 Utilisez une jauge d paisseur pour r gler l cartement 0 635 mm 0 025 po Fig 22 5 Installez la bou...

Page 33: ...du r servoir de carburant et penchez l appareil de fa on vider le carburant dans un r cipient appropri 2 D marrez le moteur et laissez le tourner jusqu ce qu il s arr te par faute d essence Ceci vous...

Page 34: ...30 jours et ou incorrectement m lang Videz tout le carburant du r servoir et remplissez le avec du carburant frais correctement m lang La bougie d allumage est encrass e Remplacez la bougie d allumage...

Page 35: ...35 REMARQUES...

Page 36: ...ncerne les produits vendus par l interm diaire de ses canaux agr s de distribution l exportation Remington LLC se r serve le droit de modifier ou d am liorer la conception de ses produits sans pour au...

Page 37: ...rar m s informaci n sobre la unidad en nuestro sitio Web en www remingtonpowertools com Con vista a recibir servicios llame al Departamento de Atenci n al Cliente para que le faciliten una lista de lo...

Page 38: ...7 EN EE UU O AL 1 877 696 5533 EN CANADA S MBOLO SIGNIFICADO ADVERTENCIA Indica un peligro GRAVE El no obedecer una se al de ADVERTENCIA de seguridad PUEDE conducir a que usted u otras personas sufran...

Page 39: ...de arranque siempre que tire de la cuerda El operador y la unidad deben estar en una posici n estable durante el arranque Consulte la secci n Arranque y Parada Use la herramienta correcta Use esta her...

Page 40: ...EBADOR Oprima 10 veces la pera del cebador lentamente y por completo CONTROL DEL OBTURADOR 1 Posici n de OBTURACI N COMPLETA 2 Posici n de OBTURACI N PARCIAL 3 Posici n de MARCHA LOS OBJETOS QUE SALEN...

Page 41: ...j a de encendido Buj a Champion RDJ7J o equivalente Lubricaci n Mezcla de aceite combustible Proporci n de aceite combustible 40 1 Capacidad del tanque de combustible 10 onzas 296 ml Peso aproximado d...

Page 42: ...dad sin el protector del cabezal de corte colocado Fig 1 Soporte de montaje Protector del cabezal de corte Ranura Fig 2 Arandela Perno cuadrado Tuerca de mariposa Protector del cabezal de corte Soport...

Page 43: ...n Fig 5 3 Al tiempo que sujeta firmemente la caja del eje superior saque el accesorio del acoplador Fig 6 El Sistema EZ Link El sistema EZ Link permite usar estos accesorios opcionales Bordeadora Cul...

Page 44: ...r aire y m zclelo con un aditivo como el estabilizador de gasolina STA BIL o un equivalente Eche 0 8 onzas 23 ml de aditivo por gal n de combustible seg n las instrucciones del recipiente No eche NUNC...

Page 45: ...ntrol del regulador Tire de la cuerda de arranque unas 3 a 5 veces con movimiento regulado y firme para arrancar el motor 9 Siga apretando el control del regulador Deje que el motor se caliente de 30...

Page 46: ...a mano izquierda Mantenga el brazo izquierdo recto Sujete la unidad a la altura de la cintura Sostenga el cabezal de corte paralelo al suelo de modo que haga contacto con la hierba f cilmente sin nece...

Page 47: ...lte Mantenimiento del filtro de aire Cada 25 horas Comprobar el estado y abertura de la buj a Consulte Mantenimiento de la buj a CAMBIAR LA L NEA DE CORTE Use solo la l nea de corte indicada en la sec...

Page 48: ...damente 6 pulgadas 150 mm 2 Usando uno de los extremos separados inserte una de las l neas en el agujero superior y la otra en el agujero inferior del carrete interior Fig 18A 3 Enrolle la l nea firme...

Page 49: ...mente la unidad Los ajustes del carburador debe hacerlos un distribuidor de servicio autorizado Si despu s de comprobar el combustible y limpiar el filtro de aire el motor a n no trabaja en vac o ajus...

Page 50: ...pl cela con una pieza de repuesto 753 06193 Champion RDJ7J o una buj a equivalente 4 Use un calibrador de hoja para ajustar abertura de la buj a a 0 025 pulgadas 0 635 mm Fig 22 5 Instale la buj a en...

Page 51: ...a largo plazo 1 Qu tele la tapa al tanque de combustible incline la unidad y vac e el combustible en un contenedor aprobado 2 Arranque el motor y d jelo funcionar hasta que se cale Con esto se asegura...

Page 52: ...est viejo tiene m s de 30 d as y o mal mezclado Vac e el tanque de combustible y eche combustible nuevo bien mezclado La buj a est corro da Reemplace la buj a LOCALIZACI N Y SOLUCI N DE PROBLEMAS El c...

Page 53: ...53 NOTAS...

Page 54: ...54 NOTAS...

Page 55: ...55 NOTAS...

Page 56: ...distribuci n para exportaci n autorizados por Remington Remington se reserva el derecho a cambiar o mejorar el dise o de cualquier producto Remington sin adoptar ninguna obligaci n para modificar cual...

Reviews: