12
Motor—
The CABKING-6V3 comes with a 1/4 HP, single phase, 1800RPM,
110/115Volt, 60 HZ, ball bearing, AC motor. The motor is totally enclosed and non
ventilated, which means it is sealed to protect itself from dust, water and other particu-
lates. However, since it is enclosed it will become very hot, so follow the safety guide-
lines and avoid touching the motor. The motor warranty is 1 year free of material de-
fects from the date of purchase.
Drip Pans
—The two drip pans are kept in place with two prongs that fit into the base
board.
They are not dishwasher safe
. It is best to drain all the water from the pans
after usage. The drip pan also comes with four metal splash guards to reduce the
amount of splash. It is best to drain the pans fully after using the machine. If you no-
tice standing water in the pans check to make sure the drainage tubing is sufficiently
angled downward and the pan drainage hole is clear.
Hoods
—These are made from aluminum to offer better protection
from stones that may catch on the wheels. The hoods can be
taken off by removing the side panels and then disconnecting the
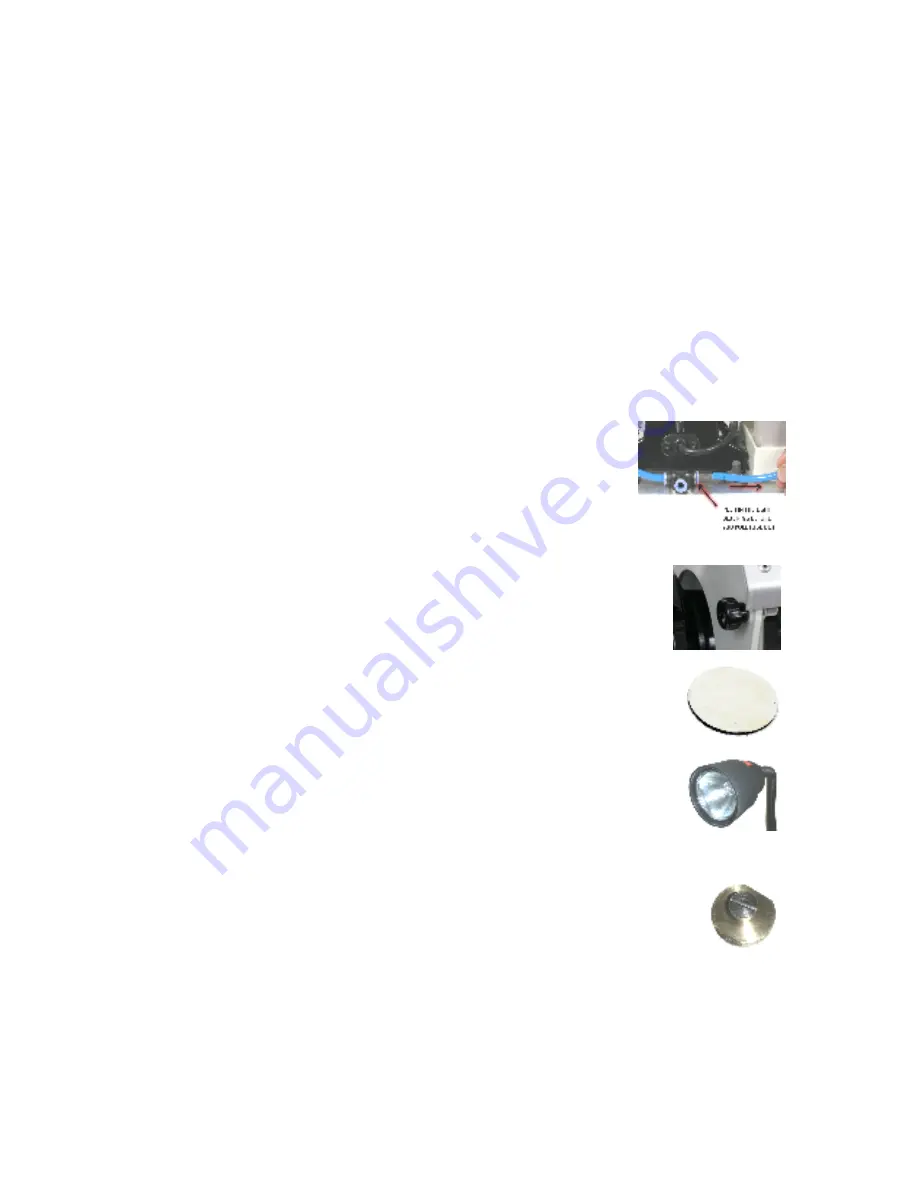
intake tubes from the T-Junction (FIG. P) This can be a little tricky,
so make sure to push in on the light blue ring before pulling out the
tube. Then lift up out of the drip pans. Make sure to reconnect the
intake tube after putting the hoods back on.
Guards
—The CABKING-6V3 comes with two clear, adjustable splash
guards attached to the hoods. These splash guards can be tightened
using the side knob on the hood (FIG. Q). You can also remove the
splash guards for manual cleaning by loosening the knobs and removing
the rod that goes through the guard.
Polishing Pad
—The canvas polishing pad (FIG. R) is attached to the end
of the right shaft. It can be removed by turning counter-clockwise. This
pad should only be used for one grit of diamond compound.
Light
— The flex stem light (FIG. S) is connected to the motor, so to be
safe, unplug the motor before attempting to switch the bulb. The bulb is
replaced by pulling off the plastic ring that surrounds the glass lens. Then
pulling out the bulb out and replace with one from your dealer.
Lap Adapter
—This is located at the end of the left wheel assembly. You
can use this to add a 1/2” arbor diamond lap to the end of the left wheel as-
sembly. To remove the slotted bolt (FIG. T), use a flat head screwdriver (not
included) and twist counter-clockwise.
FIG. R
FIG. T
FIG. Q
FIG. S
FIG. P
Summary of Contents for Cabking-6v3
Page 1: ...INSTRUCTION MANUAL ...
Page 16: ...16 ...


