WARNING: Ensure all bolts are re-tightened properly
•Note: The anvil sharpness & positioning are critical to the performance of the chipper.
•Do not attempt to service or repair the machine or engine if you are not competent to do
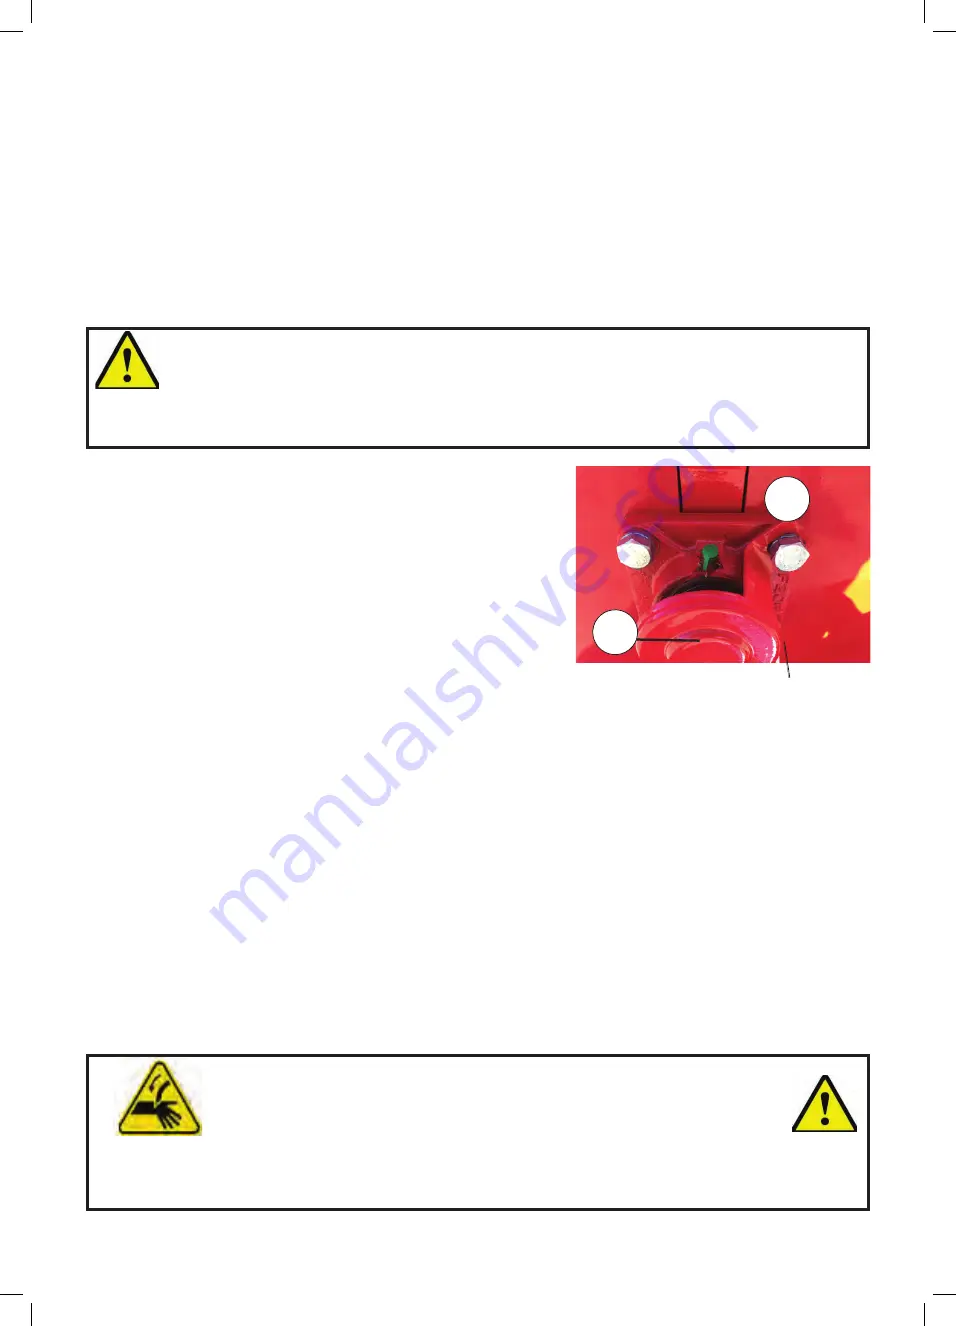
Blade Shaft Lubrication
The shaft bearing housing (C) on either side of the machine
features a grease nipple (D). A grease gun and grease are
required to lubricate the shaft bearings. Normal automotive
wheel bearing grease is suitable.
To lubricate the shaft bearings:
1. Attach the grease gun hose to the grease nipple
2. Inject one squeeze of grease.
3. Always lubricate both shaft bearings.
Sharpening the blades
1. Maintain the sharp edge by taking the "burrs" off the edge with a file. This is done with the blade
still on the drum and should be done after every session of chipping.
2. The blades should be sharpened on a surface grinder. Use plenty of coolant while grinding to
avoid softening the material. Do not change the angle of the cutting blade, changeing the angle
will result in poor chipper performance. The optimal angle for the blade to be sharpened is 27.5°
(degrees). Maintain the sharp edge of the blade by taking the imperfections off the edge with a file,
This is done with the blades still on the drum. This should be done with every session of chipping.
Warning: Ensure all bolts are re-tightened properly.
Note: The cutting angle is critical to the performance of the chipper. We recommend that you
contact your place of purchase to arrange a professional re-sharpening of the blade.
WARNING:
Use extreme caution when clearing jammed materials from the chipper. The blade drum
can rotate unexpectedly and cause severe injury to hands and fingers, if caution is not
exercised when clearing our debris from the blade drum
17
D
C
3. Clean all surfaces and then slide new or sharpened anvil back in.
4. When reinstalling the anvil, the gap (A) between the anvil and the blades at the closest point
should be between 0.6-0.8 mm
5. Tighten anvil bolts once the gap has been set.
Gently turn the blade drum with a spanner to ensure the
blades do not touch the anvil as they pass it.
6. The anvil can be sharpened or replaced when worn.
Anvil adjustment/removal and Installation
Over time the Anvil blade may wear.
1. To remove the Anvil loosen, but do not remove the bolts connecting the anvil to the machine.
2. Gently slide the anvil out.


