background image


DECEMBER 28, 2010 

©2010 RED.COM, INC. 

INSTALLATION VERIFICATION PROCEDURE 

Verify proper operation of the RED ONE 1.8” SSD Module by performing the following: 
1.


Power up the RED ONE. 

2.


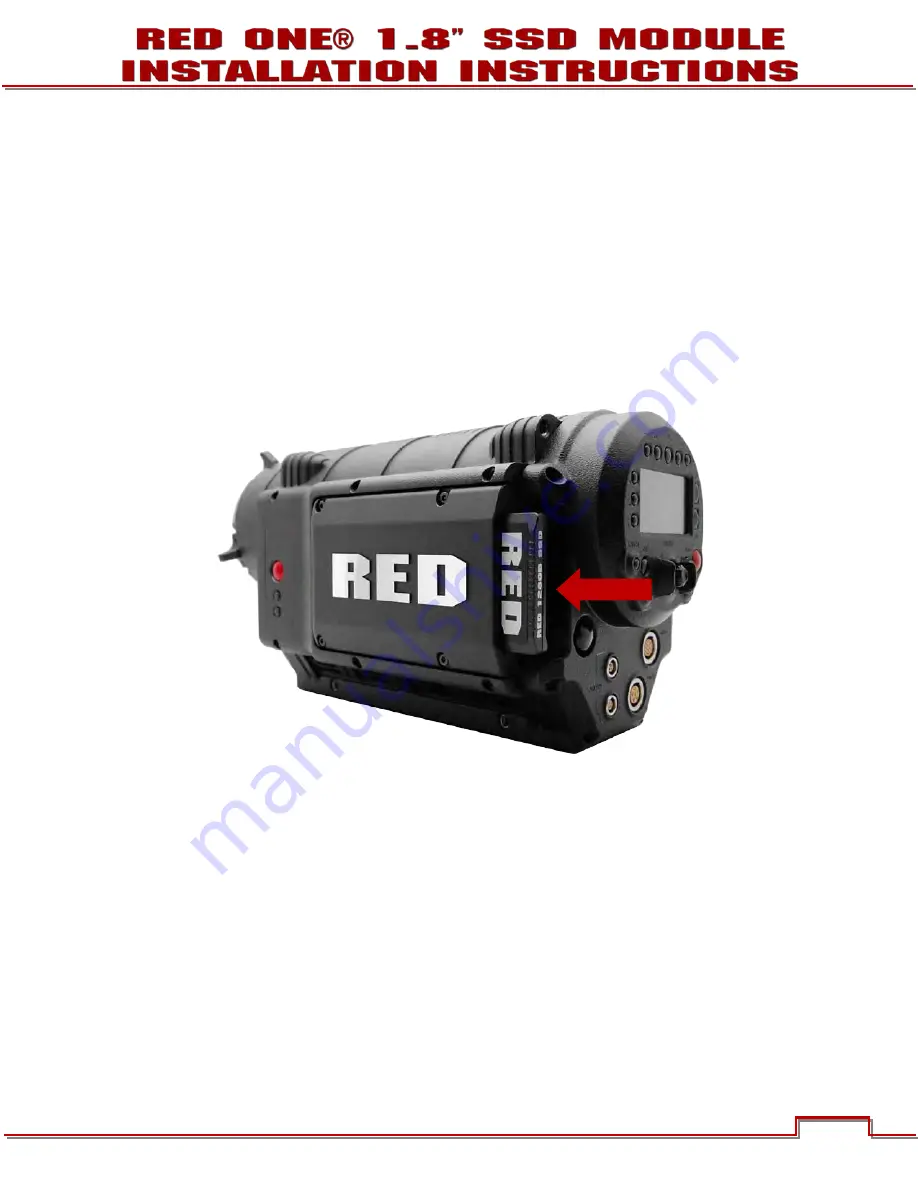
Insert a RED 1.8” SSD MAG into the RED ONE 1.8” SSD Module.  “SLOW MEDIA” displays  on the 

Camera’s LCD and “Unformatted” displays in the lower left corner of the external display(s) until the 
RED 1.8” SSD MAG is formatted. 

o


If the camera does not recognize the SSD and continues to display “NO DIGIMAG” on the Cam-
era’s LCD and “None Attached” in the lower left corner of the external display(s), ensure you are 

using an SSD approved by RED for use with the RED ONE. If the SSD is approved for use by RED, 
recheck the RED ONE 1.8” SSD Module connections. 


3.


Format the RED 1.8” SSD MAG. 

o


Press the SYSTEM button at the rear of the camera. 

o


Navigate to the MEDIA menu. 

o


Select FORMAT. “Disk Unformatted” will display on the Camera’s LCD. 

o


Camera will format the RED 1.8” SSD MAG. 

o


Select OK when complete. 

4.


When format is complete, verify operation by recording a test clip and playing it back using the con-

trols on the camera. 

NOTE: Unmounting the RED 1.8” SSD MAG is the same as unmounting a Compact Flash (CF) card, 
RED-RAID®, RED-DRIVE® and RED-RAM®. 


Summary of Contents for ONE 1.8 SSD Module

Page 1: ......

Page 2: ...THIS PAGE INTENTIONALLY BLANK...

Page 3: ...n FCC Statement 2 Australia and New Zealand Statement 2 Japan Statements 3 European Union Compliance Statements 3 BEFORE YOU START 4 Read First 4 Hardware 4 New Hardware 4 Existing Hardware 4 Tools Re...

Page 4: ...accompanying product are the copyrights trademarks or other intellectual property owned and controlled exclusively by Red com Inc COMPLIANCE INDUSTRIAL CANADA EMISSION COMPLIANCE STATEMENTS This Class...

Page 5: ...product and accompany ing documents means that used electrical and electronic products should not be mixed with general household waste For proper treatment recovery and recycling please take this pr...

Page 6: ...u RED will do so free of charge Please contact your Bombsquad representative for complete details CAUTION RED does not recommend repeating the process of swapping between the SSD and CF modules on a r...

Page 7: ...Using a 2 5mm Allen wrench remove the four 4 CF Module Allen Screws NOTE When removing the Allen screws from the CF module be sure to remove the small lock washers as they may stay in the CF module m...

Page 8: ...NOT pull on the harness or yank on the CF module to disconnect the Serial ATA and e SATA connectors This may damage the harness connectors CF Module and or compo nents inside the RED ONE camera body D...

Page 9: ...n as when connected to the CF Module 2 Place the RED ONE 1 8 SSD Module on the RED ONE camera body CAUTION Ensure the harnesses are not pinched or damaged during installation 3 Install the existing Al...

Page 10: ...2010 RED COM INC DECEMBER 28 2010 8 8 5 Tighten to specification in a diagonal order Tighten Allen Screws to 4 in lbs 0 45 N m 6 The RED ONE 1 8 SSD Module installation is complete 1 2 4 3...

Page 11: ...e Attached in the lower left corner of the external display s ensure you are using an SSD approved by RED for use with the RED ONE If the SSD is approved for use by RED recheck the RED ONE 1 8 SSD Mod...

Page 12: ......

Reviews: