EC9000i Series Scanner User Guide
Setting up your scanner
Inkjet cartridge
To replace the front cover:
Caution:
Before you replace the front cover, make sure the insertion extensions are pulled forward.
Otherwise, you might damage the front cover.
1. Carefully place the front cover over the scanner assembly. Make sure that the cover overlaps the
assembly correctly by lining it up with the metal posts.
2. Gently push the cover down until it snaps into place.
Endorsement printer cover
Remove the endorsement printer cover when you need to clear paper jams, to insert or replace the
endorser inkjet printer cartridge, or to clean the image sensor.
1. Grasp the top of the endorsement printer cover.
2. Gently pull the cover upwards until it detaches from the scanner.
To replace the endorsement printer cover:
1. Carefully place the endorsement printer cover over the scanner assembly; make sure that the
cover overlaps the assembly correctly.
2. Gently push the cover down until it snaps into place.
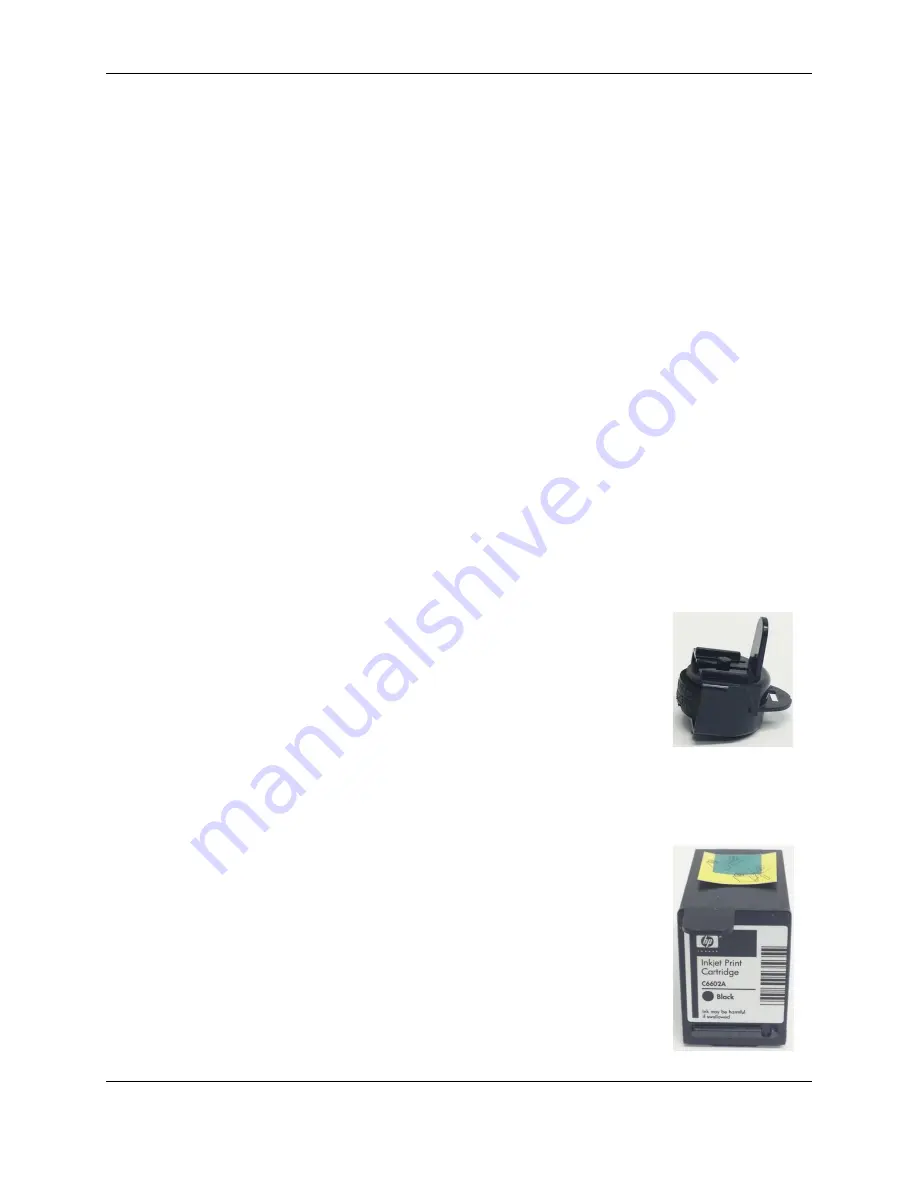
Franker and endorser inkjet cartridges
The franker cartridge creates a red ink stamp that defaces the front of each check
with a message that says “Electronically Presented”. All EC9000i scanners come
with a franker cartridge.
Certain EC9000i scanners are capable of endorsing checks but the cartridges are
not included with scanners. With your scanning application, the endorser inkjet
printer places user-defined text on the rear of the check.
Franker or inkjet cartridges can be purchased by contacting your solution
provider or reseller.
Follow the directions below to insert the cartridges into the scanner unit.
Caution:
•
Ink might be harmful if swallowed.
•
Avoid contact with eyes.
•
Damage to the unit or the cartridge which results from modifying the inkjet
cartridge is not the responsibility of RDM.
•
The inkjet cartridge is not refillable.
•
Inkjet cartridges are not licensed for modifications.
•
RDM may change product designs, features, or specifications at any time.
Franker cartridge
©2014 RDM Corporation
Page 16


