Technical Data
:
Suitable for different kinds of projector
VESA standard: Unlimited
The tle angle can be freely adjusted
The complete set of installa on
screws are included
Maximum loading: 18KGS
Material: SPCC
Color: Black.
Product Height: 135mm
* Note: the projector you are installing may differ in appearance from the sample illustrated below.
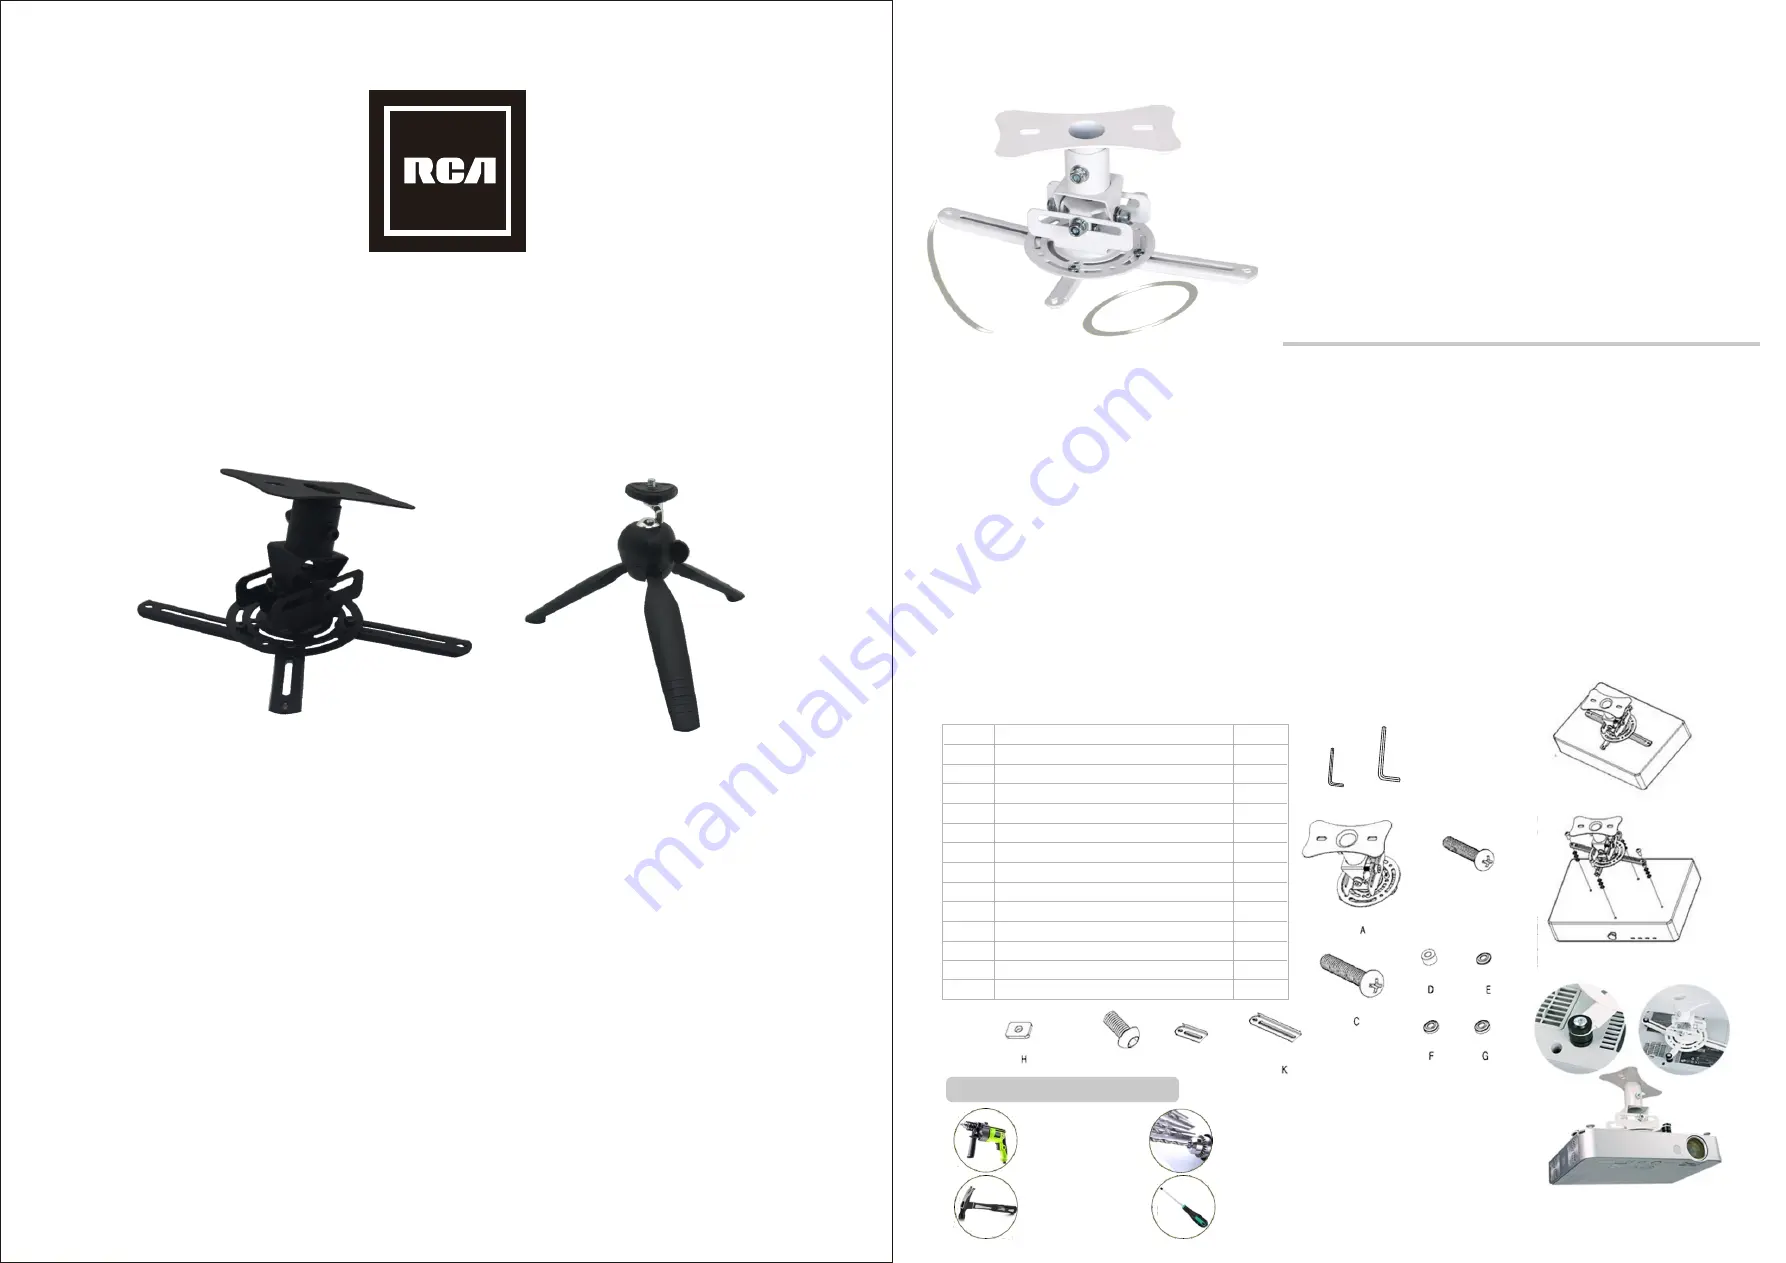
Place projector upside down. Locate Product Assembly (A) with Universal Plate facing forward as
close to projector center of gravity as possible without covering any moun ng holes Loosen
Extension Bracket, and if there are only three moun ng holes remove fourth Extension Bracket.
Using one Extension Bracket for each moun ng hole posi on Extension Bracket,bo om washer
(D) and washers (E, G) over moun ng holes as shown in fig 1
Important: if projector dose not have at least three moun ng holes, do not use this adapter plate
*Note: Some projectors have feet, which can be removed, and the corresponding threaded insert
can be used for a moun ng hole.
*Note: Once Extension Bracket are in posi on re ghten fasteners.
*A ach Product Assembly (A) to projector using one screw (B,C) for each channel as shown in fig2.
Tighten all screws, while keeping the center of gravity. Be sure that Prodect Assembly (A) is
straight. Tighten all screws with Phillips screwdriver, while keeping the center of gravity.
*Note: Projectors will require different size screws for moun ng. Use a suitable screws (B,C) and
Washers (E, F, G) that will result in Extension Bracket of Product Assembly (AA) fi ng ghtly
against projector. Important : In order to properly engage the threads in the moun ng holes,
the screw must be turned at least 3full turns. Cau on: it is the responsibility of the installer to
ensure that the projector is properly ver lated.
Item
Description
Qty.
Parts List
A
B
C
D
E
F
G
H
I
J
K
Product Assembly
Truss Head Screw M4
x
25
Button Head Cap Screw
Truss Head Screw M
6
x
25
Bottom washer
1mm washer
2mm washer
3mm washer
Square Nut
Tighten tool
Tighten tool
Extens on Bracket 1
Extens on Bracket 2
1
4
4
3
4
4
4
4
1
1
2
Fig 1
Fig 2
Installation tools (not included)
Electric drill
8mm-dril
Hammer
Screwdriver
-20
°
/
+20
°
60
°
MODEL
NO
.
RPJM030
UNIVERSAL PROJECTOR CEILING AND TABLE MOUNT
INSTRUTION MANUAL
PLEASE READ BEFORE OPERATING THIS EQUIPMENT
This product is manufactured and sold by Curtis International Ltd.
RCA, the RCA logo, the two dogs (Nipper and Chipper) logo, are registered
trademarks or trademarks of RCA TrademarkManagement and are used
under license by Curtis International Ltd. Any other product, service,
company, trade or product name and logo referenced herein are neither
endorsed nor sponsored by RCA Trademark Management or its affiliates.
For service assistance and product information, please call:
1-800-968-9853
.
Curtis International Ltd.
7045 BECKETT DRIVE, UNIT 15,
MISSISSAUGA, ON, L5S 2A3 www.curtisint.com
A1
4
1
L
L
2
I
J
B
A
Summary of Contents for RPJM030
Page 1: ...尺寸 A3纸 材质 80克书纸黑白印刷 ...


