background image

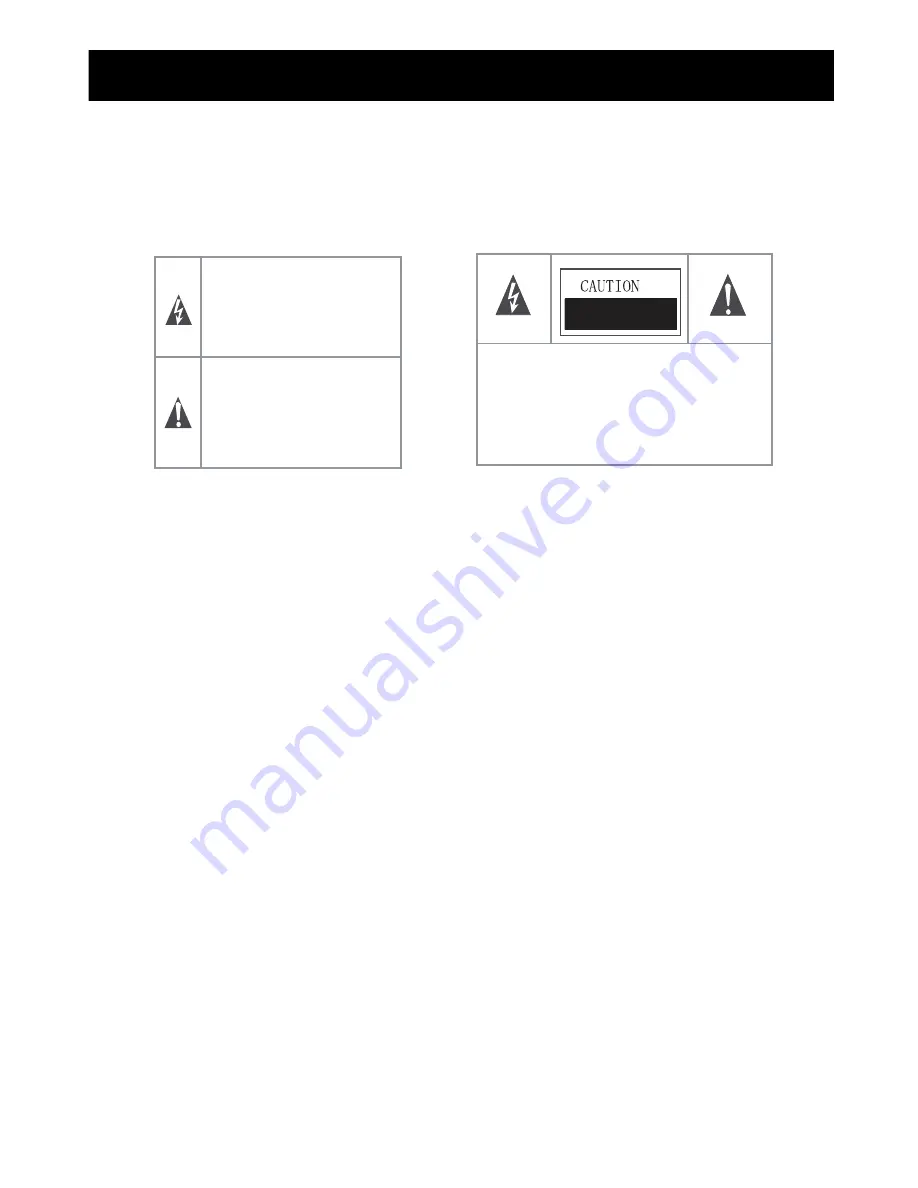
The lightning flash with arrowhead symbol, 
within an equilateral triangle, is intended to 

alert the user to the presence of un-insulated 
“dangerous voltage” within the product’s 

enclosure that may be of sufficient magnitude 
to constitute a risk of electric to persons.

RISK OF ELECTRIC SHOCK 

DO NOT OPEN! 

The exclamation point within an 

equilateral triangle is intended to alert 
the user to the presence of important 

operating and maintenance (servicing) 

instructions in the literature 
accompanying the appliance.

TO REDUCE THE RISK OF AN ELECTRIC 

SHOCK, DO NOT REMOVE THE COVER (OR 

BACK). THERE ARE NO USER SERVICEABLE 

PARTS INSIDE. FOR ANY REQUIRED 

SERVICING, PLEASE CONTACT QUALIFIED 

SERVICE PERSONNEL. 

Important safety instructions

Important safety instructions

CAUTION:   
USE OF ANY CONTROLS, ADJUSTMENTS, OR PROCEDURES OTHER THAN THOSE SPECIFIED HEREIN MAY 
RESULT IN HAZARDOUS RADIATION EXPOSURE. 
CAUTION:   
These servicing instructions are for use by qualified service personnel only. To reduce the risk of electric shock, do 
not perform any servicing other than that contained in the operating instructions unless you are qualified to do so.   
Refer to service manual for servicing instructions. 

1.   Read these instructions 
2.   Keep these instructions 

3.   Heed all warnings 

4.   Follow all instructions 
5.   Do not use this apparatus near water 
6.   Clean only with dry cloth 

7.   Do not block any ventilation openings 

8.   Do not install near any heat sources 
9.   Do not defeat the safety purpose of the polarized or grounding-type plug 

10. Protect the power cord from being damaged particularly at plugs, convenience receptacles, and at 
      points in which they exit from the apparatus. 

11. Only use attachments/accessories specified by the manufacturer. 
12. Use only with cart, stand, tripod, bracket, or table specified by the manufacturer or sold with the 

      apparatus. When a cart is used, use caution when moving the cart/apparatus combination to avoid 
      injury from tip-over. 
13. Unplug this apparatus during lightning storms or when unused for long periods of time. 

Important Safety Precautions

Safeguards

ii

Summary of Contents for ES-J100256

Page 1: ...LED42A55RS LED47A55RS Part No ES J100256 Model Number ...

Page 2: ...accordance with the instructions may cause harmful interference to radio Communications However there is no guarantee that interference will not occur in a particular installation If this equipment does cause harmful interference to radio or television reception which can be determined by turning the equipment off and on the user is encouraged to try to correct the interference by one or more of t...

Page 3: ...for use by qualified service personnel only To reduce the risk of electric shock do not perform any servicing other than that contained in the operating instructions unless you are qualified to do so Refer to service manual for servicing instructions 1 Read these instructions 2 Keep these instructions 3 Heed all warnings 4 Follow all instructions 5 Do not use this apparatus near water 6 Clean only...

Page 4: ...nce receptacles and the point where they exit from the appliance 17 OUTDOOR ANTENNA GROUNDING If an outside antenna or cable system is connected to the TV be sure the antenna or cable system is grounded to provide some protection against voltage surges and built up static charges Section 810 of the National Electrical Code ANSI NFPA NO 70 provides information with respect to proper grounding of th...

Page 5: ...letion of any service or repairs to this TV ask the service technician to perform routine safety checks to determine that the TV is in proper operating condition 28 The apparatus should not be exposed to any dripping or splashing and no objects filled with liquids such as a vase should be placed on the apparatus 29 WARNING Plug the power cord into a power outlet where access to the power cord conn...

Page 6: ...Important Safety Precautions Safety Strap v ...

Page 7: ...nnect to other devices 5 Using the Remote Control Installing the remote control batteries Learning about the Remote Control Panel Quick starts 6 Changing the TV Settings Using the Menu Using the Video Menu Using the Audio Menu Using the Setup menu Using the Parental menu 7 Appendix Trouble shooting Specifications Safety Strap 6 7 7 7 8 10 Wall mount 11 12 15 15 16 17 19 19 20 2 2 2 2 ii ii V i 6 ...

Page 8: ...sonal injury Manufacturer is not liable for product damage or personal injury when a non VESA or non specified wall mount is used or the consumer fails to follow the product installation instructions Do not exceed 15 degrees tilt when mounting this TV Installing the Stand 1 Lay a cloth or another soft material on a flat surface to avoid damage to the LCD screen 2 Put the TV back upward and the LCD...

Page 9: ...Setting Up Wall mount 8 Unit Dimension Unit mm Screw Diameter Screw Length Unit mm LED42A55RS 200 200 M6 25 M6 25 200 200 LED47A55RS ...

Page 10: ...Leave at least this much space around the set Never install the TV set as follows Air circulation is blocked Leave at least this much space around the set Inadequate air circulation can lead to overheating of the TV and may cause damage to your TV or cause a fire wall Instand with stand Install on the wall 4 inches 10cm 4 inches 10cm 4 inches 10cm 12 inches 30cm 2 375 inches 6cm 4 inches 10cm 12 i...

Page 11: ...Blue The light is off when TV is turned on Note Touch the silk print area according to the need the TV will response correctly Model Number LED42A55RS LED4755ARS Setting Up TV Front 10 ...

Page 12: ...ure above is for reference only 1 T N E N O P M O C A 1 V L R Y L R 5 7 Ω T N A B P R P A G V 2 I M D H 3 I M D H O I D U A 1 I M D H O E D I V T U O COAXIAL SERVICE HDMI 4 R PB L R P Y COMPONENT2 VIDEO AV2 The cable tie is only used for the power cord Setting Up TV Rear 11 ...

Page 13: ...be used to eliminate the interference caused by the mismatched impedance The antenna cable should not be bound together with the power cord When using the cable TV please insert the plug of the coaxial cable 75 Ω directly into the antenna outlet 2 Connect to AV devices Connect a Video RCA cable to an appropriate external A V device such as a VCR DVD or Camcorder Connect RCA audio cables to R AUDIO...

Page 14: ...ponent devices DVD DVR digital video recorder Blu Ray are sometimes labeled Y B Y and R Y or Y CB and CR Colors for inputs and cables must correspond on both devices Red White Red Audio R Audio L PR CR Blue PB CB Green Y DVD With Component jacks 4 Connect to devices with HDMI interface HDMI High Definition Multimedia Interface HDMI transmits an all digital signal and is the recommended choice for ...

Page 15: ...de of your set and the other end to Audio Out of the sound card on your computer Note For some sets PC AUDIO share with component 6 Connect to headphone Connect the headphone jack of the TV set The volume of the headphone is automatically adjusted with the main volume of the TV set A G N I O V I D U A Computer E N O H P D A E H Headphone Setting Up Connect to other devices 14 ...

Page 16: ...ve depleted batteries immediately to prevent battery acid from leaking into the battery compartment 4 If you do not intend to use the remote control for a long time remove the batteries 5 The effective range of remote control is suggested below Remote control range 1 The remote control distance 8 meters 26 2 feet in front of the TV set 2 The remote control angle taking the television infrared ligh...

Page 17: ...rn to the previous menu Up Down Left Right operation 16 MTS SAP 17 ASPECT Select screen mode 18 CCD Closed caption decoder function 19 GUIDE ATSC tuners feature the Electronic Program Guide EPG function 20 Sleep Set the sleep timer 21 TIME Display the current timer 22 Electronic Program Guide EPG function After pressing the GUIDE button in the digital TV channel option the 4 same color buttons wil...

Page 18: ...t the channels If you want to choose any of the skipped channels press the number directly Use Mute button Press the Mute button to mute the sound Press the Mute button again to resume the sound Select picture modes Press the PICTURE button to select the picture mode from four options Standard Cinema User or Vivid You can adjust the picture mode based upon your personal preference Select sound mod...

Page 19: ... when viewing a DTV or TV channel Note Set the default Closed Caption setting for all channels in the Menu For ATV the options are CC1 CC2 CC3 CC4 TEXT1 TEXT2 TEXT3 TEXT4 or Off For DTV the options are from Service1 to Service6 or Off Use MTS SAP button Press the MTS SAP button to change the sound mode Mono Stereo SAP This button will select the MTS options of Stereo SAP or Mono in TV mode alterna...

Page 20: ...Changing the TV Settings Using the TV Menu 19 ...

Page 21: ...Changing the TV Settings Using the Video Menu 20 ...

Page 22: ...RCA Changing the TV Settings Using the Audio Menu 21 ...

Page 23: ...Changing the TV Settings Using the Audio Menu Note 22 ...

Page 24: ...Changing the TV Settings Using the Setup Menu 23 ...

Page 25: ...Changing the TV Settings Using the Setup Menu 24 ...

Page 26: ...Changing the TV Settings Using the Setup Menu 25 ...

Page 27: ...Changing the TV Settings Using the Parental Menu 26 ...

Page 28: ...Changing the TV Settings Using the Parental Menu 27 ...

Page 29: ...Changing the TV Settings Using the parental Menu 28 ...

Page 30: ...Trouble shooting Appendix 29 ...

Page 31: ...tal Terrestrial Broadcast 8VSB 2 69 Digital Cable 64 256 QAM 1 135 W 480I 60Hz 480P 60Hz 720P 60Hz 1080I 60Hz 640X480 60Hz 800X600 60Hz 1024X768 60Hz 480I 60Hz 480P 60Hz 720P 60Hz 1080I 60Hz 1080P 60Hz 640X480 60Hz 800X600 60Hz 1024X768 60Hz M6X25mm 4 pcs 00mm X 200mm M6X25mm 4 pcs 00mm X 00mm 40 6 11 5 2 1 44 2 lbs 45 11 2 30 7 56 1 lbs Humidity 20 80 RH Atmospheric pressure 86kPa 106kPa Remote c...

Page 32: ......

Reviews: