


Other Information
Chapter 6
93
VH83 A/V Cable
Used to attach the camcorder to an external
component like a TV or VCR.
Cautions:
•
Before using a tripod, make sure it is stable
enough to hold the camcorder without
falling over. Do not transport the
camcorder attached to the tripod.
•
When attaching your camcorder to a
tripod, be careful not to force the tripod
screw into the camcorder’s tripod
mounting hole.
•
The tripod screw should not protrude into
the camcorder more than approximately
three-eighths (3/8) of an inch. Forcing the
screw could damage the mounting hole on
the bottom of the camcorder.
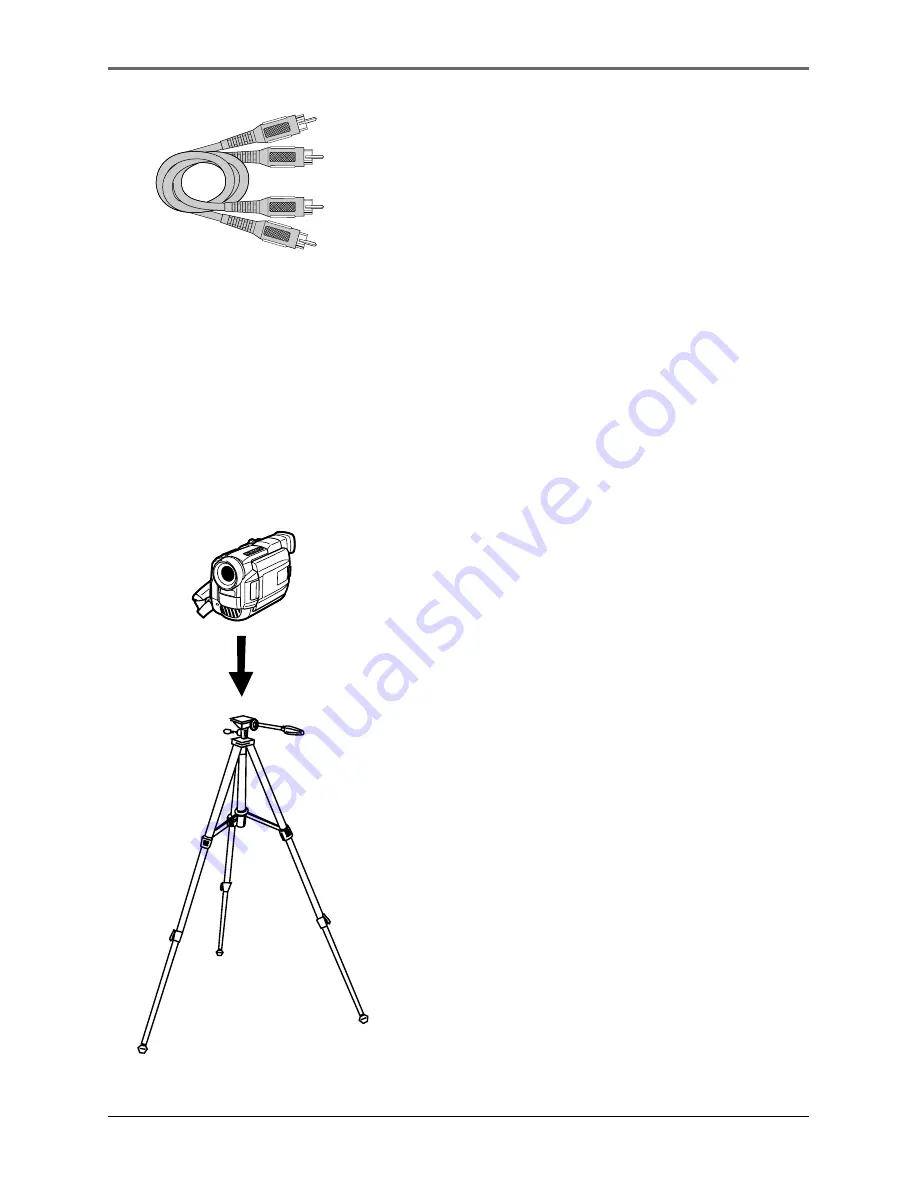
Using the Optional AC088 Tripod
Mounting the camcorder on a tripod, such as AC088, keeps the camcorder steady and
produces excellent video results.
This tripod’s fluid-effect head provides smooth camera pan and tilt. The quick-release
mount makes it easy to attach or remove the camcorder. The grooved, tubular 3-section
leg design folds down to 26" when not in use. Rubber feet allow for sure footing.
To order accessories, contact your local Dealer.


