background image

1.  Read these instructions. 
2.   Keep these instructions. 
3.   Heed all warnings. 
4.   Follow all instructions. 
5.   Do not use this apparatus near water.
6.   Clean only with a dry cloth. 
7.   Do  not  block  any  of  the  ventilation  openings.  Install  in  accordance  with  the  manufacturer’s 

instructions.

8.   Do not install near any heat sources such as radiators, heat registers, stoves, or other apparatus (including 

amplifiers) that produce heat.

9.  Do not defeat the safety purpose of the polarized or grounding - type plug. A polarized plug has two 

blades with one wider than the other. A grounding type plug has two blades and a third grounding 
prong. The wide blade or the third prong is provided for your safety. If the provided plug does not fit 
into your wall outlet, consult an electrician for replacement of the obsolete outlet.

10.  Protect the power cord from being walked on or pinched particularly at plugs, convenience receptacles, 

and the point where they exit from the apparatus.

11.  Only use attachments/accessories specified by the manufacturer.
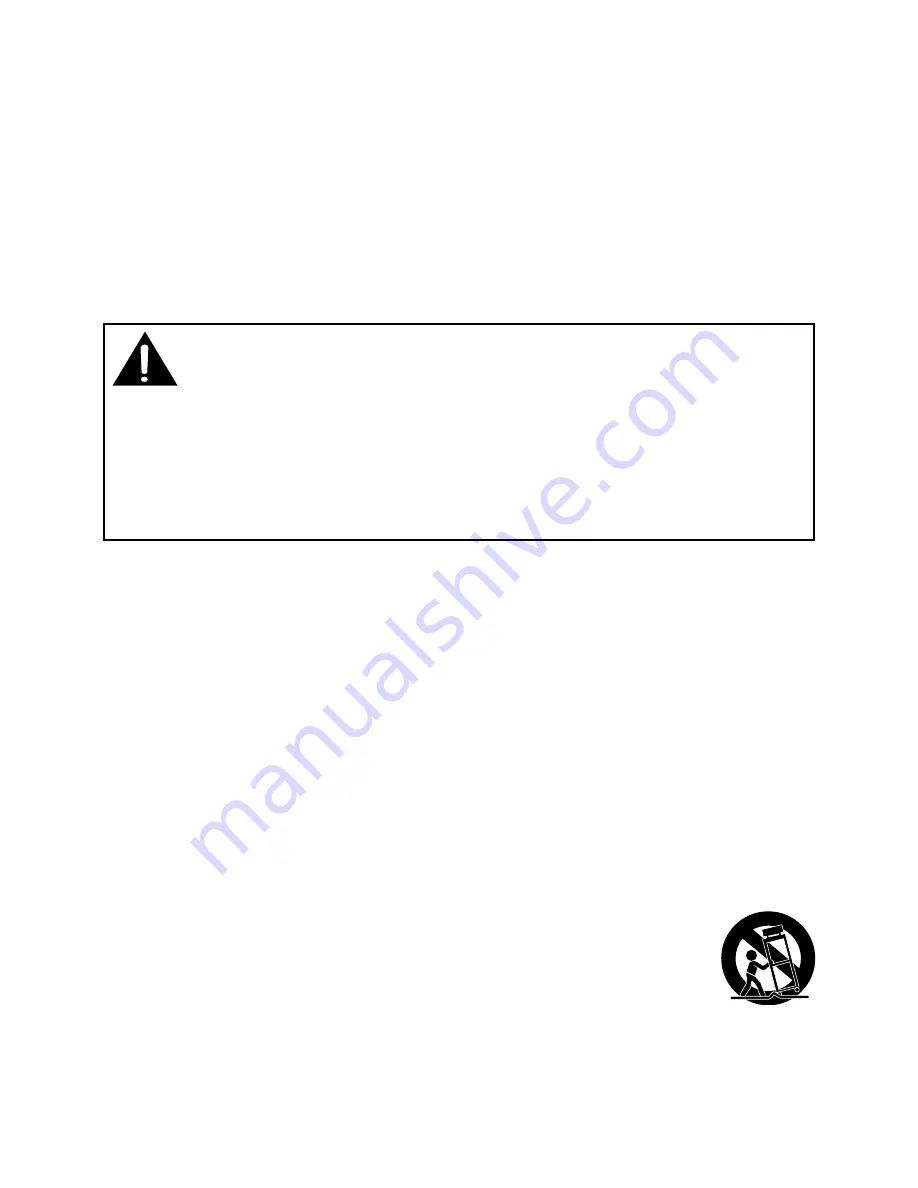
12.  Use only with a cart, stand, tripod, bracket, or table specified by the manufacturer, 

or sold with the apparatus. When a cart is used, use caution when moving the cart/
apparatus combination to avoid injury from tip-over.

13.  Unplug this apparatus during lightning storms or when unused for long periods of 

time.

14.  Refer  all  servicing  to  qualified  service  personnel.  Servicing  is  required  when  the  apparatus  has  been 

damaged in any way, such as the power-supply cord or plug is damaged, liquid has spilled or objects 
have fallen into the apparatus, the apparatus has been exposed to rain or moisture, does not operate 
normally, or has been dropped.

•  THE APPARATUS SHALL NOT BE EXPOSED TO DRIPPING OR SPLASHING AND THAT NO 

OBJECTS FILLED WITH LIQUIDS, SUCH AS VASES, SHALL BE PLACED ON APPARATUS.

•  TO  PREVENT  FIRE  OR  SHOCK  HAZARD,  DO  NOT  EXPOSE  THIS  UNIT  TO  RAIN  OR 

MOISTURE. DO NOT PLACE OBJECTS FILLED WITH LIQUIDS ON OR NEAR THIS UNIT.

•  SHOULD ANY TROUBLE OCCUR, DISCONNECT THE AC POWER ADAPTER AND REFER 

SERVICING TO A QUALIFIED TECHNICIAN.

•  AC/DC ADAPTER IS USED AS DISCONNECT DEVICE. TO BE COMPLETELY DISCONNECTED 

FROM THE POWER INPUT, THE  UNIT'S AC ADAPTER SHOULD BE DISCONNECTED FROM 
THE WALL OUTLET. THE AC ADAPTER SHOULD NOT BE OBSTRUCTED AND SHOULD BE 
EASILY ACCESSIBLE DURING INTENDED USED.

Important Safety Instructions

Warning:    Changes  or  modifications  to  this  unit  not  expressly  approved  by  the  party  responsible  for 
compliance could void the user’s authority to operate the equipment.

Notes on Copyright

It  is  forbidden  by  law  to  copy,  broadcast,  show,  broadcast  on  cable,  play  in  public,  or  rent  copyrighted 
material without permission.
This item incorporates copy protection technology that is protected by U.S. patents and other intellectual 
property rights of Rovi Corporation. Reverse engineering and disassembly are prohibited.

THIS CLASS B DIGITAL APPARATUS COMPLIES WITH CANADIAN ICES-003.

Summary of Contents for BRC3108

Page 1: ...s constantly changing and improving To ensure you re getting the best performance from your product please visit our website to download the latest operating software for it Simply go to www RCAav com click on your product s link and you ll get the latest operating software Just follow the online instructions and you ll have your product upgraded in minutes ...

Page 2: ...hted candles should be placed on the AC power adapter and the unit Leave a minimum of 10cm around the apparatus for ventilation Attention should be drawn to the environmental aspects of battery disposal Use of apparatus in moderate climates On Condensation When left in a heated room where it is warm and damp water droplets or condensation may form inside the unit When there is condensation inside ...

Page 3: ...ing to qualified service personnel Servicing is required when the apparatus has been damaged in any way such as the power supply cord or plug is damaged liquid has spilled or objects have fallen into the apparatus the apparatus has been exposed to rain or moisture does not operate normally or has been dropped THE APPARATUS SHALL NOT BE EXPOSED TO DRIPPING OR SPLASHING AND THAT NO OBJECTS FILLED WI...

Page 4: ... a Blu ray Disc or DVD 11 Pausing Playback still mode 11 Stopping Playback 11 Skipping to a different track 11 Fast Forward Fast Reverse 11 Audio Selection 12 Subtitle Selection 12 Angle Selection 12 Using the PiP Picture in picture mode 13 Using a Disc Pop Up Menu 13 Displaying Blu ray Disc Information 13 Using the Picture Menu 13 Locating a Desired Section 14 Locating a specific chapter 14 Locat...

Page 5: ...ny of the following marks Titles Chapters and Tracks Blu ray Discs and DVDs are divided into titles and chapters If the disc has more than one movie on it each movie would be a separate title Chapters are sections of titles Audio CDs are divided into tracks A track is usually one song on an Audio CD Note Numbers identify each title chapter and track on a disc Most discs have these numbers recorded...

Page 6: ... need to replace the batteries Note If the remote control is not going to be used for a long time remove the batteries to avoid damage caused by battery leakage corrosion When discarding batteries environmental problems must be considered and local rules or laws governing the disposal of these batteries must be strictly followed Do not mix old and new batteries Do not mix ALKALINE standard CARBON ...

Page 7: ...ges programmed on a Blu ray Disc or DVD 13 PiP Button Press to turn PiP picture in picture mode on or off This function is only available on certain Blu ray Discs 14 INFO Button Accesses the info menu 15 A B REPEAT Button Press to perform point to point repeat playback on a DVD or CD 16 Button Press to turn on the unit or put it in standby mode 17 GOTO Button Press to skip directly to a specific l...

Page 8: ... Button Starts or resumes playback of a disc 8 USB Port 9 Indicator When charging with the AC power adapter switch the CHARGE OFF ON switch to CHARGE position the light will illuminate Indicator When the CHARGE OFF ON switch is in ON position you can use the remote control to put the product in STANDBY mode This light will illuminate when product is in STANDBY mode Remote Sensor Receives the remot...

Page 9: ...ry or death Check your local traffic laws for rules governing the use of video devices in vehicles IMPORTANT This car adapter is for use with 12 volt batteries only WARNING Disconnect this car power adapter when not in use Not for use in 24V vehicles B Using the AC power Adapter The included AC power adapter operates on AC between 100V 240V It is suitable for use on AC mains supplies of 100 240 Vo...

Page 10: ...tery charge at indoor temperature C Using the Built in Battery The unit has a built in non replaceable rechargeable battery Charge the built in battery before using it for the first time The normal charging time should be completed within 4 5 hours The green charging light will go out when the built in battery becomes fully charged To Recharge the Built in Battery The built in battery should not b...

Page 11: ...hen you connect the player to your TV be sure to turn off the power and unplug both units from the wall outlet before making any connections HDMI the HDMI logo and High Definition Multimedia Interface are trademarks or registered trademarks of HDMI licensing LLC Connections A Connecting to a TV 1 Using the supplied AV cable If your TV has Audio Video inputs you can connect the player to your TV us...

Page 12: ...k s Router Manual on testing your Home Network s operation C Using USB port You can connect a USB flash drive not included to the USB port on the unit to play picture files For operation of file playback on the USB flash drive please refer to the section Playing Picture Files Note It is recommended that the product is turned OFF when you plug in a USB flash drive It does not support USB hard disk ...

Page 13: ...except to hold a player and accessories 2 The player case is intended for viewing only from the rear seats Do not install or use this product in the front seat of a vehicle 3 To reduce the chance of injury in case of a collision or sudden stop Always keep player strapped securely inside case while vehicle is moving Always keep player case securely attached inside vehicle while the vehicle is movin...

Page 14: ...on it s actually in STANDBY mode you can turn it on by moving the switch to the OFF middle position then back to ON position You can also turn the product from STANDBY to ON using the remote control s button When the CHARGE OFF ON switch is in ON position you can use the remote control to put the product in STANDBY mode The red light on the front of the product will illuminate when the product is ...

Page 15: ...ss the SKIP button to advance titles chapters tracks For an audio CD use the number buttons on the remote control to go directly to the desired track number Zooming into an image While a disc is playing press the ZOOM button to enlarge the image in serveral levels While an image is zoomed you can use the or CURSOR button to shift the view and display the part you want To return to normal view pres...

Page 16: ...es recorded differs depending on the disc If only one language is recorded the language does not change This function can only be used for discs on which subtitles have been recorded in multiple languages Some discs allow you to change subtitles using the disc menu only If this is the case press the MENU button and choose the appropriate subtitle on the disc menu Angle Selection Some discs contain...

Page 17: ...orts picture in picture features Using a Disc Pop Up Menu 1 During Blu ray or DVD playback press POP UP button the Blu ray popup menu or the title menu of DVD disc opens 2 Press the cursor buttons to select an option then press OK button Displaying Disc Information Press INFO button your unit displays information about the Disc such as type of disc current elapsed time in title total number of cha...

Page 18: ...nds 1 Press the GOTO button 2 Press to select Time press the button to highlight time enter the corresponding number buttons 0 9 for the setting point you want then press the OK button to confirm 3 Playback starts from the selected section Note Some discs may not respond to this process Some scenes may not be located as precisely as you specified This method for accessing specific locations is ava...

Page 19: ... the screen The current track is played repeatedly Repeating an entire disc 2 While the disc is playing press the REPEAT DISC button until the indicator displays on the screen The entire disc is played repeatedly To resume normal playback 3 Press the REPEAT DISC button until the indicator displays on the screen Repeating a specific section Blu ray Disc DVD CD You can play a specific section repeat...

Page 20: ...e DVD disc Therefore the playback picture of some discs may not conform to the picture size you select When you play discs recorded in the 4 3 aspect ratio the playback picture will always appear in the 4 3 aspect ratio regardless of the TV TYPE setting Customizing the Function Settings Language Setup 1 In STOP mode press the SETUP button Language is highlighted 2 Use the button to move the highli...

Page 21: ...he button to go back to the previous menu Repeat steps 2 and 3 to adjust other options 5 To exit the SETUP MENU and return to the normal screen press the EXIT or SETUP button Screen Saver To turn on or off the screen saver screen protection to prevent image burn Note When you leave the unit in stop mode for approximately 5 minutes the screen saver of the unit automatically appears if you set the S...

Page 22: ...a cloth that has been dipped in a weak soap and water solution and wrung out thoroughly Then wipe with a dry cloth Never use alcohol benzine thinner cleaning fluid or other chemicals Do NOT use compressed air to remove dust Important Note Before transporting the unit remove any disc from the disc compartment Maintenance Need more help Please visit online help at www RCAav com Note If the CHARGE OF...

Page 23: ...oesn t match the region number of this unit The disc is dirty Gently clean the disc The disc is scratched The plugs and jacks are dirty Wipe them with a cloth slightly moistened with alcohol Clean the disc Make sure that the disc has the correct region code There is no disc inside the unit No Disc appears on the screen Insert the disc correctly with the graphics facing up Clean the disc A non NTSC...

Page 24: ...caused by misuse accident improper operation or maintenance or use in violation of instructions provided with the product or to product which has been altered or modified without authorization of AVC or to products or parts thereof which have had the serial number removed or changed Out of Warranty In the event your product requires repair after the limited warranty period has expired please conta...

Reviews: