


Page 8 of 15
ABS:
Use coarse (80 grit) sandpaper to slightly roughen the bottom of the motor mount.
It is often wise to drive several 1/8” diameter holes in the bottom of the mount, as the
plastic for this does not always bond well to the glue. Slightly roughen the interior of the
hull with some 240 grit paper. Use either an epoxy such as JB Weld (preferred) or thick
CA to secure the motor mount into the hull, using the lines of Area B as a positioning
guide.
ALL:
It is best that the motor mount be set to be parallel to the driveshaft. If you are
using an offset stuffing box, you should keep this in mind as the Area B lines are not
parallel to the driveshaft.
7)
FIBERGLASS:
While the epoxy cures (allow 1 hour for 30- minute epoxy, just to be
more sure), sand the wing and fin surfaces smooth with 220 grit or finer paper. It is
recommended that you work on the wing parts as you have time during the remainder of
the assembly. The recommended method for finishing the wood surfaces is to use a
good-quality sanding sealer and balsa filler such as those in the Aero Gloss brand line
from Pactra, lightly wet sanding with 400 grit paper between coats.
While the JB Weld cures (allow extra time, just to be more sure), sand the vertical fin
surfaces smooth with 220 grit or finer paper. It is recommended that you work on the
wing parts as you have time during the remainder of the assembly. The recommended
method for finishing the wood surfaces is to use a good-quality sanding sealer and balsa
filler such as those in the Aero Gloss brand line from Pactra, lightly wet sanding with 400
grit paper between coats.
8)
FIBERGLASS: READ STEP 9 NOTE BEFORE CUTTING!
After the glue from
Step 6 is cured, use a motor tool with a cutoff wheel to cut the Area A out of the hull.
You may wish to round the ends of the cut in order to allow them to more closely match
Area B
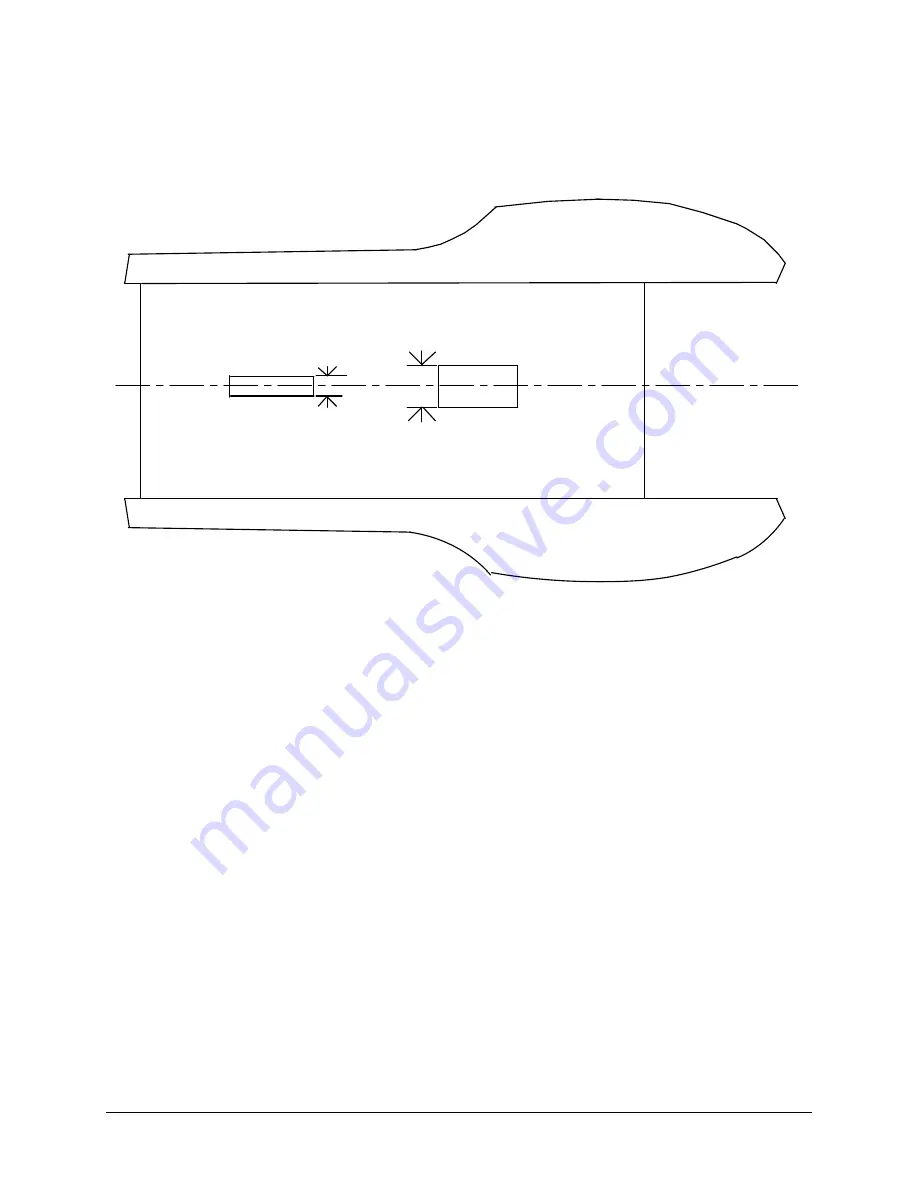
Area A
3/8"
1 1/4"


