Compact 4ch H.264 Network DVR-MU.Ver1.1
18
13.
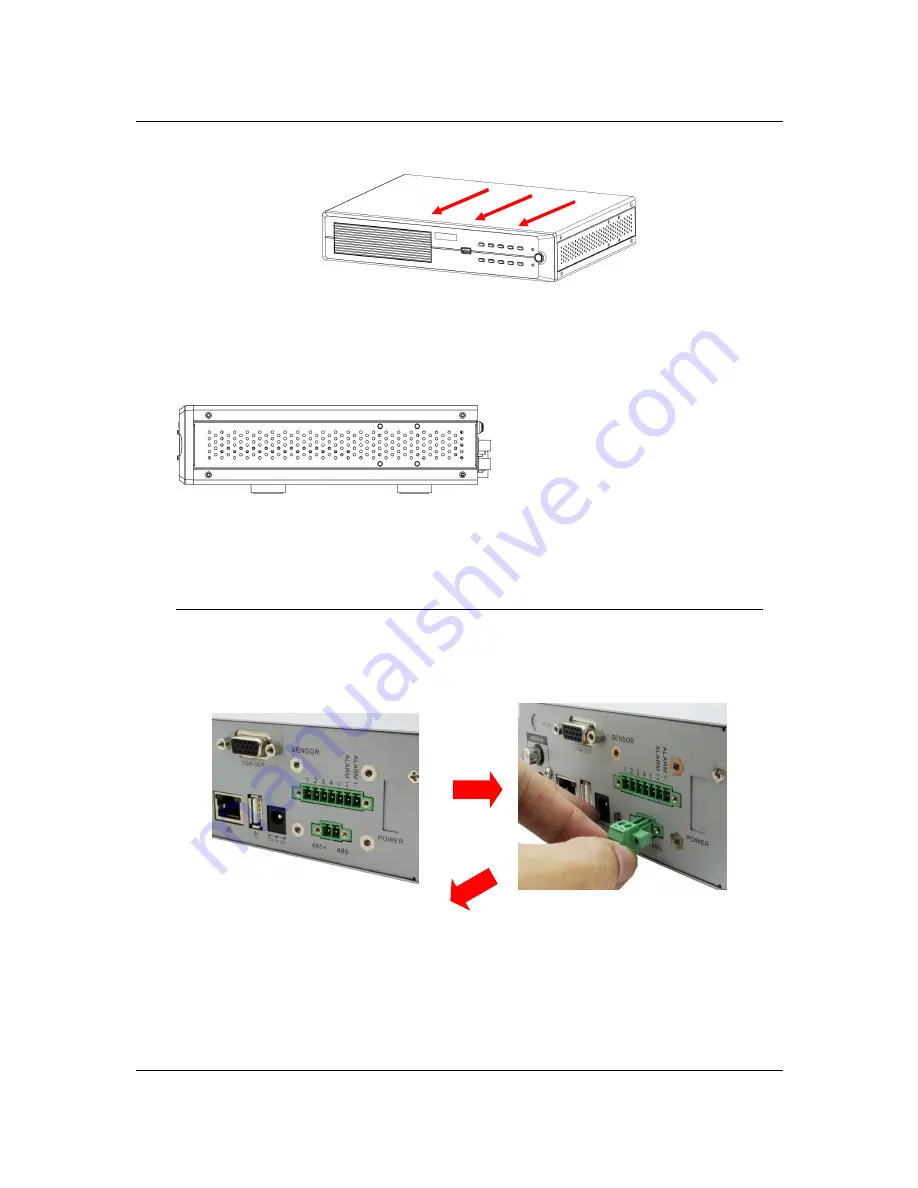
Put the top cover back by slide and slightly forwards.
14.
Fix the top cover by four screws on either side.
The DVR can automatically detect the video format (either NTSC or PAL) after the
cameras have been properly installed and the DVR has been powered on.
Please refer the section “Hardware Setup” to setup the NTSC/PAL auto detection.
2.2 Sensor and RS485 Connector Installation
8 Channel DVR
The 4/8-channel DVR follows the same way to install the Sensor and RS485
connectors.
Please refer to the following procedures:
Top Cover
Summary of Contents for 8-Channel
Page 2: ...4 8 16Ch H 264 Network DVR Series MU Ver2 0 ii...
Page 8: ...4 8 16Ch H 264 Network DVR Series MU Ver2 0 viii...
Page 14: ...Compact 8 16Ch H 264 Network DVR Series MU Ver1 1...
Page 15: ...Compact 4Ch H 264 Network DVR MU Ver1 1 1 Chapter 1 1 Overview...
Page 21: ...Compact 4Ch H 264 Network DVR MU Ver1 1 7 1 3 Remote Control...
Page 23: ...Compact 4Ch H 264 Network DVR MU Ver1 1 9 Chapter 2 2 Installation...
Page 36: ...22 Chapter 3 3 Getting Started...
Page 92: ...78 Chapter 4 4 Playback and Data Backup...
Page 101: ...Compact 4Ch H 264 Network DVR MU Ver1 1 87 Chapter 5 5 System Information...
Page 105: ...Compact 4Ch H 264 Network DVR MU Ver1 1 91 Chapter 6 6 LAN Online Viewing Setup...
Page 115: ...101 Chapter 7 7 PC Viewer Web Browser Viewer...
Page 143: ...Chapter 8 8 SecuViewer...


