


10
MODEM
RayTemp
RJ11 to 9-pin
Connector
Active Phone Line
From Wall
Using the Front Panel to
Check Sensors and Relays
The RayTemp front panel features an alphanumeric
LCD display of four rows by 20 characters. Six keys
are provided to select screens, fields, and make pro-
gram changes. The up-arrow and down-arrow
"WINDOW" keys are used to step thru each of the
screens. The down-arrow screen selects the next
screen while the up-arrow key selects the previous
screen.
The left-arrow and right-arrow "FIELD" keys move a
flashing cursor to select different sections within a
screen. The plus and minus "VALUE" keys are used to
make changes to a selected field or numeric value.
Plus increases the selected number or selects the next
option. Minus decreases the selected number or
selects the previous option.
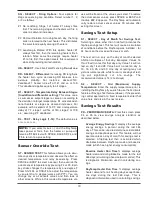
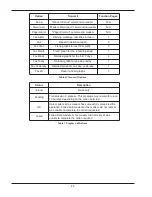
Using the down-“WINDOW” key select the “SEN-
SORS” screen and verify that each temperature
sensor is measuring the correct value. It’s best to use
a reliable temperature reading device, like a surface
thermocouple or a digital infrared thermometer.
Thermostats and mercury thermometers are frequent-
ly inaccurate. If the readings disagree by more than
two degrees there may be a problem with how the sen-
sor is attached. Also check for correct wiring at the
terminal block.
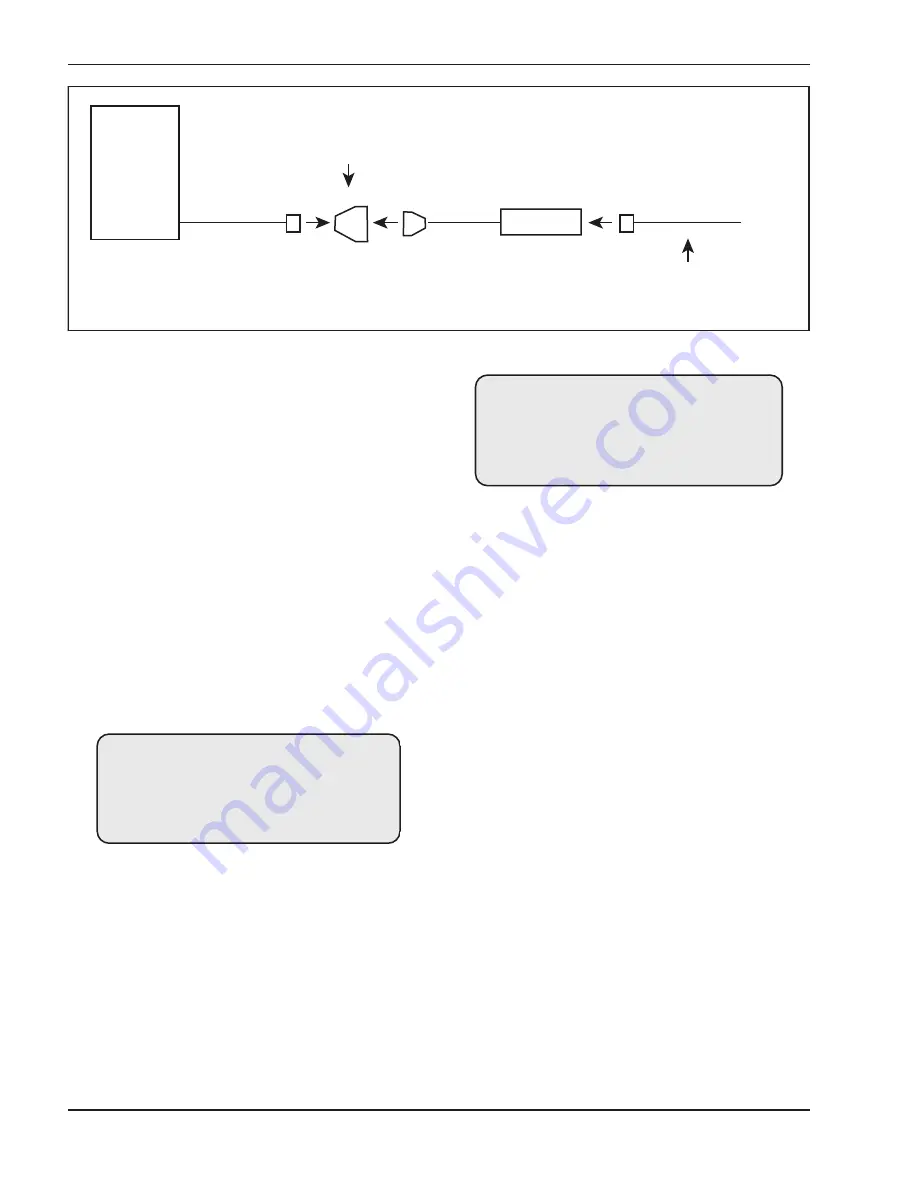
Next select the “RELAY STATUS” screen and manual-
ly verify that you can turn each water heater or stage
on and off. You do this using the field and value keys.
If the heater does not turn on it may be necessary to
increase the optional secondary mechanical aquastat
setting a few degrees.
Use a multimeter to troubleshoot if problems persist.
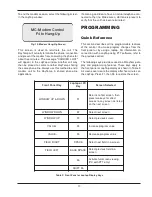
Return to the second screen titled “Master On/Off
Mode” and put the control in “Bypass”.
The water heaters will now run using the optional sec-
ondary mechanical aquastats until programming of the
control has been completed, explained in the next sec-
tion
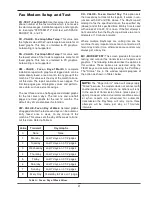
CONNECTING A
COMPUTER
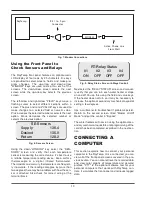
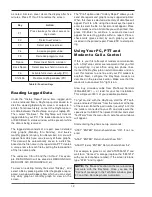
This section explains how to connect your personal
computer to the RayTemp. Once connected, you can
view all of the front panel screens covered in the pre-
vious section. You can also retrieve the recorded data
and view color graphs of temperature and demand
profiles. "PTT" is the optional software tool for your
personal computers that works with RayTemp con-
trols. It simulates the front panel and retrieves logged
data.
Fig. 7: Modem Connections
SE-Sensors
Supply
136.4
Desired
135.0
Return
128.2
Fig. 8: Sensors Screen
RT-Relay Status
#1
#2
#3
#4
ON
OFF
OFF
OFF
Fig. 9: Relay Status Screen (4-Stage Control)


