3.1 Installation checklist
Installation includes the following activities:
Installation Task
1
Plan your system.
2
Obtain all required equipment and tools.
3
Site all equipment.
4
Route all cables.
5
Drill cable and mounting holes.
6
Make all connections into equipment.
7
Secure all equipment in place.
8
Power on and test the system.
Schematic diagram
A schematic diagram is an essential part of planning
any installation. It is also useful for any future
additions or maintenance of the system. The
diagram should include:
• Location of all components.
• Connectors, cable types, routes and lengths.
3.2 Compatible transducers
Instrument Wind Vane transducer
The wind vane transducers listed below are
compatible with the following instrument displays:
•
i60
Wind
•
i70
/
i70s
via
iTC-5
converter
Part
number
Image
Housing
Mounting
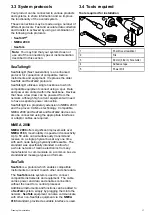
E22078
Short arm
wind vane
Surface mount
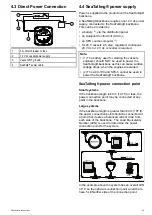
E22079
Long arm wind
vane
Surface mount
Instrument Rotavecta transducer
The wind transducers listed below are compatible
with the following instrument displays:
•
i40
Wind
•
i60
Wind
•
i70
/
i70s
via
iTC-5
converter
Part
number
Image
Housing
Mounting
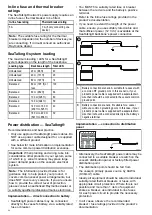
Z195
Rotavecta
transducer
Surface mount
16


