Viper Pro™ Software Version 3.10
OmniSeed™
Quick Reference Guide
Page 1: ...Viper Pro Software Version 3 10 OmniSeed Quick Reference Guide ...
Page 2: ...se sharp objects or harsh chemicals on the field computer touch screen as they may damage the display Don t use the USB ports to charge mobile devices such as phones tablets or mp3 players Basic Startup 1 Touch the power button to turn on the Viper Pro field computer 2 Allow the Viper Pro field computer to power up 3 If the Program Selection Menu displays touch the OmniSeed option to begin the Vip...
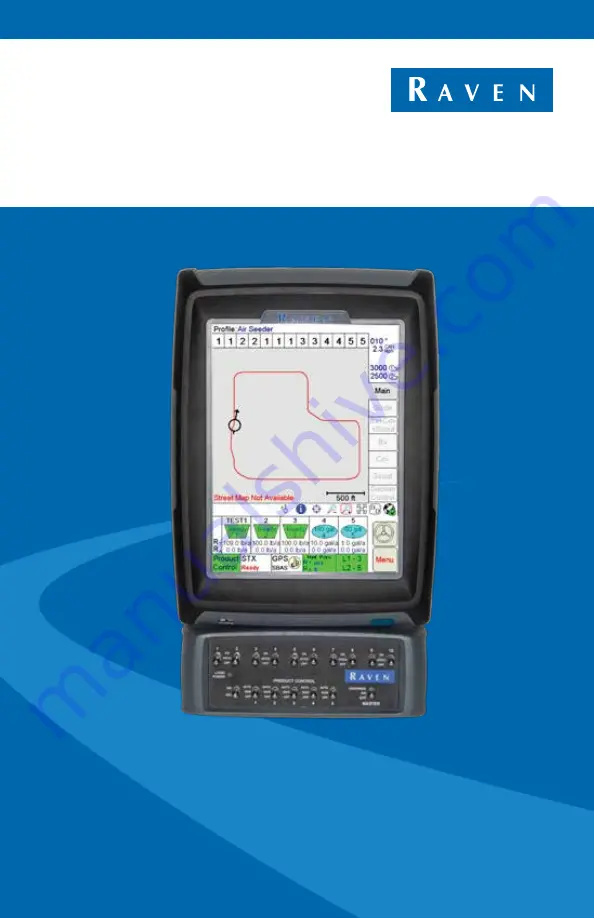
Page 3: ...e user 2 Section Status Area The OmniSeed section status area displays the status of each configured section The section status indicator displays Green when the section is on White when the section is off 3 Current Heading The current heading of the vehicle in compass degrees 4 Speed The current speed of the vehicle CAN or GPS 5 Fan Speed The current speed of the air cart fan s 6 Map Area The map...
Page 4: ...s The current Target Rate RT and Actual Rate RA as well as the remaining bin or tank levels are displayed in the application area Touch within this area to set or change rates or setup the Raven CAN switch box 11 Product Control Status Product Control Status of the CAN system displays in this area Touch this area to view or modify Product Control settings 12 SmarTrax Status Display If an optional ...
Page 5: ...v tab The Pan icon is used to manually pan the map information up down or left right Touch the Zoom Out icon and then select the map area to view a larger area on the map Touch the Zoom In icon and then select the map area to view a more detailed area on the map The Zoom Extents icon allows you to quickly bring all map information back onto the display Status Symbols Description Thumbs Up System i...
Page 6: ...ch node The lower portion of the Feature Settings area displays the current alarm and feature setting selections Touch in this area to access the feature and alarm settings 5 Product Control Settings Area Displays the current product control settings for the selected product node or control channel Touch in this area to configure product control for the selected node or channel 6 Pressure Area Dua...
Page 7: ...enter the desired value 3 Touch the OK button to accept any changes and return to the main screen or the Next button to view the Section Control Aggressiveness screen 4 Toggle the Section Control Aggressiveness on or off by selecting the radio button on the screen Refer to the OmniSeed Installation Operation Manual for more details on the aggressiveness settings ...
Page 8: ... value for a product node or control channel and use the on screen keypad to enter the rate bump value for the specific node or control channel 5 Enable the Inc Dec Switch option to allow the operator to use the INC DEC switch on the Raven CAN switch box to increase or decrease the target rate by the rate bump value entered for the product node or control channel Note Operating the INC DEC switch ...
Page 9: ...ormation about the vehicle on which the Viper Pro is installed This profile stores information such as antenna offsets and Comm Port settings 1 Select Menu then Setup Local Profile and Save Profile 2 Use the on screen keyboard to enter a Profile Name and touch OK ...
Page 10: ...nd Load Profile 2 Select a profile from the list and touch OK 3 Touch the OK button on the Load Profile prompt The Shutdown Viper prompt will be displayed 4 Select the Exit to Menu button and select the appropriate option to restart the Viper Pro application management system ...
Page 11: ...specific applications 1 Select the Product Control status in the lower left corner of the main screen 2 On the CAN Controller Status screen touch the CAN Profile button 3 To load a CAN profile select an existing profile name from the list and touch the OK button 4 To save a CAN Profile touch the Create CAN Profile button Using the on screen keyboard enter a profile name and touch OK ...
Page 12: ...ect the Prime Meter Roller option and then press the Start key to begin priming the metering rollers 4 Allow the metering rollers to rotate until a consistent amount of product is dispensed and then press the Stop key Use the INC or DEC keys to increase or decrease the PWM Output or speed of the metering rollers during the priming process Note The PWM Output or metering roller speed will also be u...
Page 13: ...us the weight box The Metered Weight Page will display automatically at the end of the catch test procedure 6 Use the Left and Right keys to move the cursor below the bin cal weight value to the first digit of the measured cal weight and press the Enter key 7 Press the INC or DEC keys to set the appropriate value for the selected digit and press the Enter key to set the value 8 Repeat the above pr...
Page 14: ...13 Starting a New AgX Job 1 Select Menu Start Job then New AgX Job 2 Select from the available grower farm and field lists to locate the pre populated job information for the next job ...
Page 15: ... Do not select control channels for these functions during the job setup process To deselect a channel touch a selected channel again to remove the channel from the job setup process Any deselected channels will not be available during the active job 5 Touch the Default Rate button and enter the default rate for each control channel outside of the pre populated prescription map 6 A Conversion Fact...
Page 16: ...Name and enable appropriate application options to use during the job Select a Swath Pattern if guidance is enabled and enter the number of products if product application is enabled Note If none of the job options are enabled touch the OK button on the New Job screen to begin the job ...
Page 17: ...C and proceed with the steps below Otherwise touch OK a Touch Browse to find an Rx Map file b Select the desired map file and touch OK c Select the column heading from the dbf file to use for rate information d Touch the Next button 5 After each of the products have been configured for the job enter a Rate Conversion if necessary and touch OK ...
Page 18: ...t Job From File then Add to Job 2 Select an existing job name and touch OK Then touch Menu and Cont Job to resume application within the job Note The Viper Pro will not log application or location information until the Cont Job button is selected ...
Page 19: ...ch the button to set the B point of the A B Line The set A B Line appears on the screen in blue To Save the Displayed A B Line 1 With the Guide tab selected touch the Guide Menu icon 2 Touch the Save A B button and follow the on screen instructions to save the displayed Guidance path To Load a Saved A B Line 1 Reset any currently displayed Guidance paths 2 With the Guide tab selected touch the Gui...
Page 20: ...tion of the Tally Registers screen Note To reset all tank volumes to the previously entered values touch Reset above Tnk Vol 4 On the Odometer screen touch Next 5 Type in a value for the Tank Volume and then touch Set 6 Touch Next Do the same process for all nodes if needed and touch OK when finished 7 Touch OK again to exit the Product Control screen ...
Page 21: ...nsors The status of optional seed blockage sensor loops will be displayed on the main screen of the Viper Pro and will allow the operator to monitor status of seed or product flow at the sensor locations throughout a seeding operation The seed blockage status indicators will display Green when the system is operating normally Yellow when a product blockage or dirty sensor is detected in the system...
Page 22: ... Calibration and Operation Manual for additional assistance with configuring the drill node for field operations GPS 1 Select Menu Setup and Comm Ports 2 Select the appropriate GPS setting Select Raven GPS when connected to all Raven GPS receivers except for the RPR 400 RPR 410 or Phoenix 300 or when not using the guidance in the Viper Pro to control an automated steering system Select Generic GPS...
Page 23: ...f no CAN nodes are detected on the CANbus when the Viper Pro is powered on touch the Retry CAN Init button If you still have CAN issues see the OmniSeed Viper Pro Installation and Operation Manual for more information ...
Page 24: ...23 Section Setup 1 Touch the Sections Area 2 Enter Look Ahead values and touch Next 3 Select the sections and products for section control and touch OK ...
Page 25: ... Viper Pro guidance screen Enable the External Lightbar option to slave an external lightbar to the Viper Pro 3 Select Send Guidance Message when using the Viper Pro to provide guidance information to an automated steering system 4 Touch Next to set the coarseness of the lightbar display 5 Touch OK when finished ...
Page 26: ...re Buttons with arrows go to sub menus Buttons without arrows go directly to selection screens MAIN MENU START JOB SUBMENU FROM FILE SUBMENU SETUP SUBMENU MAPS MENU STREET MAP MENU RX MAP SUB MENU LOCAL SUBMENU PROFILE SUBMENU ...
Page 27: ... Industries Do Bring the defective part and proof of purchase to your Raven dealer If the dealer approves with the warranty claim the dealer will process the claim and send it to Raven Industries for final approval The freight cost to Raven Industries will be the customer s responsibility The Return Materials Authorization RMA number must appear on the box and all documentation including proof of ...
Page 28: ...ociated equipment or products and will not be liable for loss of profit labor or other damages Cables hoses software enhancements and remanufactured items are not covered by this Extended Warranty The obligation of this warranty is in lieu of all other warranties expressed or implied and no person or organization is authorized to assume any liability for Raven Industries Damages caused by normal w...
Page 29: ......
Page 30: ... under copyright laws Raven Industries Applied Technology Division Toll Free U S and Canada 800 243 5435 P O Box 5107 or Outside the U S 1 605 575 0722 Sioux Falls SD 57117 5107 Fax 605 331 0426 www ravenprecision com www ravenhelp com Raven Industries Inc 2009 2011 2014 OmniSeed Viper Pro Software Version 3 10 Quick Reference Guide P N 016 3001 016 Rev C 07 14 E23538 ...