9
5. Ignition Key:
Remember to remove the key
when not in use.
Do not leave the ignition on when
not
in use, especially when charging the vehicle (see
“dashboard description, item 12)
Note:
You may
need to press the ignition key gently inwards before
it will allow itself to be turned.
6. Finger control:
To operate, turn on the igni-
tion. Pull the right hand lever towards you and the
machine moves forward. The more you pull the lever
the faster the scooter goes. To brake, release the
lever. Again the faster the lever is released the quick-
er you will stop. To reverse, pull the left lever towards
you. Do not pull both levers at once. Note: The con-
trols can be changed for customers with a left-hand
bias. Please contact your local dealer for information.
7. Lighting control:
To switch on the scooter front
and rear lighting actuate the lighting switch once,
(the switch will illuminate) to turn it off, actuate the
switch a second time. (The switch will cease to
illuminate)
8. Hazard lights:
In an emergency or during a
break-down, the hazard lights should be switched
on. Actuate the hazard light switch once to switch
on - All turn indicators will flash together. Actuate
the button for a second time to switch the hazard
lights off. (– In the on mode the switch will illuminate)
9. Indicator (left and right turn):
Pressing the
rocker switch on the left side will turn on the left
indicators and on the right side will turn on the right
indicators. By putting the switch in the mid position,
all indicators will be switched off.
10. Half speed switch:
When travelling in ped-
estrian areas (not on the road) this switch can be
pressed to limit the maximum scooter speed to
50% of the value pre-selected by the speed control
(2) knob. This means that the scooter will not be
able to travel at more than 4mph. To turn this
function off, press the switch for a second time.
11. Tiller charge point:
– Located on the upper
right rear of the tiller. The scooter charger is
connected to
this socket to recharge once the
batteries become exhausted.
( See ”Battery
Charging” section of this manual)
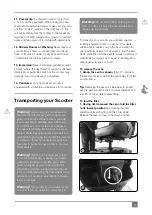
12. USB Accessory socket outlet:
The Rascal
Vecta Sport is equipped with a back-lit USB acces-
sory outlet that can provide power for charging
phones, tablet computers etc. This outlet provides
5 Volts DC at a maximum current of 3 Amperes.
Make sure your accessory does not exceed the
current available
To use the outlet:
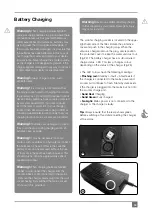
Open the weather cap and insert
the USB plug used for powering/charging your par-
ticular device. (Fig.3) When not in use, remove your
USB lead and accessory and replace the cap on the
socket outlet.
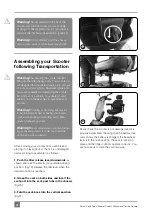
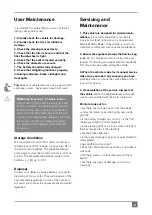
Tip:
The USB socket is ready for use once the blue
backlight is visible
(Fig.4).
If for any reason the vehicle
charge drops too low, the socket will turn to a red
backlit colour. In this state the USB outlet will not
function. (This is to preserve vehicle power in case of
very low charge levels).
Warning!
Never connect a device to the
USB socket with a current rating of more than
3 Amps as this may cause the system fuse
to operate.
3
4


