2
P
ARAGON
M
ANAGER
U
SER
M
ANUAL
b.
Click [
New
] to add a new UMT device.
c.
Type the name of the device in the
UMT
field.
d.
Select the
TCP/IP
option button if you are using Paragon Manager with a UMT unit that has a
network admin (RJ45) port. All Paragon II and later UMT models have this port, and must be IP
addressed.
•
Type the IP address of the UMT unit with which to communicate in the
IP Address
field.
•
Type the Port number of the UMT unit with which to communicate in the
Port
field
•
Type the appropriate encryption key of the UMT unit with which to communicate in the
Encryption Key
field, if applicable.
e.
Select the
Serial
option button if you are using Paragon Manager with a UMT unit that has a serial
admin (DB9) port.
•
Click on the
Port
drop-down arrow and select the port from the list.
f.
Click [
Save
] to save this new device and then click [
Close
] to return to the login window.
g.
To delete a UMT unit from the list at any time, click the drop-down arrow in the UMT field and
select the device you wish to delete. Click [
Delete
] to delete the device, and then click [
Close
] to
return to the login window.
6.
Click [
Login
]
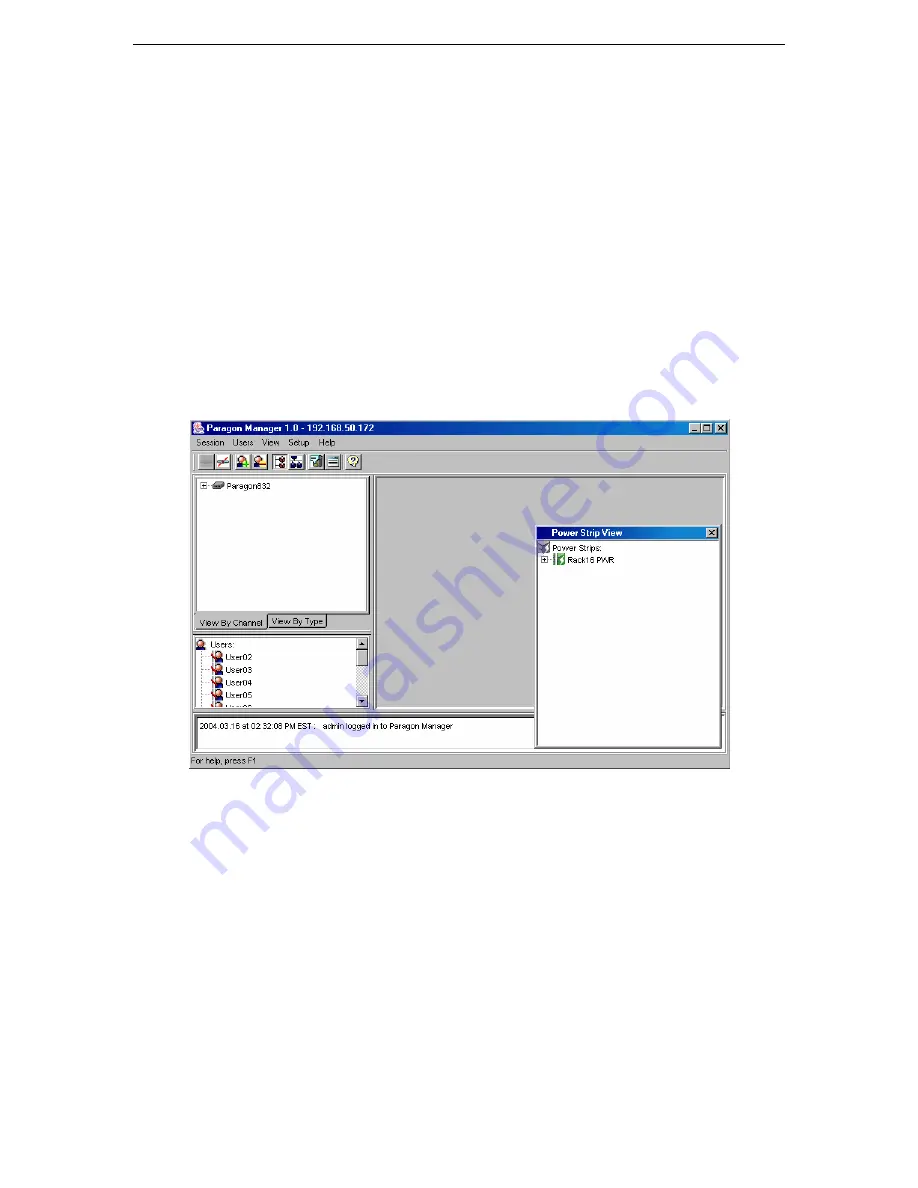
to log in to the UMT device through Paragon Manager. The
Communication Progress
window displays your connection status; please note that it can take 30 seconds or longer to connect,
depending on your configuration. When connected, the
Paragon Manager
window appears.
Figure 3 Paragon Manager Window


