Vector Solo 65kV Applicator - Maintenance
30
AH-08-02.6
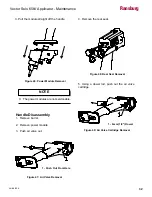
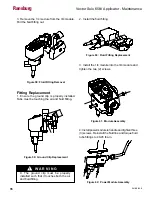
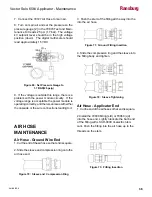
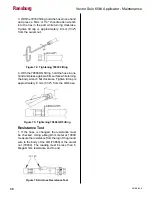
Figure 39: Needle Shaft Removal
3. Remove rear nut using the 79854-00 Special
Wrench.
Figure 40: Needle Shaft Removal
4. Attach a jam nut to the assembly and pull straight
out of the barrel.
Figure 41: 79911-00 Needle Shaft with 2k Adjust-
able Packings
5. Clean cavity with non-metallic brush and
non-polar solvent.
6. Replace needle components as required. (See
"79911-00 Needle Shaft Parts List" in the "Parts
Identification" section for breakdown.)
Needle Shaft Rebuild
1. Prior to installing the needle shaft, coat the
exterior surfaces generously with dielectric grease.
2. Screw the needle electrode onto the front of
the needle shaft and hand tighten.
3. Fill the inner diameter of the packing tube with
dielectric grease.
4. Insert the needle shaft, rear section first, into
the packing tube. Rotate the needle shaft while
moving back and forth inside the packng tube
until fully inserted.
NEEDLE SHAFT
REMOVAL /
REPLACEMENT
1. Remove barrel from the handle using previous
steps.
2. Remove cascade.
Figure 38: Cascade Removal
A
A
SECTION A-A
2
3
4
5
6
8
7
9
10
12
1
11
Ransburg


