background image

Safety and regulatory information

R&S

®

EDS300

8

Getting Started 1179.5630.02 ─ 01

rier of this classification. Follow the carrier’s transport stipulations in line with
IATA-DGR, IMDG-Code, ADR or RID.

Using headphones

Take the following measures to prevent hearing damage. Before using head-
phones, check the volume and reduce it if necessary. If you monitor varying sig-
nal levels, take off the headphones and wait until the signal has settled. Then
adjust the volume.

Meaning of safety labels

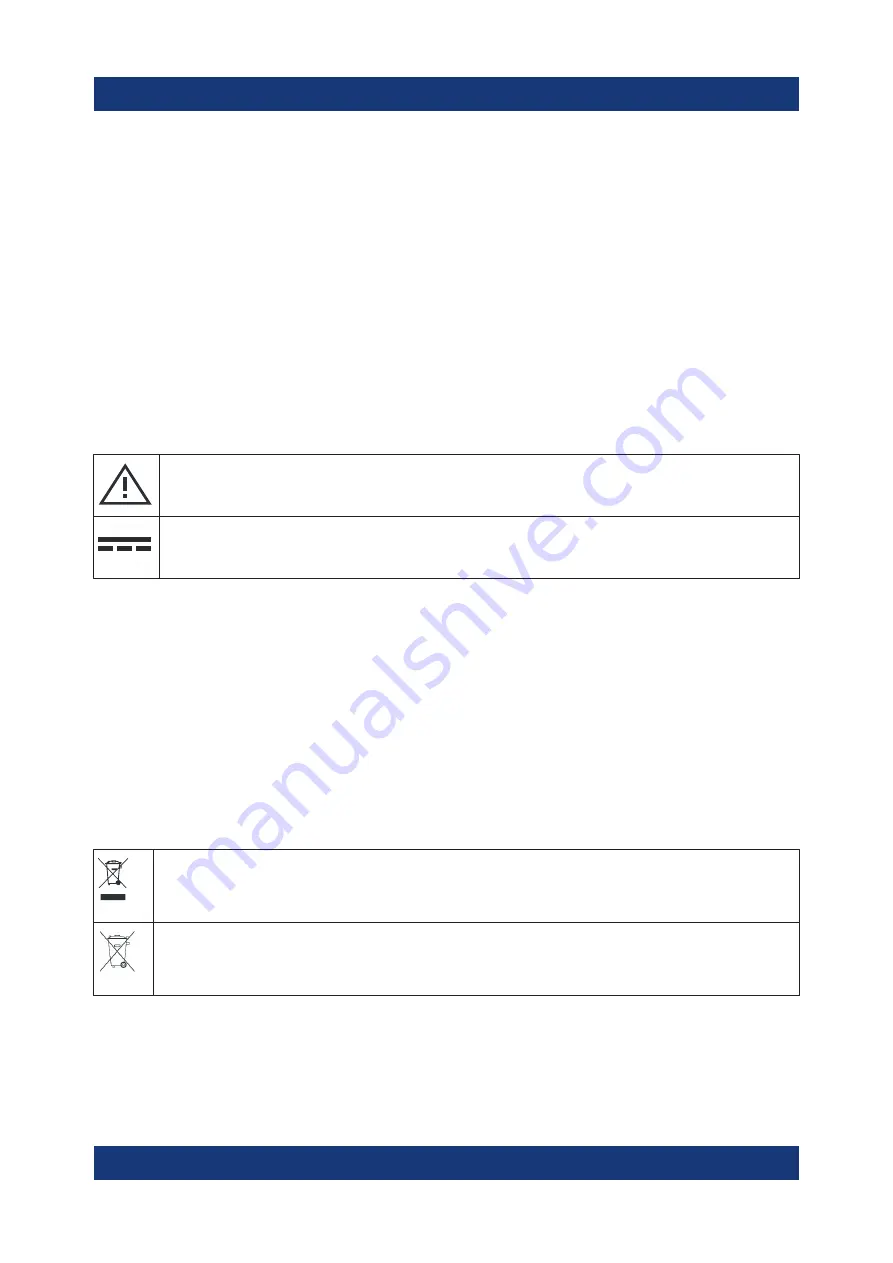
Safety labels on the product warn against potential hazards.

Potential hazard
Read the product documentation to avoid personal injury or product damage.

DC - direct current
Connect to a DC power supply of the specified voltage range.

1.2


Labels on the product

Labels on the casing inform about:

Personal safety, see 

"Meaning of safety labels"


on page 8

Product and environment safety, see 

Table 1-1

Identification of the product, see 

Chapter 5.3, "Device ID"

on page 34:

Table 1-1: Labels regarding product and environment safety

Labeling in line with EN 50419 for disposal of electrical and electronic equipment after

the product has come to the end of its service life.
For more information, see the product user manual, chapter "Disposal".

Labeling in line with directive 2006/66/EC for disposal of batteries after they have come

to the end of their service life.
For more information, see the product user manual, chapter "Disposal".

Labels on the product

Summary of Contents for EDS300

Page 1: ...R S EDS300 DME PULSE Analyzer Getting Started 1179563002 Version 01 N2...

Page 2: ...02 R S EDS K3 GPS Synchronization 5202 8125 02 R S EDS K4 Distance Measurement 5202 8148 02 R S EDS K5 Multi DME Mode 5202 8131 02 2023 Rohde Schwarz GmbH Co KG Muehldorfstr 15 81671 Muenchen Germany...

Page 3: ...paring for use 13 4 1 Lifting and carrying 13 4 2 Unpacking and checking 13 4 3 Choosing the operating site 13 4 4 Setting up the product indoors 14 4 5 Preparing for outdoor usage 16 4 6 Consideratio...

Page 4: ...Contents R S EDS300 4 Getting Started 1179 5630 02 01 6 2 Accessing the functionality 37 6 3 Entering data 38 6 4 Error and status messages 41 Index 42...

Page 5: ...ety information is part of the product documentation It warns you of potential dangers and gives instructions on how to prevent personal injury or damage caused by dangerous situations Safety informat...

Page 6: ...de quate weather protection to carry the product outdoors with you When using the product in a vehicle or aircraft make sure that the product is properly secured If stacking is possible secure the who...

Page 7: ...follow these rules Do not short circuit the battery Do not mechanically damage the battery Do not open or disassemble the bat tery Do not expose the battery to high temperatures such as open flames h...

Page 8: ...injury or product damage DC direct current Connect to a DC power supply of the specified voltage range 1 2 Labels on the product Labels on the casing inform about Personal safety see Meaning of safet...

Page 9: ...out a risk or danger that you need to be aware of The signal word indicates the severity of the safety hazard and how likely it will occur if you do not follow the safety precautions NOTICE Potential...

Page 10: ...of all instrument modes and functions It also provides an introduction to remote control a complete description of the remote control commands with programming examples and information on main tenance...

Page 11: ...en source software packages An open source acknowledgment document provides verbatim license texts of the used open source software Application notes application cards white papers etc These documents...

Page 12: ...vant civil and military standards accurately and efficiently The R S EDS300 can precisely determine characteristic parameters such as peak power main delay reply efficiency and can decode the identifi...

Page 13: ...e it when transporting or shipping the product later 3 Using the delivery notes check the equipment for completeness 4 Check the equipment for damage If the delivery is incomplete or equipment is dama...

Page 14: ...rbances in residential environments due to possible conducted and radiated disturbances It is therefore not suitable for class B environments If class A equipment causes radio disturbances take approp...

Page 15: ...ft Stacked correctly same dimensions Middle Stacked correctly different dimensions Right Stacked incorrectly too many products 4 NOTICE Overheating can damage the product Prevent overheating as follow...

Page 16: ...h the R S EDS300 onto the shelf until the rack brackets fit closely to the rack 4 Tighten all screws in the rack brackets with a tightening torque of 1 2 Nm to secure the R S EDS300 in the rack To unm...

Page 17: ...the data sheet Keep the signal levels within the specified ranges to avoid damage to the product and connected devi ces 4 7 Connecting to power To ensure high mobility and flexibility while using the...

Page 18: ...nect the DC power supply unit or the DC DC converter to the POWER supply connector on the back of the R S EDS300 see Chapter 5 2 Rear panel view on page 30 The yellow Standby LED on the R S EDS300 lig...

Page 19: ...m 4 8 2 Connecting a suppressor line Using a bi directional suppressor line the instruments in an aircraft send signals to each other While a signal is being sent on the suppressor line no other instr...

Page 20: ...R S EDS300 can evaluate TACAN signals only if the TACAN stick with the TACAN software is inserted in one of the USB ports The TACAN stick must be inserted before the R S EDS300 is switched on Do not r...

Page 21: ...rted Using the installed battery If the R S EDS300 is powered using the internal battery and the batteries become empty the instrument switches itself off You cannot switch it back on until the DC pow...

Page 22: ...Preparing for use R S EDS300 22 Getting Started 1179 5630 02 01 Disconnect the product from the power source Switching on or off...

Page 23: ...tors 4 5 1 2 3 6 7 8 9 12 11 10 Figure 5 1 Front panel view of the R S EDS300 1 Power key ON OFF switch with status LEDs 2 System keys 3 TFT Colour Display 4 Softkeys 5 RF 2 IN connector 6 USB interfa...

Page 24: ...e corresponding functions is provided in the R S EDS300 user manual Table 5 1 SYSTEM keys SYSTEM key Assigned functions PRESET Resets the instrument to the default state CAL Starts a calibration on th...

Page 25: ...sumers 12 VDC OUT 26 5 1 4 1 Antenna connections RF1 IN OUT and RF2 IN The standard R S EDS300 base unit provides two receiving antenna connec tions RF1 IN OUT RF2 IN See also Chapter 4 6 Consideratio...

Page 26: ...stem are supported The connectors are standard USB 2 0 ports with a maximum transmission rate of approximately 30 Mbit s The rear panel provides further USB connectors standard 3 0 see Chap ter 5 2 5...

Page 27: ...is pressed Shifts the selection bar within focused areas e g lists if the edit mode is activated Moves the scroll bar vertically if the scroll bar is focused and the edit mode is activated Turning or...

Page 28: ...Measurement keys Measurement key Assigned functions DME Selects DME TACAN measurement mode PULSE Selects Pulse view mode SSR For future use MODE For future use CHAN Selects DME TACAN channel number fo...

Page 29: ...ts a decimal point numeric input fields or dot character input fields at the cursor position Multiple decimal points are not allowed Changes the sign of a numeric parameter For alphanumeric parame ter...

Page 30: ...es or deactivates the selected option of the focused area Calls the next menu level Pressing the rotary knob has the same effect ESC ESC Cancel Closes the open window without accepting new entries the...

Page 31: ...GER OUT connector 8 TRIGGER IN connector 9 USB 10 REF 10 MHz IN OUT 11 LAN interface 12 DVI 13 RS232 GPS interface 14 Speaker for audio output 5 2 1 DC power supply connection To ensure high mobility...

Page 32: ...al is output with a peak power level of 4 V and an impedance of 50 Configure which signal to output in the general instrument settings The R S EDS300 can also analyze analog baseband signals from anot...

Page 33: ...ther the connector is used for input or output in the general instru ment settings 5 2 7 LAN interface Use the LAN interface to connect the R S EDS300 to a local network for remote control printouts o...

Page 34: ...provided as a barcode sticker on the rear panel of the R S EDS300 It consists of the device order number and a serial number The serial number is used to define the default instrument name which is T...

Page 35: ...other interaction methods 6 1 Understanding the display information The following figure shows a typical screen display on the R S EDS300 All dif ferent screen elements are labeled They are explained...

Page 36: ...ys key beneath the softkeys on the front panel of the R S EDS300 Measurement settings and results area During a measurement the available settings are displayed at the top of the screen the measuremen...

Page 37: ...al see Chapter 5 2 2 SUPPRESS IN OUT connector on page 32 SL 5 GPS status GPS connection available or not see Chapter 5 2 9 RS232 GPS interface on page 33 GPS 6 TX status Indicates use of RF1 IN OUT c...

Page 38: ...it the currently selected setting press the rotary knob or the ENTER key on the front panel 5 Scroll through the available setting values by turning the rotary knob or press ing the Up and Down arrow...

Page 39: ...haracters and one number The decimal point key represents special characters and the sign key toggles between capital and small letters For the assignment refer to Table 6 2 Entering numbers and speci...

Page 40: ...er your correction Completing the entry Press the ENTER key or the rotary knob For numeric values the default unit is appended to the numeric input To enter a value using a different unit select the c...

Page 41: ...also stored to an error log on the instrument for later inspection The status bar contains status messages for the used power supply or data oper ations Table 6 3 Status messages Message Description B...

Page 42: ...Data sheet 10 Display Information 35 Display Port Connector 33 DVI Connector 33 E Entering data 38 External monitor Connectors 33 K Key Power 24 Keypad 29 39 Key layout 40 L Labels on casing 8 LAN Co...

Page 43: ...Index R S EDS300 43 Getting Started 1179 5630 02 01 U Units Input 29 USB Connector 33 W Warning messages 9 White papers 11...

Reviews: