


LCD Contrast
The image contrast on the LCD may be adjusted if
needed. Temperature and surrounding light conditions
can affect image visibility. To adjust the contrast, from
the Home screen press
Ã
once.
Once the contrast screen is displayed, press and hold
Œ
or
Õ
to adjust the image contrast. When the contrast is
set to the desired setting, press
À
once to return to
the Home screen.
The LCD contrast screen displays the ET Manager serial
number, the program version of your device, and the
date and time of the last signal.
Valve Group A & B Indicator Lights
Your ET Manager controls two valve groups. For exam-
ple, Valve Group A can be assigned and wired to lawn
stations and Valve Group B to shrub stations. There is
one Indicator Light for each group of valves, “A” and “B.”
A green light indicates watering is needed and the sprin-
kler controller will be allowed to activate a valve. A red
light indicates watering is suspended or interrupted
until watering is needed.
Attention Indicator Light
A yellow light, or the Attention Indicator Light, signals a
condition that you should be aware of. An attention
message is displayed on the Home screen. Please refer
to chapter 5, Routine Operation, for more information
on the attention messages.
Cursor and Navigation Buttons
To navigate ET Manager menus, you need to under-
stand the movement of the cursor and its location. The
“
” symbol indicates the current cursor location. The
Œ
,
Õ
,
or
À
navigation buttons are used to position
the cursor at the desired location.
À
is used to enter
the selected menu. Once in the desired menu or posi-
tion, use
Œ
or
Õ
to change a value or select an option.
Ã
is used to go back, or to exit the screen.
To practice navigating using the cursor and navigation
buttons, try setting the Current Moisture Level for Valve
Group A or B. Menu paths like the one below are found
throughout the manual to show which items within the
menu and submenus need to be selected to access key
information or to adjust settings.
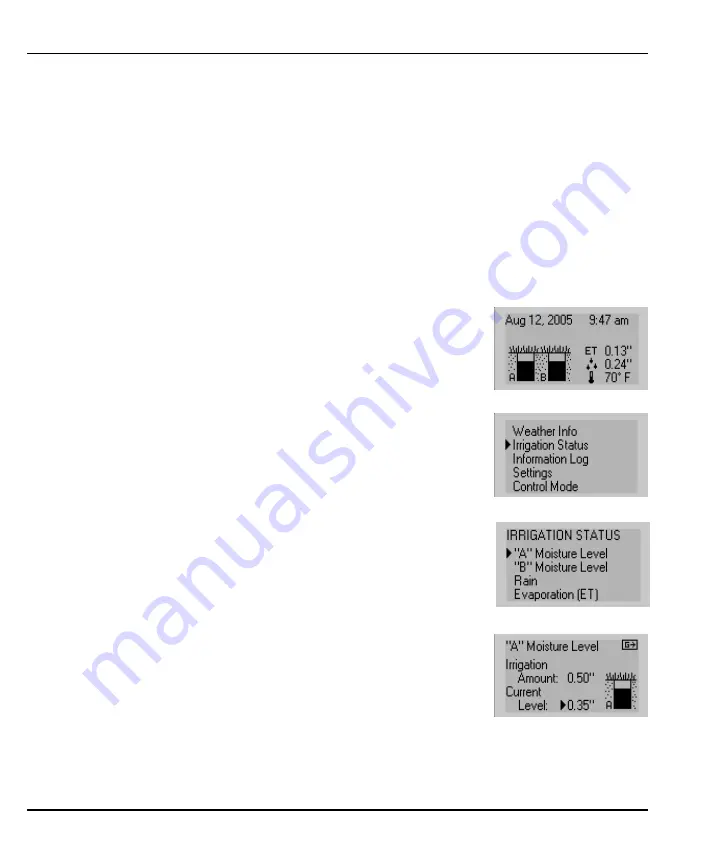
Example of a Menu path:
Main Menu
Settings
Irrigation Status
“A” Moisture Level
Below is a detailed explanation of how to follow this
menu path through your ET Manager.
From the Home screen
access the Main Menu
by pressing
À
.
In the Main menu, use
the
Œ
or
Õ
to scroll
to Irrigation Status and
press
À
.
In the Irrigation Status
screen, use the
Œ
or
Õ
to scroll to “A” Moisture
Level and press
À
.
The
will be posi-
tioned at the value of
the Current Level.
Use
Œ
or
Õ
to adjust
this level.
Once the amount is adjusted, use
Ã
to get back to
the Irrigation Status screen.
Rain Bird
®
ET Manager Series - Installation and Operation Manual
1. Introduction
6