13
ASSEMBLY AND OPERATING
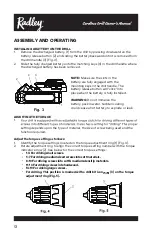
INSTALLING A BATTERY ON THE DRILL
1.
Remove the discharged battery (1) from the drill by pressing downward on the
battery release button (2) and sliding the battery backward until it is removed from
the drill handle (3) (Fig. 3).
2.
Slide the fully charged battery onto the matching keys (4) in the drill handle where
the discharged battery has been removed.
NOTE:
Make sure the slots in the
battery are fully engaged with the
mounting keys in the drill handle. The
battery release button will “click” into
place when the battery is fully installed.
WARNING:
Do not immerse the
battery pack in water. Sudden cooling
could cause a hot battery to explode or leak.
ADJUSTING THE TORQUE
1.
setting depends upon the type of material, the size of screw being used and the
function required.
Adjust the torque setting as follows:
1.
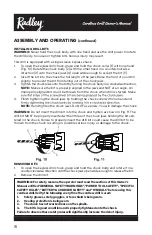
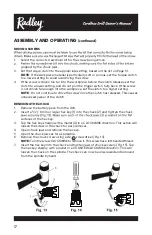
Identify the torque settings located on the torque adjustment ring (1) (Fig. 4).
2.
Rotate adjustment ring to align the correct torque setting number with the torque
indicator arrow (2). See below for the correct torque settings:
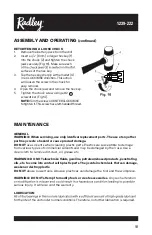
For drilling. This position is marked with a drill bit icon (3) on the torque
adjustment ring (Fig. 5).
Fig. 3
1
2
4
3
1-4 For driving small screws.
5-7 For driving medium sized screws into soft materials.
8-10 For driving screws into soft & medium-densitiy materials.
11-13 For driving screws into hardwood.
14-19 For driving large screws.


