RadioLan has provided this information to help you quickly and easily install the station equipment.
Please read the entire information before you begin.
Remember to remove power from your PC
before handling circuit boards.
P
R E P A R I N G T H E
T
R A N S C E I V E R
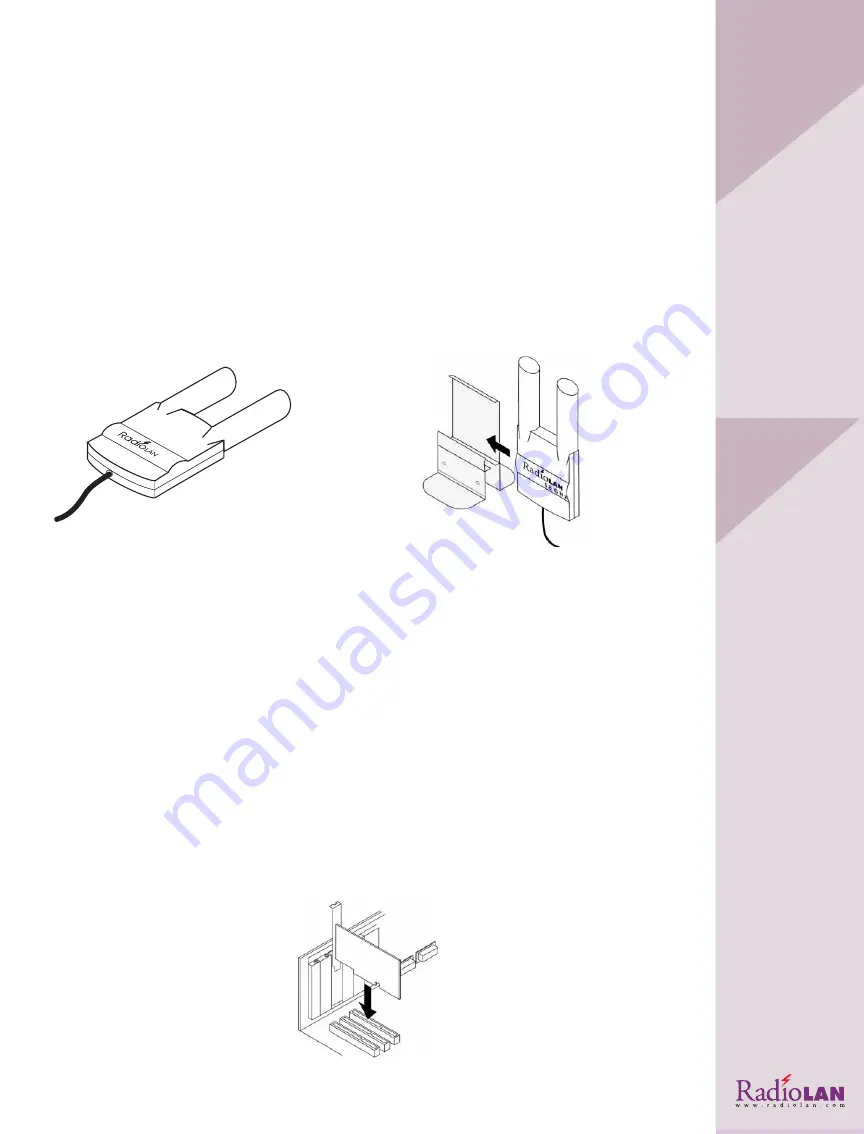
The Transceiver is the only external component in the RadioLAN system (see Figure 16). It contains
an internal radio and antenna that allow your personal computer to communicate with other com-
puters on the same network without making hard-wired cable connections to a hub. Each PC using
RadioLAN to connect to the wireless network must have a transceiver.
There is an indicator LED on the transceiver between the two cylindrical antennas. The indicator
illuminates when your station senses activity on the network.
The transceiver comes complete with a stand, used for placing it onto your computer’s monitor or
on a cubical wall. Simply slide the transceiver into the stand (see Figure 17), then place the trans-
ceiver onto a flat surface, or hang it from a cubical wall.
Figure 16: The Transceiver
Figure 17: Sliding the Transceiver into the Stand
I
N S T A L L I N G T H E
P C I C
A R D
L I N K
The purpose of the PCI CardLINK adapter card is to interface the transceiver with your personal
computer. It connects to a primary bus PCI slot in your PC.
Before installing the PCI CardLINK card, remove power from your PC, then open the PC by following
the PC manufacturer’s instructions.
1. Locate an available PCI slot on your computer’s system board. Look on page 2 for cautions on
PCI slots and systems.
2. Static electricity may damage the components on the adapter card. Touch a grounded metallic
object before handling the card. It is best to handle the card by holding its bracket or edges.
Remove the PCI CardLINK card from its static-resistant packaging.
3. Record the serial number in the space provided on your QuickStart Guide.
4. Align the PCI CardLINK card’s edge connector with the opening in the slot.
5. While holding the card perpendicular to the system board, press the card firmly into the slot.
Figure 19. Aligning and connecting the Adapter Card
I
N
S
TAL
L
ING
THE
PCI C
ARD
L
INK
™
150
AND
T
RAN
SCEIVER
S
ECT
ION
3:
15


