background image

3

CONTENTS

Preparation............................................................................................................. 4

Connecting the Outputs .................................................................................... 4
Connecting Inputs and Presetting Levels ......................................................... 4
Pre-Adjusting the Monitor Levels ...................................................................... 5

Listening Safely .......................................................................................... 6

Operation................................................................................................................ 7

Basic Operation ................................................................................................ 7
Using The “DJ’s” Microphone............................................................................ 8

Normal ........................................................................................................ 8
Talkover ...................................................................................................... 8
Standby ...................................................................................................... 8

Using Echo........................................................................................................ 8
Using the 7-Band Frequency Equalizer ............................................................ 9

Troubleshooting .................................................................................................. 10

Care and Maintenance ........................................................................................ 11

Specifications ...................................................................................................... 12

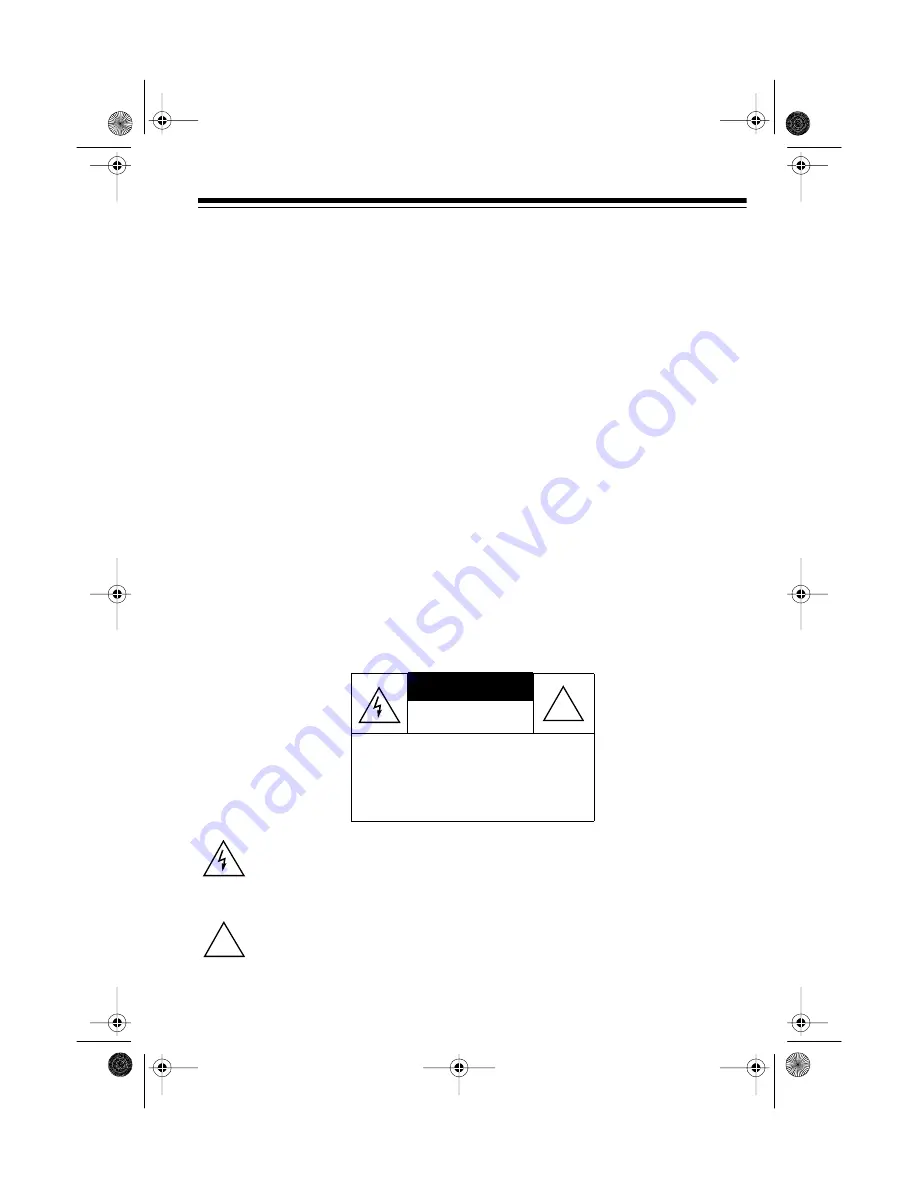
Warning: To prevent fire or shock hazard, do not expose this mixer to rain or mois-
ture.

This symbol is intended to alert you to the presence of uninsulated dan-
gerous voltage within the mixer’s enclosure that might be of sufficient
magnitude to constitute a risk of electric shock. Do not open the mixer’s
case.

This symbol is intended to inform you that important operating and main-
tenance instructions are included in the literature accompanying this mix-
er.

RISK OF ELECTRIC SHOCK.

DO NOT OPEN.

CAUTION: TO REDUCE THE RISK OF
ELECTRIC SHOCK, DO NOT REMOVE
COVER OR BACK. NO USER-SERVICE-
ABLE PARTS INSIDE. REFER SERVIC-
ING TO QUALIFIED PERSONNEL.

CAUTION

!

!

32-3001.fm  Page 3  Tuesday, August 10, 1999  8:02 AM

Summary of Contents for 32-3001

Page 1: ...Cat No 32 3001 OWNER S MANUAL Please read before using this equipment SM 1000 Audio Mixer with Echo Rack Mount Type 32 3001 fm Page 1 Tuesday August 10 1999 8 02 AM...

Page 2: ...uch as a tape deck amplifier tuner or VCR Low Noise Tape Out Jack for high quality tape recording Slide Controls for fingertip control of sound mixing and fading adjust ments Monitor Controls let you...

Page 3: ...r mois ture This symbol is intended to alert you to the presence of uninsulated dan gerous voltage within the mixer s enclosure that might be of sufficient magnitude to constitute a risk of electric s...

Page 4: ...to the audio in put jacks on the back of the mixer 1 Connect the AC power cord to a standard AC outlet 2 Before turning on the power Set MIC PHONO 1 PHONO 2 LINE 1 and LINE 2 to 0 Set NORMAL STANDBY T...

Page 5: ...NO ceramic inputs you can connect any high level audio source tuner cassette tape deck CD player magnetic cartridge turntable or VCR to any set of input jacks Connect the ground wires usually black or...

Page 6: ...to permanent hearing loss Follow these guidelines to protect your hearing especially when you use headphones Always start by setting the volume to the lowest level possible before you begin listening...

Page 7: ...counterclockwise to decrease the volume 5 Set ECHO BYPASS ON to ON to produce an ECHO effect and to BYPASS to eliminate the ECHO effect See Using Echo 6 Push in EQUALIZER BYPASS ON to ON to operate th...

Page 8: ...BY TALKOVER to STAND BY The mixer automatically returns all the main volume inputs to their origi nal levels Standby To disable the MIC INPUT microphone set NORMAL STANDBY TALKOVER to STANDBY Note Set...

Page 9: ...t on the range of fre quencies covered by the 400 Hz and the 2 4k Hz controls Frequency Purpose 60 Hz Adjusts the frequencies in the low bass range low organ notes and bass drums Reduces rumble or oth...

Page 10: ...connections to the rest of the system amplifier receiver etc No signal from an audio input source Check the control setting Check the connections between the mixer and the input source Hum from PHONO...

Page 11: ...stic parts Keep the mixer away from dust and dirt which can cause premature wear of parts Handle the mixer gently and carefully Dropping it can damage circuit boards and cases and can cause the mixer...

Page 12: ...B Range 20 20 kHz Signal to Noise S N Ratio Microphone 55 dB Phono Magnetic 1 and 2 65 dB Line 1 and 2 70 dB T H D at rated output From 20 Hz to 20 kHz at Maximum Master Volume 0 05 Channel Separation...

Page 13: ...13 NOTES 32 3001 fm Page 13 Tuesday August 10 1999 8 02 AM...

Page 14: ...14 32 3001 fm Page 14 Tuesday August 10 1999 8 02 AM...

Page 15: ...15 32 3001 fm Page 15 Tuesday August 10 1999 8 02 AM...

Page 16: ...rranty does not cover transportation costs Nor does it cover a product subjected to misuse or accidental damage EXCEPT AS PROVIDED HEREIN RADIO SHACK MAKES NO EXPRESS WARRAN TIES AND ANY IMPLIED WARRA...

Reviews: