Configuring Radiant POS terminals
12
NOTE:
Do not specify a
Device ID
for the
Card reader
device.
23. If you are using an external pole display, enter
1220
in the
Device code
field for the
Display
device, and then enter
COM2
in the corresponding
Device ID
field.
If your P1220 includes a built-in line display, enter
1220
in the
Device code
field for the
Display
device, and then enter
COM5
in the corresponding
Device ID
field.
24. Press
Enter
at the
Field number to change ?
prompt to save your changes, and then
press
ESC
to close the
Registers
screen and return to the main menu.
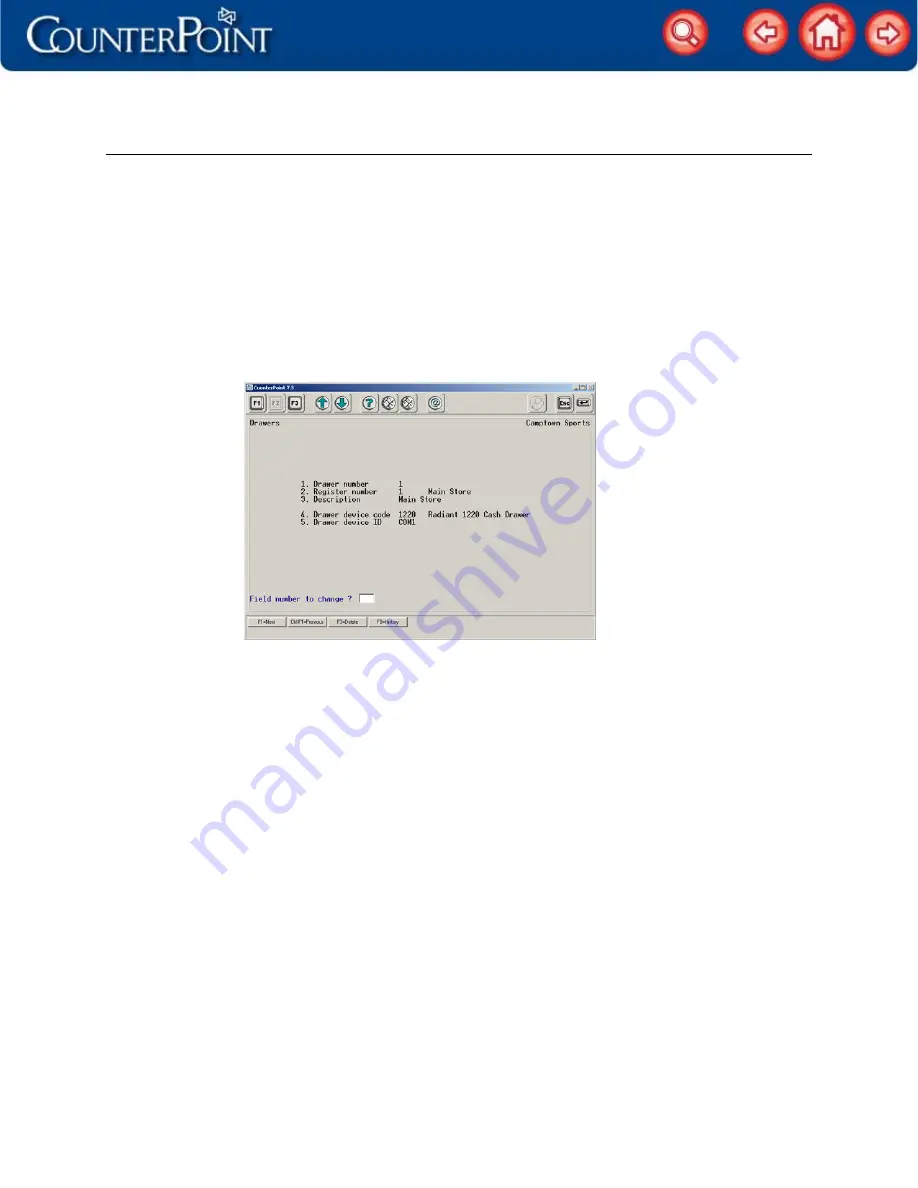
25. Select
Setup / Point of Sale / Drawers
, specify a
Drawer number
and
Register number
for the
POS terminal’s cash drawer, and then enter a
Description
for the drawer.
26. Enter
1220
in the
Drawer device code
field, and then enter
COM1
in the
Drawer device ID
field.
27. Press
Enter
at the
Field number to change ?
prompt to save your changes, and then
press
ESC
to close the
Drawers
screen and return to the main menu.
Your P1220 POS terminal is ready to use! Start
Ticket Entry
or
Touchscreen Ticket Entry
and
enter some sample tickets to try out each device. If you encounter any problems with
your devices, test each device in
Setup / Point of Sale / Device codes
.