9 of 16
TC-1000 Radar Speed Sign Installation Manual MN0018 v21.01
Installing and Positioning the Radar Speed Sign
Step 3A: Mounting the Radar Speed Sign a Round Pole (cont’d)
•
Loosely
add nuts to bolts. Use 5/16" x 1.5" carriage bolt to secure sign to
pole. Use standard nut to tighten on pole.
•
Slide the radar speed sign up the pole to desired level (bottom of sign should
be 7 to 10 feet above the ground), and tighten nuts to hold the sign in place.
•
Note for solar models: Do not tighten mounting nuts on the clamps until
solar mounting has been installed and the conduit to solar panel has been
run underneath he clamps/brackets on the pole.
•
Rotate entire sign slightly left or right to obtain the most accurate radar
readings of on-coming traffic. The best direction is usually directly down the curb of the road.
Step 3B: Mounting the Radar Speed Sign to a Square Pole or Post (bolted method)
•
DO NOT attach the YOUR SPEED faceplate to the radar speed sign until it is mounted on the pole. It will be
much easier to mount the radar unit without the faceplate attached.
•
Mark pole with pencil or tape at the minimum height level for bottom of sign, usually 7 feet or 7.5 feet above street
level. With two people, attach the radar speed sign to the pole. This should be done at the 2-4 foot level first, or
you may want to set the sign on top of a 4-foot or 6-foot ladder to help make the bracket mounting easier.
•
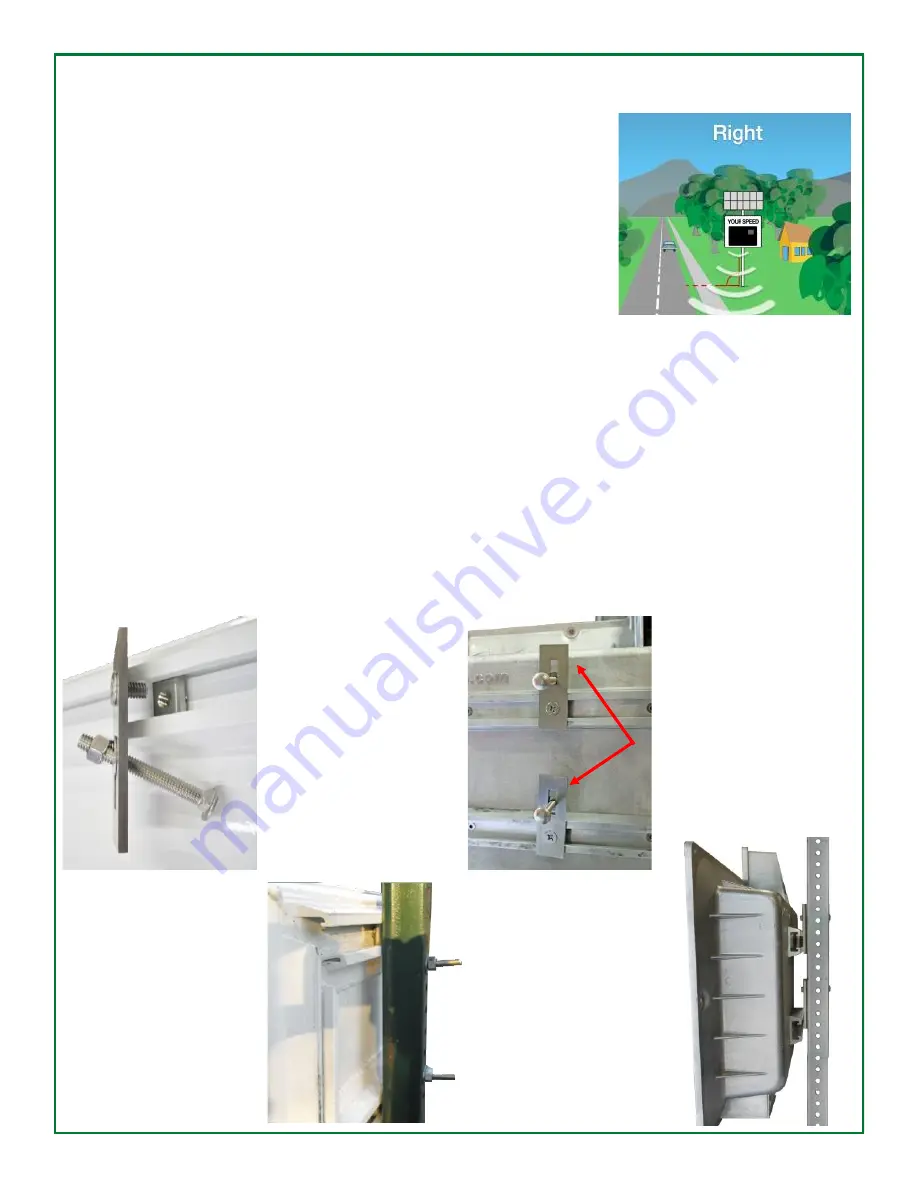
Install the flat brackets on the back of the sign housing. The bracket can be positioned either above or below the
housing. When installing the flat brackets on the back of the sign housing, the bracket can be positioned either
above or below the housing.
Sign mounted on
U-channel pole with
flat bracket
Bracket mounted
above sign housing
Flat bracket
installed on sign
housing
Sign mounted on
2x2 pole with flat
bracket


