background image


2) Turn ON the GPR using ON/OFF switch of the shockproof case control panel. The red light-
emitting diode should to light up.  
 
3)  Turn  on  the  logger.  If  you  are  using  the  PC  Compatible  computer  (hereinafter  computer) 
under the Windows 7/8/10, you have to install the Prism2 software package using the flash USB 
disk supplied with the kit. The installation process is described in the User’s Manual of Prism2 
software.  Once  the  installation  is  completed,  you  have  to  perform  the  actions  described  in  the 
Prism2 User’s Manual (paragraphs 5.1 and 5.2 “Configuring the computer to connect with Zond-
12e GPR Control Unit” and paragraph 6 “What to Do Immediately After Installation”). 
 
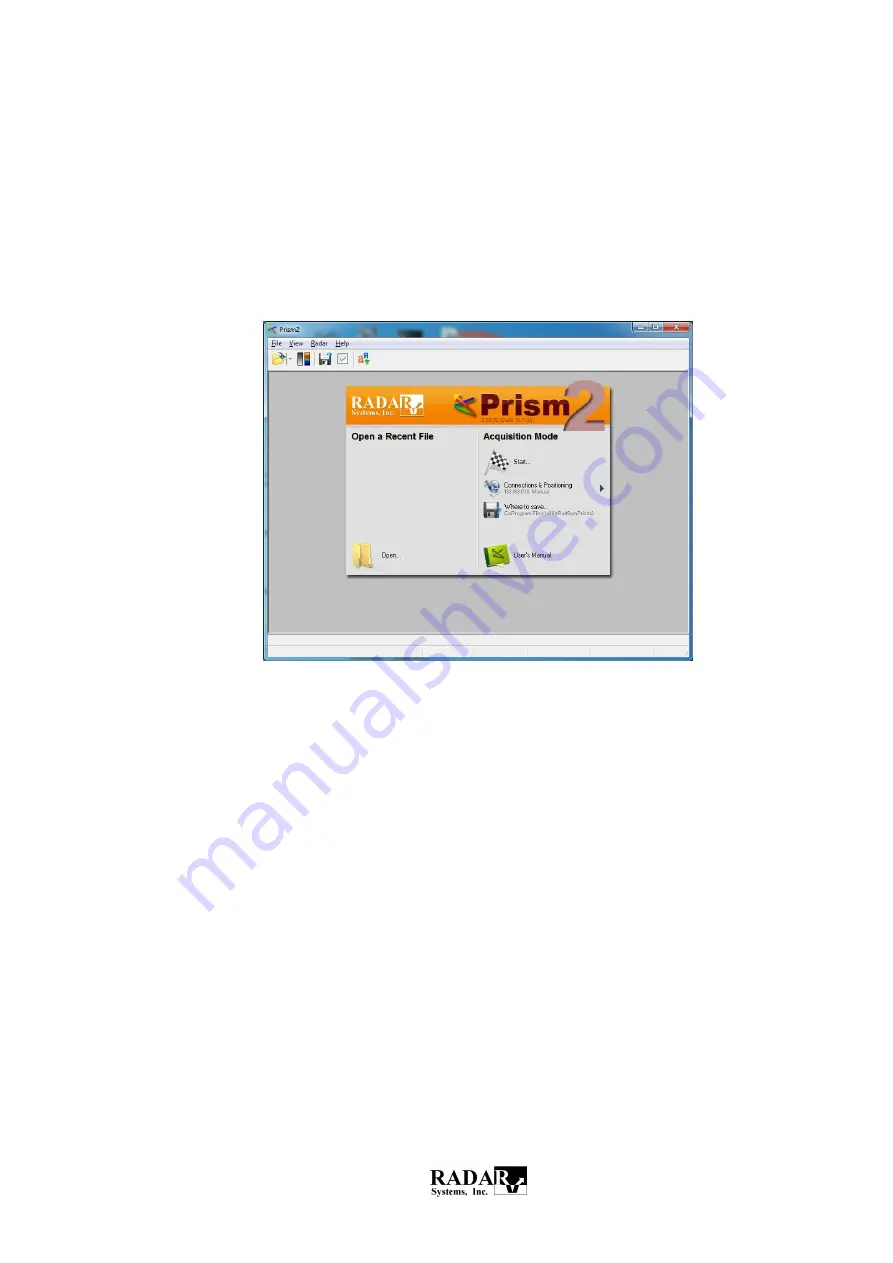
3) Run Prism2 software, its main menu is shown on Fig.5. 


Fig. 5. Main menu of Prism2 software. 

 
4) Click the 

Start 

button to enter the data acquisition mode like shown on Fig. 6. 


NOTE: We would like to recommend the user to use the keyboard for the navigation in the 
data acquisition mode (use the following keys to navigate ←, →, ↑, ↓, Spacebar, Enter and 
Escape).  It’s  much  more  convenient  to  use  it  in  the  field  conditions  instead  of  cursor 
oriented  operations  due  to  its  invisibility  on  the  direct  sun  light.  If  you  are  using  tablet 
computer, touchscreen or other mouse-like tracking device please mark the menu “Radar-
>Tablet controls” first. 


Summary of Contents for Zond Aero 500

Page 1: ...Zond Aero 500 Ground Penetrating Radar USER S MANUAL Riga 2021 Darzauglu Str 1 105 Riga LV 1012 Latvia Phone Fax 371 67141041 E mail radsys radsys lv Web www radsys lv...

Page 2: ...8 7 A h which is built in to the shockproof case The status of the battery voltage and percentage of the battery level is transmitted via TCP IP protocol during data acquisition and is displaying by...

Page 3: ...3 Connect the survey wheel cable coming out from the shockproof case control panel to the control unit Fig 1 Zond Aero 500 GPR Fig 2 Zond Aero 500 GPR in the shockproof case...

Page 4: ...l panel with mounted Zond Aero 500 GPR Fig 4 Survey wheel mounted on the shock proof case 2 2 First run of the Zond Aero 500 GPR 1 Place the Zond Aero 500 GPR in a working position as it shown on Fig...

Page 5: ...onfiguring the computer to connect with Zond 12e GPR Control Unit and paragraph 6 What to Do Immediately After Installation 3 Run Prism2 software its main menu is shown on Fig 5 Fig 5 Main menu of Pri...

Page 6: ...position of the signal choose the Pulse delay menu and press A key on keyboard to start automatic adjustment Press the Enter and then Close setup menu after pulse delay adjustment is finished Fig 7 S...

Page 7: ...too short it is possible to add one more cable using the coupler included in accessories kit Fig 8 Zond Aero 500 GPR data acquisition Right after SETUP dialog box is closed button START activates Pres...

Page 8: ...than 35 C it is not recommended to leave the instrument in place where it can be affected by the direct sun light 4 TRANSPORTATION RULES 4 1 In case of observing of rules of packaging of the instrumen...

Page 9: ...ting to Electromagnetic Compatibility and Radio Spectrum Matters 99 5 EC Short range devices Ground and Wall Probing Radars applications Low voltage Directive 73 23 EEC and the Amendment Directive 93...

Page 10: ...user s authority to operate the equipment Operation of this device is restricted to law enforcement fire and rescue officials scientific research institutes commercial mining companies construction c...

Page 11: ...only for Domestic United States users The Federal Communications Commission FCC requires that all users of GPR who purchased antennas after July 15th 2002 register their equipment and areas of operati...

Page 12: ...nt d Industrie Canada Fran ais Ce dispositif est conforme la norme CNR 220 d Industrie Canada applicable aux appareils radio exempts de licence Son fonctionnement est sujet aux deux conditions suivant...

Page 13: ...13 9 OUR ADDRESS Radar Systems Inc Darzauglu Street 1 105 Riga LV 1012 LATVIA Phone 371 67141041 E mail radsys radsys lv...

Reviews: