background image

Reference 

Version Number 


KEYMAZE 500HIKE 

17/11/2011 

19/24 

KEYMAZE 700TRAIL 

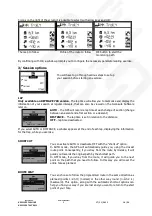
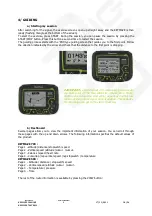
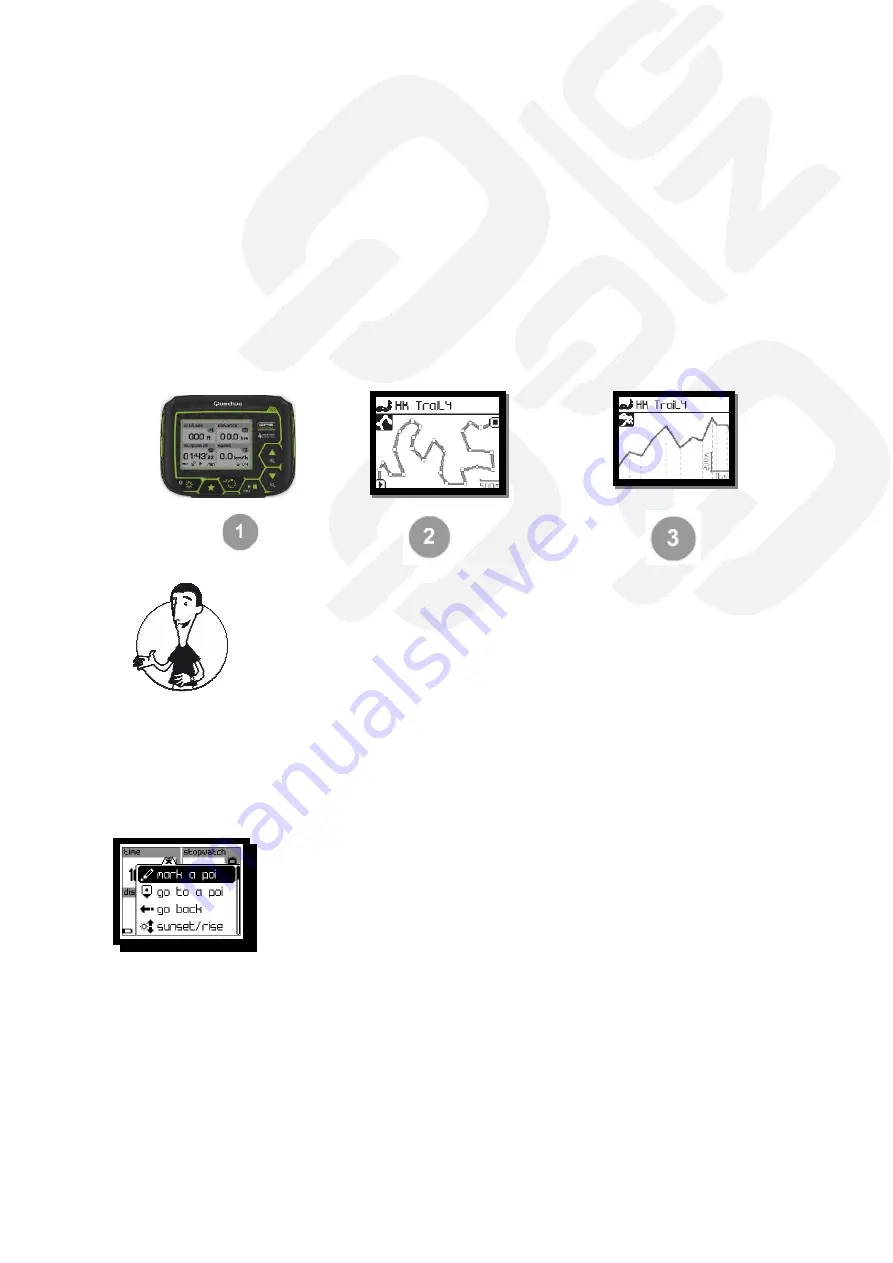
Map view 

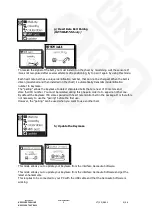
This  view  indicates  your  position,  your  planned  route,  your  current  path  as  well  as  the  distance 
between you and the next point and the heading you need to take after this point. You can zoom in 
and out using the UP AND DOWN ARROWS. 
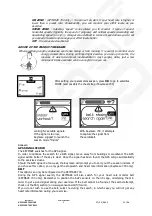
When  you  are  on  the  planned  route:  the  guiding  is  similar  to  a  GPS  in  a  car,  it  will  indicate  the 
heading  you  need  to  take  at  the  next  point.  For  example:  If  you  stray  from  the  route,  the  GPS  will 
change display, giving you a "BEARING" towards the next point on the route. Then follow the arrow, 
trying  to  reduce  the  distance  between  you  and  the  next  point  (make  sure  that  the  GPS  is  held 
horizontally) 
If you are on the route but moving the wrong way, a pop-up with alert you. 
 

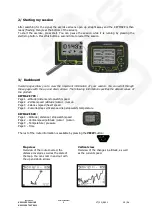
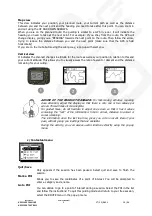
Vertical view


It indicates the planned changes in altitude for the route as well as your position in relation to this and 
your current altitude. This allows you to visually assess the rate of ascent or descent and the distance 
remaining for your outing. 


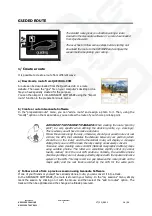
ADVISE  OF  THE  PRODUCT  MANAGER:

  For  fast-moving  activities  requiring 

close  attention,  adjust  the  display  so  that  there  is  only  one  or  two  values  per 
screen. This will make it more legible. 
For  guided  hikes,  do  not  hesitate  to  adjust  one  screen  so  that  it  has  4  values 
containing  the  "rest"  of  the  information:  time  to  arrival,  distance  to  arrival  or 
cumul remaining. 
The  information  since  the  last  lap  time,  gives  you  a  more  recent  idea  of  your 
pace, without giving you readings that are unstable.  
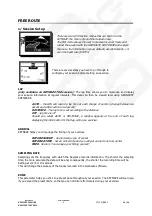
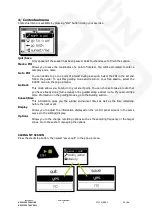
During  the  activity,  you  can  access  useful  functions  directly  using  the  pop-up 
menu. 


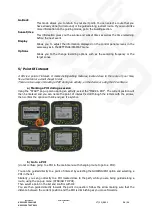
c/ Contextual menu 


Quit/Save  

Only  appears  if  the  session  has  been  paused.  Select  quit  and  save  to  finish  the 
session.  

Mark a POI 

Allows  you  to  save  the  coordinates  of  a  point  of  interest.  You  will  be  prompted  to 
enter a category and a name. 

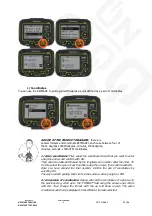
Go to POI 

You can decide to go to a point of interest during a session. Select the POI in the list 
and follow the instructions! To quit this guiding mode and return to your free session, 
select the ROUTE menu in the pop-up menu. 

Summary of Contents for Geonaute KEYMAZE 500 HIKE

Page 1: ...KEYMAZE 500 HIKE KEYMAZE 700 TRAIL...

Page 2: ...Dashboard 4 Contextual menu GUIDED ROUTE 15 1 Create a route a Download a route from Quechua Club b Create a route in Geonaute Software c Follow a route from a previous session using Geonaute Software...

Page 3: ...stopped You are no longer recording any information at this point Pop up menu icon Icon for displaying information pages here indicated pages 1 in 4 To switch the Keymaze on off press for 3 seconds A...

Page 4: ...24 34 H x W in mm Display type 4 Grayscales colors Pixels H x W 128 x 96 Pixels Unit Weight 61g Waterproof Standard IPX7 Unit Size 50 6 x 66 7 x 17 1 L x D x H in mm Backlight Display Single level Wh...

Page 5: ...YMAZE is a product that will evolve with time In order to have the latest version update it before using for the first time Step 1 download the latest version of GEONAUTE SOFTWARE on www geonaute com...

Page 6: ...3 Add your device Go to equipment my devices add device select KEYMAZE Quechua 500 or 700 Step 4 Once you have switched the KEYMAZE on and connected it to the PC click on the image of the product and...

Page 7: ...the maximum heart rate is the rate at which your heart can beat by default it is estimated by the formula 220 age FC min the minimum heart rate is the heart rate at rest to be observed in the morning...

Page 8: ...1 7 24 KEYMAZE 700TRAIL d Display settings This menu allows you to set the number of pages number of views and values available during your session It is also possible to set these screens from Geonau...

Page 9: ...time intervals f Calibration Press the start button after the small animation turn Keymaze 360 to start the calibration You have to keep the GPS HORIZONTAL and turn the GPS on itself until the pie is...

Page 10: ...maze The pairing allows the Keymaze to detect stimulated belts that are near of 10 meters and store their ID number You must be isolated during this phase in order to to appair an other one By default...

Page 11: ...alert one hour earlier FREE No alert You manage your timing yourself SAMPLING RATE Sampling sets the frequency with which the Keymaze records information The shorter the sampling time the more accura...

Page 12: ...if Keymaze 700 Conseil GPS SIGNAL SEARCH The KEYMAZE searches for the GPS signal In order to optimise the search for a GPS signal move away from buildings or woodland The GPS signal will be better if...

Page 13: ...e pages with the up and down arrows The following information specifies the default values of the product KEYMAZE 700 Page 1 altitude distance stopwatch speed Page 2 Vertical speed altitude cumul cumu...

Page 14: ...n select the ROUTE menu in the pop up menu Go Back This mode allows you to return to your start point You can choose to take a route that you have already done turn around or be guided along a direct...

Page 15: ...from the real GPS positions Similarly the satellite photos like Google Maps are not always perfectly aligned with the spatial reference system of the GPS This may result in a gap between the route ma...

Page 16: ...tion directly in the KEYMAZE Select a past DATA SESSION by pressing OK When the details of the session appear press START The product will then prompt you to convert this session into a route This wil...

Page 17: ...e information for that lap while you exercise SHORTCUT You can activate AUTO or deactivate OFF with the shortcut option In AUTO mode the GPS will automatically guide you using the closest route point...

Page 18: ...OF THE PRODUCT MANAGER When practising lengthy endurance sports like hiking or trail running it is useful to monitor one s energy consumption During prolonged light exercise you use up more fat the re...

Page 19: ...view the important information of your session You can scroll through these pages with the up and down arrows The following information specifies the default values of the product KEYMAZE 700 Page 1...

Page 20: ...llows you to visually assess the rate of ascent or descent and the distance remaining for your outing ADVISE OF THE PRODUCT MANAGER For fast moving activities requiring close attention adjust the disp...

Page 21: ...untain or a small chapel to visit There are two ways of creating a POI during an activity on the device or using the PC software a Marking a POI during a session Using the START pop up menu during an...

Page 22: ...er using the arrows and confirm with OK Then enter the latitude followed by the longitude one number after the other To do this select the value of each number using the arrows then confirm with OK On...

Page 23: ...for KEYMAZE 700 only viewing lap times The different lap times are displayed in a table Select a row and then confirm with OK to view the details of the split time The settings are entered in the SAM...

Page 24: ...ot the possibility to finish your upgrade and that the Keymaze is blocked follow the following process to upgrade it again 1 When the upgrade failed the screen is stuck not response to any key action...

Page 25: ...ease keep your receipt as proof of purchase The warranty does not cover Damage from misuse failure to comply with the precautions or accidents or improper maintenance or commercial use of the product...

Reviews: