Quatech PCD-U Manual
11
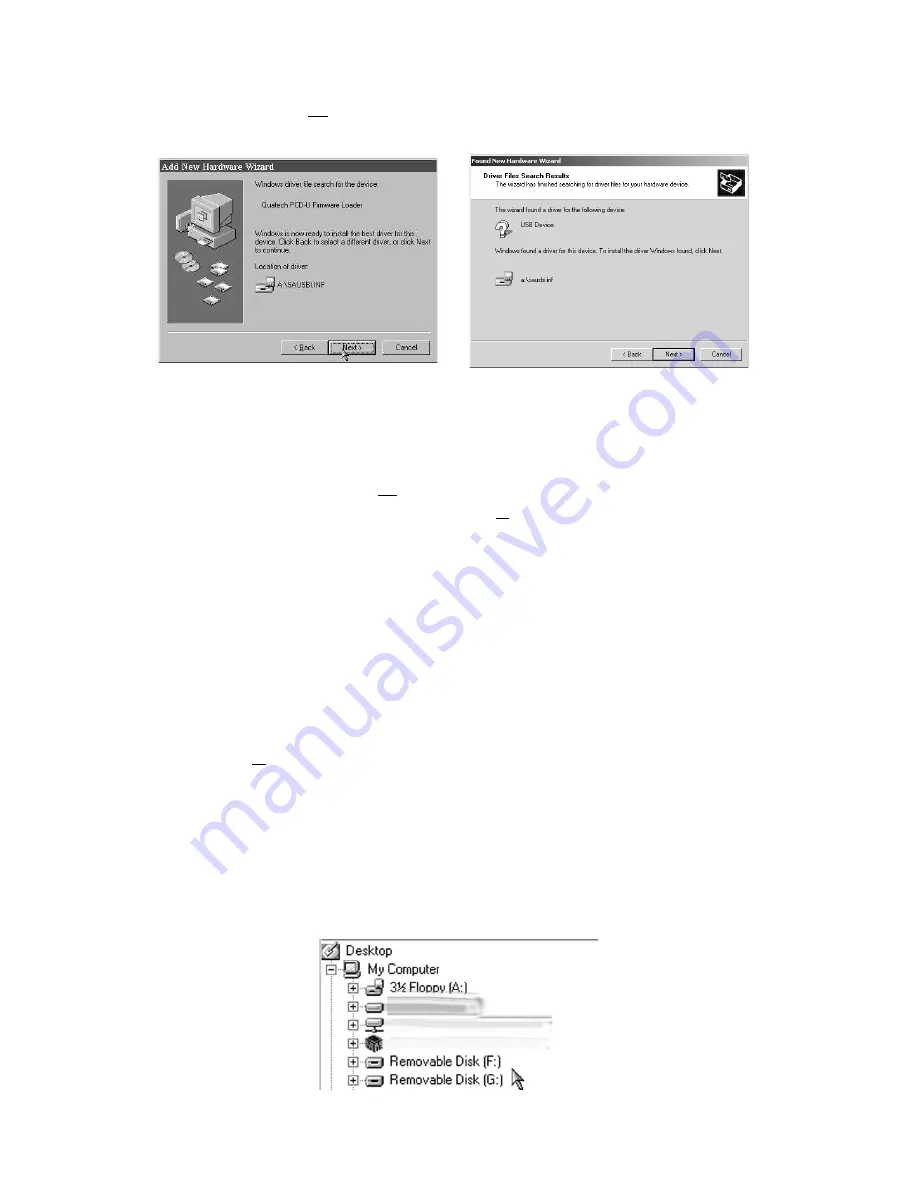
Figure 2-1.4 Add New Hardware Dialog Window #4
6.
Select the ‘Floppy Disk Drives’ check box and
click the ‘Next’ button to proceed to the dialog
window shown in Figure 2-1.4.
7.
When the dialog window shown in Figure 2-1.4 ap-
pears, click the ‘Next’ button to view the final dia-
log window and then click ‘Finish’ to complete the
installation of your USB adapter.
8.
Once the adapter configuration is finished, Windows
98 or Windows 2000 will then configure the Com-
pact Flash / ATA card reader and the SmartMedia
ä
card reader which completes the hardware installa-
tion process.
9.
To verify that the PCD-U is properly installed, open
Windows Explorer. (Click the Start button and se-
lect Program => Windows Explorer. ) In Windows
Explorer, check to see that two new icons have been
added under the My Computer directory. The
drives are labeled Removable Disk and represent
each of the two storage card sockets on the PCD-U.
The PCD-U’s lower socket is the first drive (Drive F
in Figure 2-1.5) while the upper socket is the sec-
ond. (Drive G in Figure 2-1.5).
Figure 2-1.5 Removable Disks in Windows Explorer.
Windows 98
Windows 2000


