


Device Search Software
101
A.2.3
Configuring Communication Settings of a Quasar Camera
1.
Connect the camera to the network on the same VLAN/LAN as the workstation.
2.
If the network supports the default, open Device Search by doing one of the following:
a.
Access the Device Configuration Tool (Unified Configurator) from the Applications
menu, if the AdminCenter in Latitude is available. Click the
DVTEL HD Series
button.
b.
Run
devicesearch.exe
which can be found in the Device Search folder in the
supplied CD.
Note:
Device Search is an alternative software to DNA. Either of these programs
may be used. They are supplied on the included CD.
3.
In the Device Search application, click the
Device Search
button.
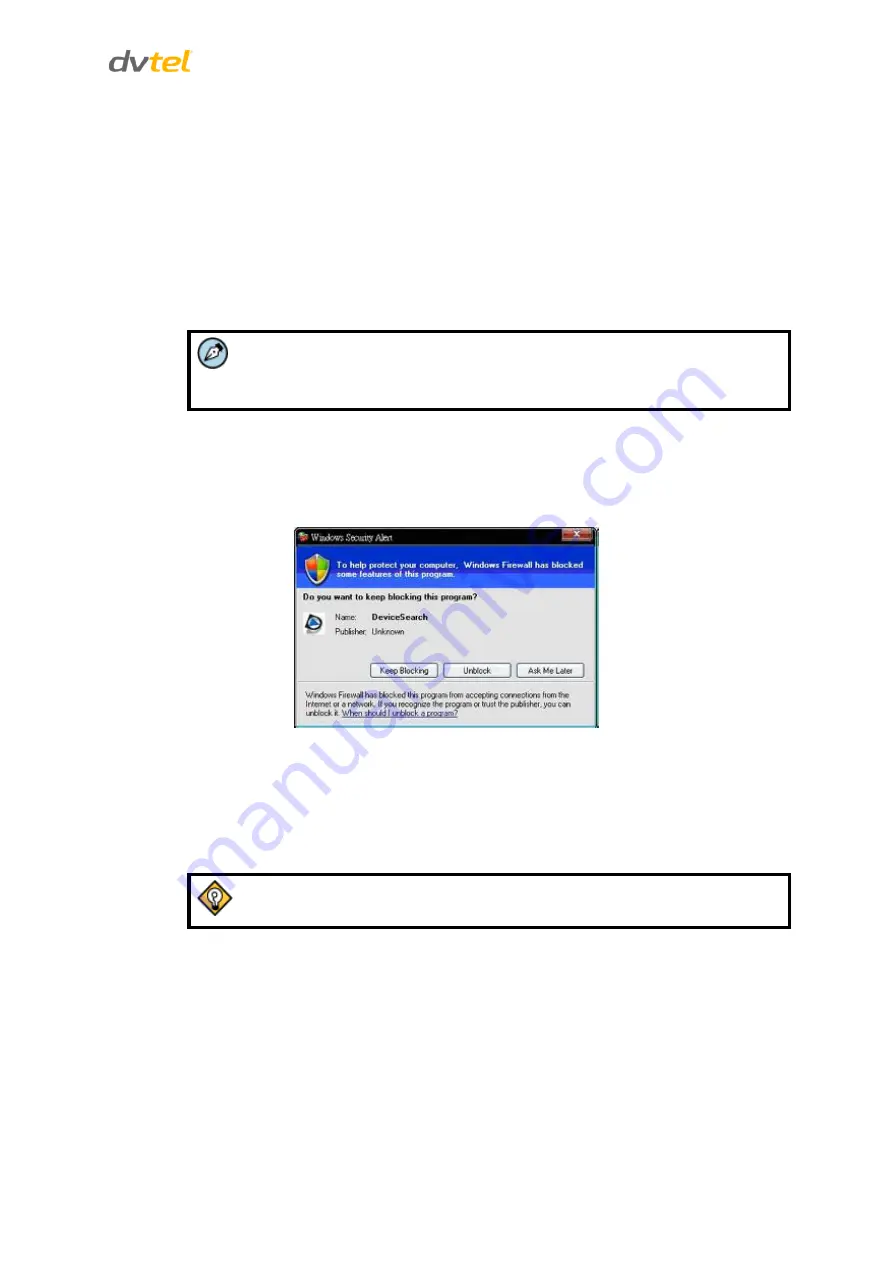
4.
If the Windows Firewall is enabled, a security alert window will pop up. Do the following:
a.
Click
Unblock
to continue. Latitude users should consult the Latitude Installation
Instructions on disabling the Windows Firewall.
Figure 91: Windows Security Alert
b)
Click
Device Search
again. All the discovered IP devices will be listed in the page, as
shown in the figure below. The camera’s default IP address is automatically set by
the DHCP server.
5.
Right-click on the camera whose network property is to be changed. From the menu that
opens, select
Network Setup
. The
Network Setup
dialog is displayed.
Tip:
Record the camera’s MAC address for future reference.
6.
To access
Device Search
, do one of the following:
a)
For DHCP (not supported by Latitude):
i)
Select
DHCP
. Do not use for Latitude.
ii)
Click
Apply
. When prompted with instructions to search again after one minute,
click OK.
iii)
After one minute, click
Device Search
.
b)
For Static IP (recommended for Latitude users):


