

Installing the DXi9000
6-68761-01 Rev A
©2019 Quantum Corporation. All rights reserved.
Page 2
*6-68761-01*
Configuring the DXi9000
Important
Install any components in the Node, install the Node and Expansion Modules in the rack, and connect all cables
(except Ethernet) before following the power up sequence.
Step 1
Unpack the DXi9000.
Step 2
Install components in the node, if needed.
Step 3
Install the system in the rack.
Step 4
Initialize the storage arrays and software.
For configuration instructions for the DXi9000 SD, see
Install > DXi9000 SD System Installation Guide >
For configuration instructions for the DXi9000 HD, see
Install > DXi9000 HD System Installation Guide >
Step 1
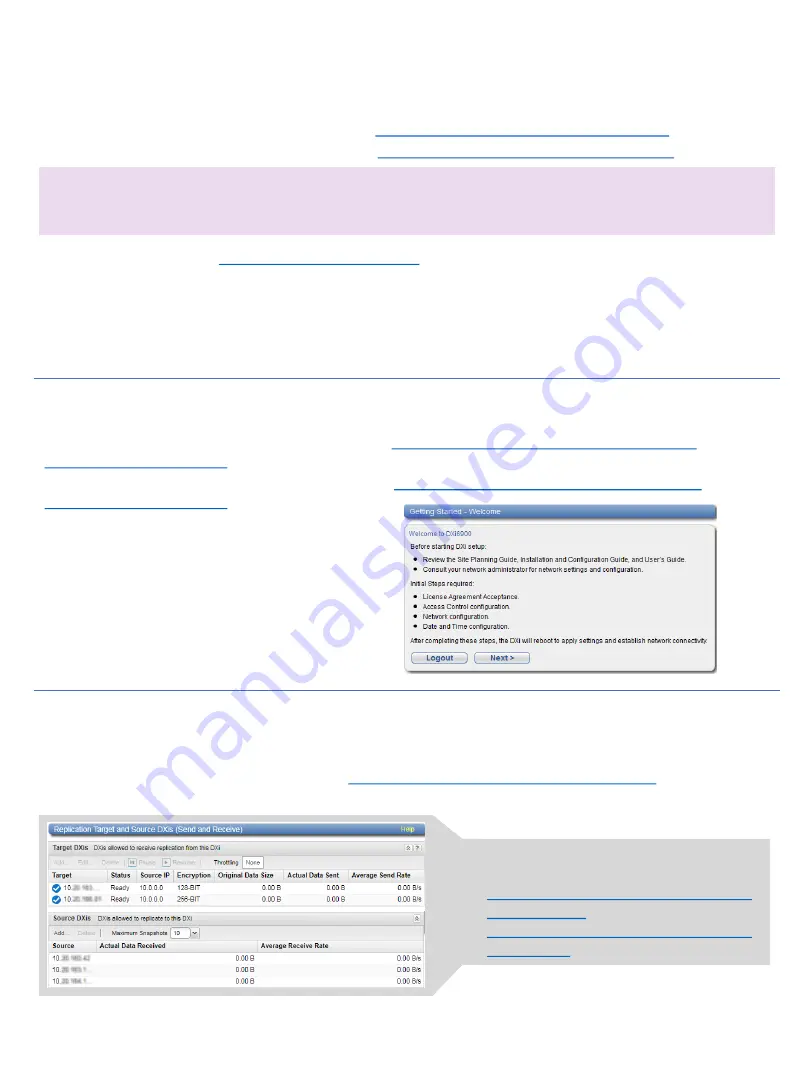
Complete the Getting Started Wizard.
Step 2
Upgrade to the latest DXi9000 software.
Step 3
Connect the Ethernet cables.
Step 4
Install the front bezel.
Step 5
Install the Capacity license.
Step 6
Complete additional configuration.
For installation instructions for the DXi9000 SD, see
Install > DXi9000 SD System Installation Guide
.
For installation instructions for the DXi9000 HD, see
Install > DXi9000 HD System Installation Guide
.
Operating the DXi9000
Now that the DXi9000 is up and running, you can monitor the health of system components, replication and
data reduction statistics, and activities. Refer to
Operate > DXi9000 User Guide > DXi9000 Status
For safety information, see
Resources > Safety Information
You can configure and schedule replication
as needed. See:


