Owners Manual
Quantum Energy Technologies
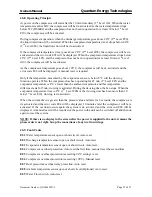
4b.2: The Buttons
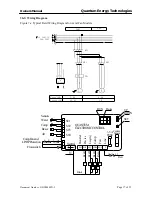
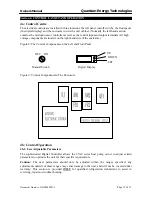
Use in conjunction with the Layout Diagram Fig 6 and Wiring Diagrams Fig 7&8.
4b.3: SET Button
a)
To enter the settings node, press the
SET
button
3 times
; the display will show H60 (or H26)
for water heaters (or pool heaters), this is the water temperature cut out set point. Pressing the
UP
or
DOWN
button will adjust the set point from 10°C to a maximum setting of 90°C for
water heaters (or from 20°C to a maximum setting of 40°C for pool heaters or 55°C for
building heaters).
b)
Press & hold
SET
button for
6 seconds
to enter the de-icing mode.
c)
If display shows
“OFF”
press & hold the
SET
button for
6 seconds
to cancel this mode. (Note
this may cause system malfunction so avoid using).
4b.4: UP Button
a)
To raise a setting after selecting the required programming mode as in Section 4b.3.
b)
Press
3 times
to display
Axx
(the discharge temperature). Push again to display
bxx
(evaporator temperature) or again for
Cxx
(ambient temperature).
c)
During the time delay start period, press & hold for
3 seconds
to force a compressor start.
When the compressor is running, press & hold for
3 seconds
to force a compressor shutdown.
4b.5: DOWN Button
a)
To lower a setting after selecting the required programming mode as in Section 4b.3.
b)
Press & hold for
3 seconds
to simultaneously open the de-ice valve and liquid injection valve;
the valves will close 10 seconds later.
c)
When compressor is running, press
3 times
to display the Amperage being drawn
Cxx
.
4b.6: Programming Menu
To restore the digital controllers factory settings, press the
SET
button and hold while turning the
power onto the system.
To exit any level press the
SET
button to cycle through all menu items until the controller returns
to the water temperature display once again.
4b.7: Adjusting
To enter any menu,
¾
press the
SET
button to select the item to be adjusted.
¾
Press Up and Down to do the adjustment.
¾
After finishing the adjustment, press the
SET
button again to confirm. The screen flashes
once to indicate the adjustment has been updated successfully.
¾
Press the
SET
button again to enter the next menu or return.
Document Number : QDC0049PD-5
Page 20 of 33

