Page 33
Burner Orifice Replacement
5.
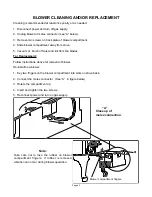
Remove the right top log bracket using a Phillips screwdriver (Screws are accessed through
rectangular hole in bracket.) See Fig. 4, Pg. 37 (Labeled “Peg in right log bracket”)
6.
Remove the right and left side log retaining brackets (one per side). (Top of log and firebox side.)
7.
Carefully lift logs vertically off alignment pegs and place in a safe area out of the way of traffic.
8.
Use a Phillips screwdriver to remove the top plate of the center burner pan located in the middle of
the “U” shaped burner.
9.
Remove the top plate of left burner pan.
10.
The right burner can now be lifted by prying it up using a slotted screwdriver to snap the burner out
of pinch retainer. After burner is lifted, shift to the right to slide it off the orifice receiver.
11.
The “U” burner is removed using the same technique. Slide the burner out of the shutter ring. You
now have access to the orifices.
12.
Using a 3/8” socket, remove orifice spuds and replace with the orifices in question.
CAUTION: The orifices’ placement is critical for the correct performance of the appliance.
Natural Gas
Propane
Front
39
54
Rear
49
56
NOTE: Logs and burners will be reinstalled
following pilot orifice replacement.
CONVERSION
INSTRUCTIONS
, (
CONT
.)


