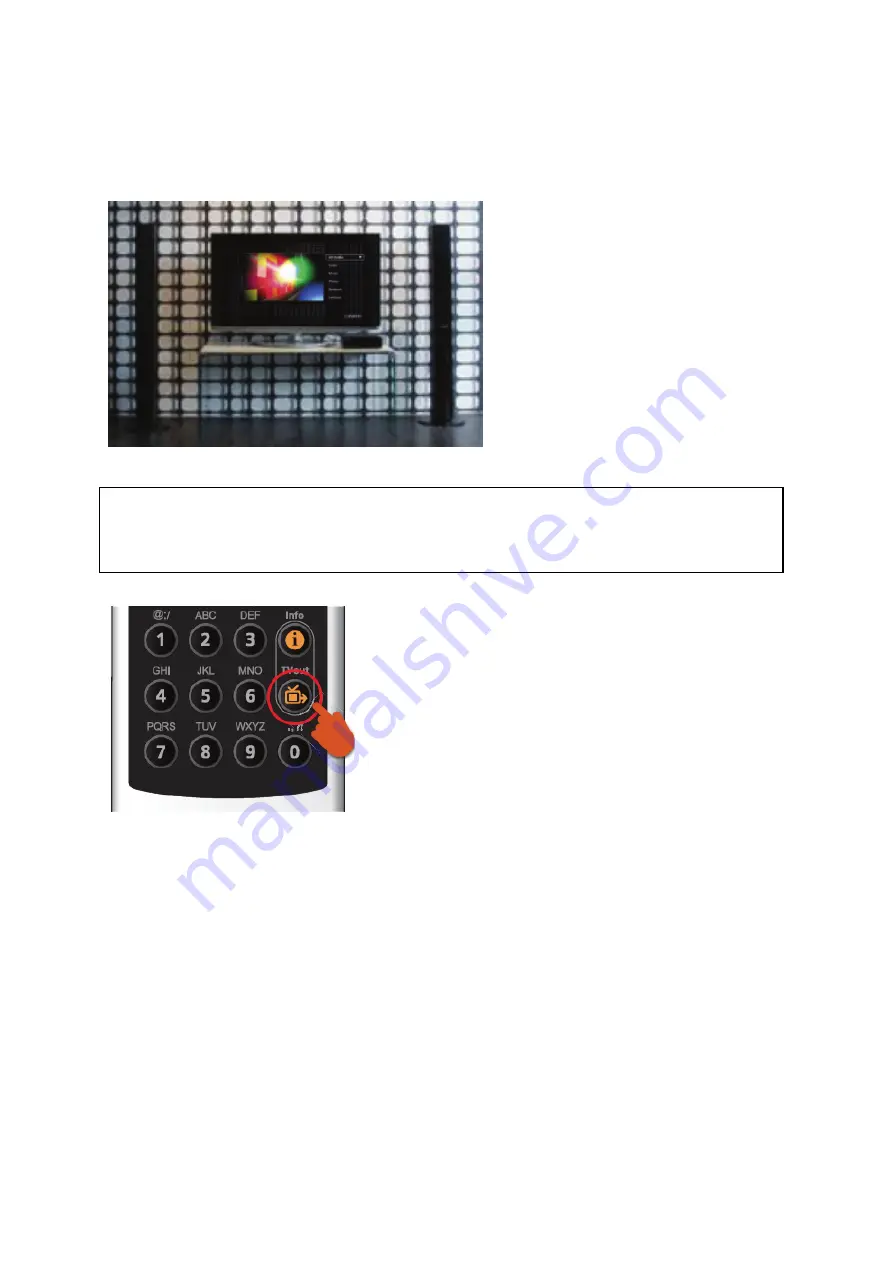
3.
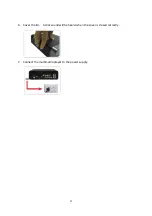
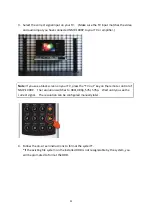
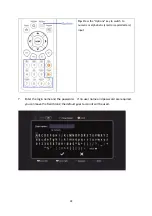
Select
the
correct
signal
input
on
your
TV.
(Make
sure
the
TV
input
matches
the
video
and
audio
input
you
have
connected
NMP
‐
1000P
to
your
TV
or
amplifier.)
Note:
If
you
see
a
black
screen
on
your
TV,
press
the
“TV
out”
key
on
the
remote
control
of
NMP
‐
1000P.
The
resolution
switches
to
480i,
480p,
576i,
576p.
Wait
until
you
see
the
correct
signal.
The
resolution
can
be
configured
manually
later.
4.
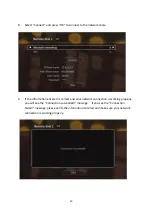
Follow
the
on
‐
screen
instructions
to
format
the
system*.
*If
the
existing
file
system
on
the
installed
HDD
is
not
recognizable
by
the
system,
you
will
be
prompted
to
format
the
HDD.
23
Summary of Contents for NMP-1000P
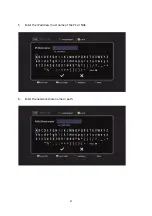
Page 27: ...5 Enter the IP address host name of the PC or NAS 6 Enter the network share name or path 27 ...
Page 32: ...d Play the digital contents from the local disk 32 ...
Page 42: ...5 2 1 Language Select a desired language for the user interface 42 ...
Page 44: ...5 2 3 Sleep timer This feature enables you to set the timer to shut down NMP 1000P 44 ...
Page 76: ...5 5 11 Turn off blue light LED You can disable the blue light on the front panel 76 ...
Page 95: ...95 ...
Page 100: ...4 When the management screen is shown you can use QGet to manage the download tasks 100 ...
Page 122: ...122 ...
Page 128: ...128 ...
Page 131: ...9 6 4 Delete Select a share and click Delete Click OK to confirm 131 ...
Page 135: ...135 ...
Page 140: ...9 8 3 System Information You can view the system information e g CPU usage on this page 140 ...
Page 153: ...Backup Select the files and folders for backup 153 ...

