

These instructions
Four color calibration cards—one each for cyan, magenta,
yellow, and black
Use the following procedure to check and adjust the color density.
Caution
: For best results when checking the printer’s color
density, print the calibration page described in step 3 on high
quality paper, such as Hammermill LaserPrint Radiant White or
Weyerhauser First Choice premium paper. Otherwise, the color
of the paper could affect the results.
1
Set the density of each color to 0.
a
Access the printer’s Administration/Engine/Density/Cyan
menu.
b
Set the cyan color density to 0.
Press the Previous key to decrease the density setting or
the Next key to increase the setting.
c
Repeat steps a and b for the magenta, yellow, and black
color densities.
d
Save your changes.
2
Access the printer’s Administration/Special Pages/Cali-
bration Page menu.
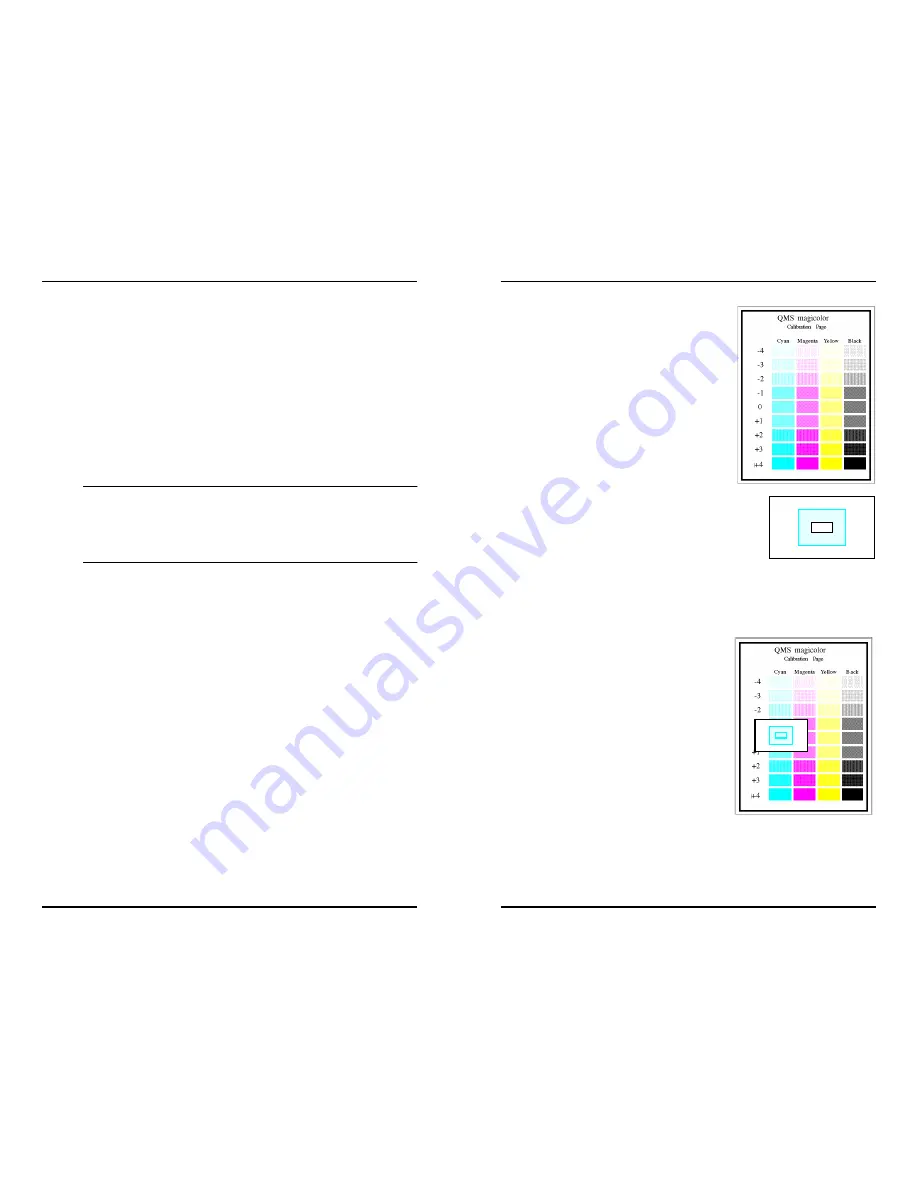
3
Press Select to print a calibra-
tion page.
This page provides a density
range for each of the printer’s
colors—cyan, magenta, yellow,
and black.
4
Compare the calibration page
to the four calibration cards
that were provided with your
printer.
Each card features a single
color—cyan, magenta, yellow, or
black.
a
Place the calibration page on a sheet of clean white paper
in a well-lighted area.
b
Align the cutout in the cyan
color calibration card over
the cyan column on the
calibration page.
c
Decide which block on the calibration page most closely
matches the cyan color calibration card.
»
Note:
It may be easier to decide which colors match if
you view the output at a distance (3–4 feet) and squint.


