26
27
CHAPTER 3 BASIC FUNCTIONS
3.3 LIVE VIEWING AND RECORDING
SWITCHING VIDEO OUTPUT
The DVR is normally configured to output video signal to a 19” or larger monitor through
the VGA port on the back. However, if you have attached a television to the Video Out port
instead, then you will need to press and hold the ESCAPE button on the front of the DVR for
10 seconds or until you hear a beep to indicate that the video mode has been changed.
LIVE VIEWING
The normal mode of the DVR is to display the live feed from the cameras. Configuring which
channels will be displayed, naming the cameras and other display settings will be covered in
SECTION 4.2
.
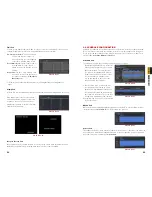
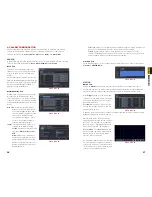
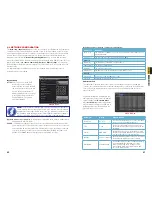
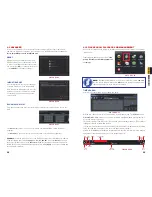
In addition to the camera images, the DVR will display symbols regarding the status of each
camera
PICTURE 3-3
Symbol
Meaning
Symbol
Meaning
Recording Manually or on Schedule
Alarm Recording
Motion Detection Recording
Motion Event
3.4 LIVE PLAYBACK
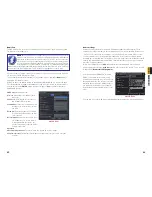
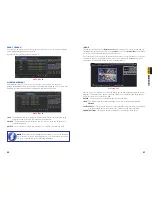
Pushing the playback buttons on the DVR or remote will enable you to play back what has
been recorded. A toolbar will appear below the display allowing control via mouse as well.
PICTURE 3-4
Play/
Pause
Rewind
Screen Display
Mode
Volume
Hide
Tool Bar
Exit
Frame
Advance
Previous
Record
Play/
Pause
Stop
Fast
Forward
Rewind
Screen Display
Mode
Volume
Hide
Tool Bar
Exit
Frame
Advance
Next
Record
Playback
Progress Bar
Zoom
Zoom Color
Color
The controls operate in a similar fashion to those of a conventional DVR or other video
playback device but with a few additional commands available to you:
Previous/Next Record
: Moves to the prior or following recorded event, respectively.
Fast Forward/Rewind:
In addition to their normal operation, clicking on these buttons
multiple times will speed up or slow down the rate or progression - forwards or backwards
- through the file. The speed can also be selected directly by clicking on the small upward
pointing arrows to the right of each button.
Screen Display Mode
: As with the
Control Bar
, these icons allow you to choose the
number of channels you wish to view in playback. Clicking on the upward pointing arrows
to the right of each icon will allow you to select which channels to view in that mode.
Channels with no recordings will appear blank.
Zoom
: Available in single screen display mode, this digitally enlarges a section of the display.
Select this tool and then click-and-drag to select a portion of the video feed to enlarge it.
Clicking and dragging within the zoomed-in area will allow you to move to other areas of the
image. Right-clicking will return the video to regular display mode.
Color
: Adjust the brightness, hue, saturation and contrast for any channel. Please note that
this will only effect the playback for this channel on the DVR itself. It will not change the
recording.


