12
To ensure that you will use the external triggering mechanism correctly, it is important to ensure that
the following questions have been answered when devising or architecting your system design:
•
Has a system design been developed that incorporates the necessary elements such as:
•
a Timing Diagram,
•
Flow of Events (e.g. a simple state diagram),
•
necessary components (e.g. microscope, flash lamp, shutter etc),
•
a software solution for extracting and/or processing your images,
•
External Triggering source (e.g. QImaging Trigger board, function generator etc)
•
Have you Determined the type of triggering mode you require for you application.
•
Are you sure the settings in the camera have been set correctly. For instance, are your
monitoring the SYNCB output and if so have you set the correct output mode for your
system?
The above list should be used as a guide and should be consulted before contacting QImaging
Technical Support.
Gain and Offset Controls
The Retiga 4000R's electrical gain and offset controls allow the user to map an image's intensities of
interest to the camera's digital range. This mapping is performed in the analog domain and thus
avoids the quantization errors incurred when the mapping is performed in the digital domain.
Most users wish to operate the camera in a mode that maximizes dynamic range. The factory default
electrical gain and offset are calibrated values that maximize the dynamic range. The electrical gain
and offset can be controlled in software by the CCD Gain and Offset controls.
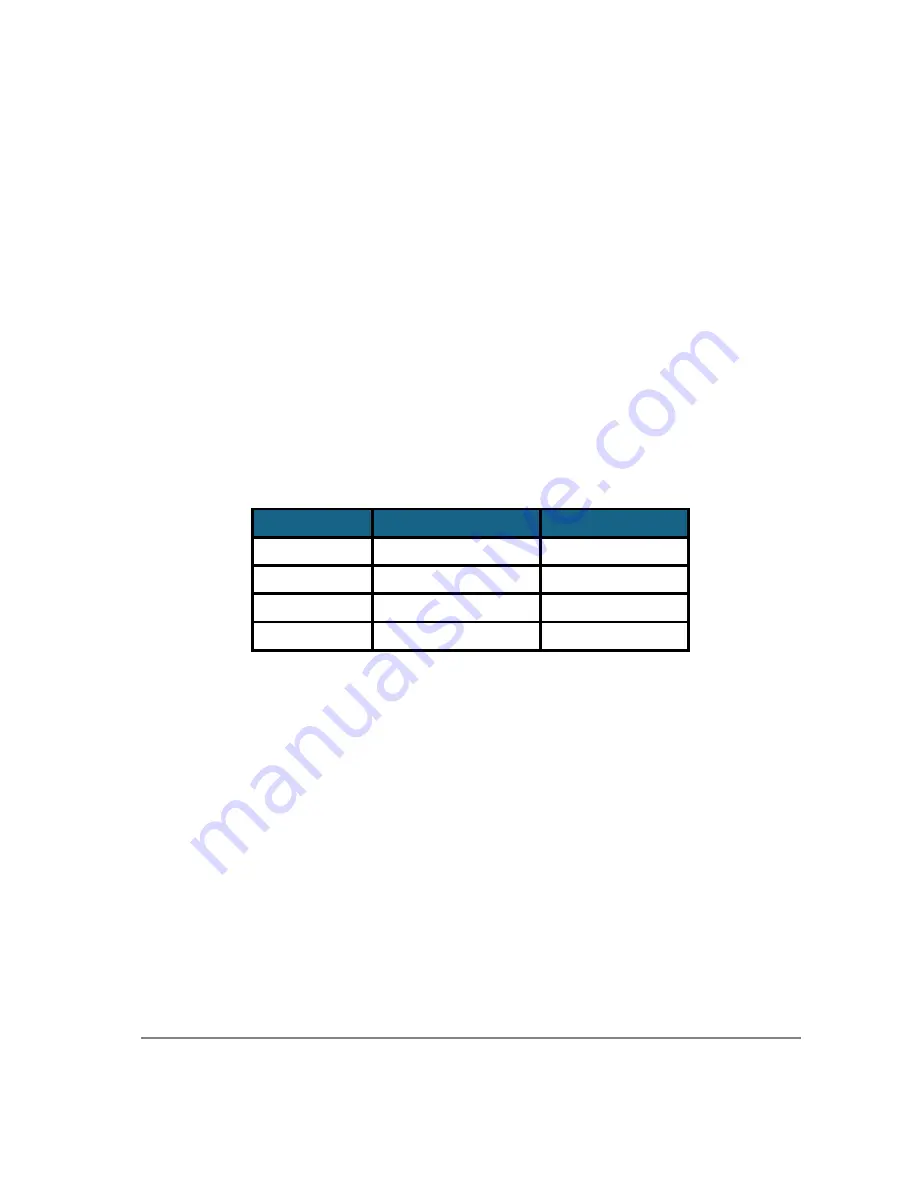
Trigger Mode
Trigger Source
Exposure Control
Continual
Internal to Camera
Internal to Camera
Edge Hi/Lo
External Trigger Port
Internal to Camera
Pulse Hi/Lo
External Trigger Port
Length of User Pulse
Software
QCAM API Trigger Event
Internal to Camera
Table 1—Trigger Sources and Integration Modes
Summary of Contents for Retiga 4000R
Page 1: ......


