11
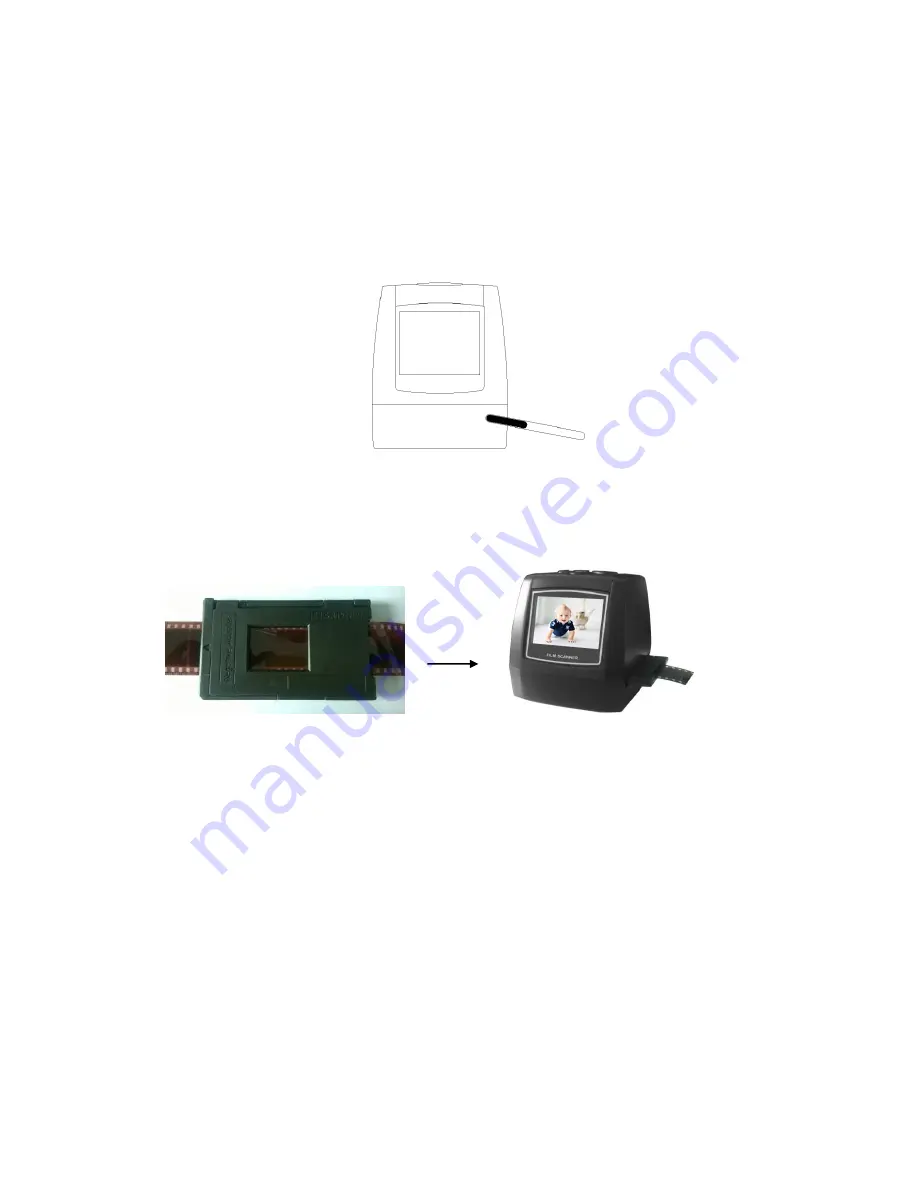
1. Before inserting Adapter, set down scanner on flat, stable surface with LCD display
facing you.
2. Use included Cleaning Brush to gently wipe scanner lens.
3. DO NOT insert any plates from the left side of the unit.
4. Ensure
“
This Side Up
”
side of Adapter is facing upwards.
5. Ensure small arrow on Adapter is facing leftward.
6. From right side of unit, slide Adapter inward until it clicks.
7. To use Super8 or 110 lnsert, open Negative Adapter fully and place on flat surface.
8. Ensure
“
This Side Up
”
side of insert is facing upwards.
9. Ensure small arrow on lnsert is facing leftward.
10. Place insert onto lower panel of Negative Adapter, and align in place with Adapter
’s
square cutout.
11. Close Negative Adapter and press until it clicks.
12. From right side of scanner unit, slide Adapter inward until it clicks.
Note: Our 126KPK Super8 Slide & Negative Scanner is a premium model.
Unlik cheaper models that require the user to fit each strip of film into an Adapter or lnsert
before inserting into unit, this scanner allows you to easily capture and convert one film
after the other. Simply click the Adapter/lnsert in place, and feed your films into it at will.
Working with Your Films
Now that your Adapter/lnsert of choice is properly inserted into the scanner, it is time
to begin inserting your films into the device:
1. For a clear image, clean films with soft cloth or compressed air (not included) prior to
inserting them into Adapter.
2. Negatives and slides should be inserted with their shiny side up, while Super8 films
should be inserted with their perforated holes at the topside.


