5
INSTALLATION
The following guides you step by step
through the initial set up of the navigation
system.
Firstly, remove the foil for protecting the
device during transportation from the
display.
How to access to the navigation system
Press
Sleep/Wake
up button on the unit
for about two seconds to wake up the unit
(Note: Sometimes the unit will not be woken
up by reason of low battery, please charge
the battery. When charging the indicator
light is red). The brand logo will appear
and your device will display the application
screen after a few seconds.
Attention:
According to the charging status
of the accumulator installed. It is necessary
for the device to be charged before the
initial setting up can run through.
Charging Battery of the Navigation
system
You have different options to charge the
battery of your navigation system:
• With the help of the network adapter.
• By means of the car adapter.
• Do not interrupt the charging process
before the battery is fully charged. It will
take a few hours for the navigation system
is fully charged.
•
Note:
You can use the navigation system
during the charging process, but the
power supply must not be interrupted
during initial set-up.
• Leave the mains adapter connected to
the navigation system for around 24
hours, so that the backup battery can be
fully charged.
• You can leave the main adapter
connected, and this is very handy for
continuous operation. However, the
mains adapter also requires power even
when it is not charging up the battery of
the navigation system.
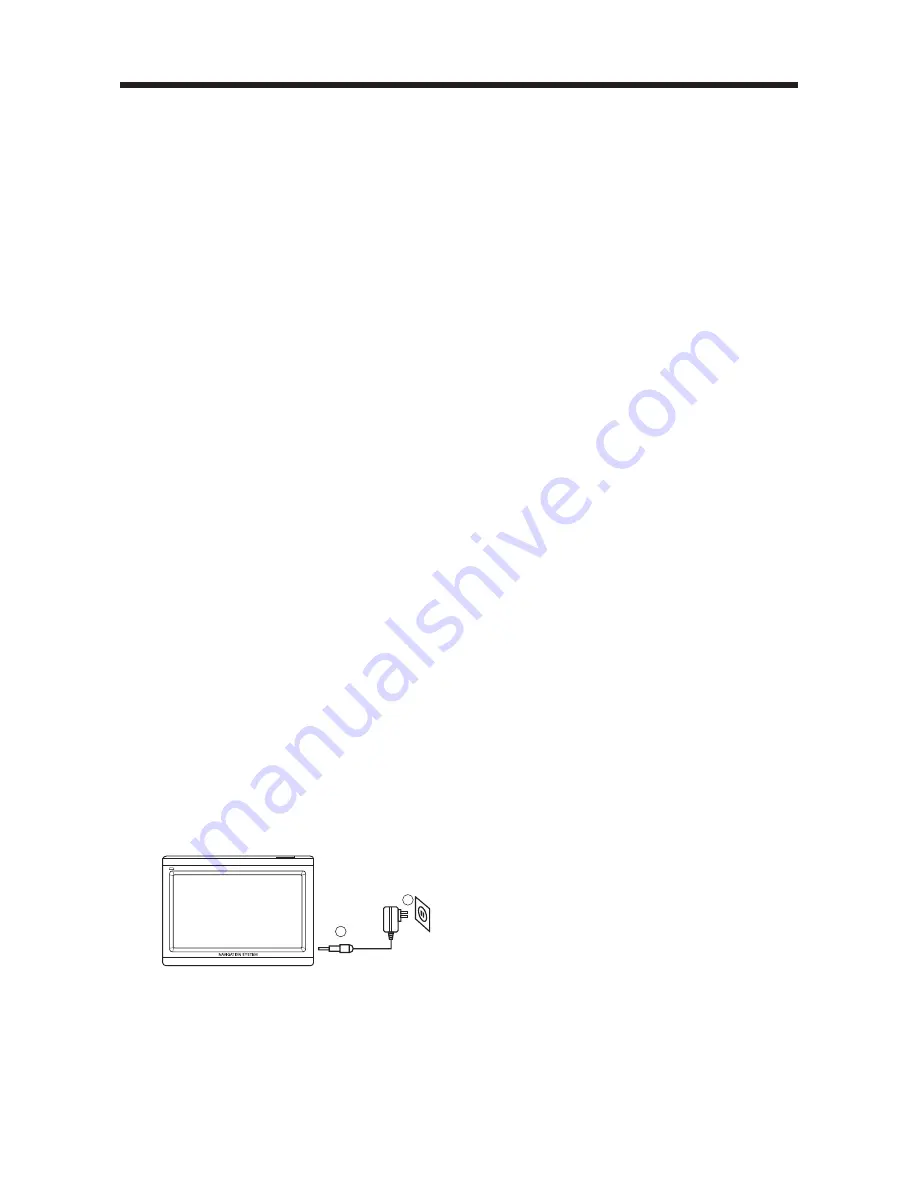
Push the adapter connector into the guide
on the right of the network adapter. Push
the Network Adapter (2) into a power point
that is easily accessible.
Push the cable of the Network Adapter (1)
into the network adapter connection of the
navigation system.
Working with memory cards
Your navigation system supports MMC and
SD memory cards.
Inserting memory cards
1.Carefully take the memory card out of its
packing (if included). Take care not to
touch or dirty the contacts.
2. Push the memory card carefully into the
card bay. The side of the memory card
wearing the label must point upwards.
The memory card should slightly lock in
place.
Removing memory cards
• Do not remove the memory card while it
is accessed. This could result in loss of
data.
1.To remove the card press lightly onto the
upper edge until it ejects.
2. Pull the card out without touching the
contacts.
3. Store the memory card in the packing
or in another safe location.
• Memory cards are very fragile. Take care
not to dirty the contacts and not to force
the card.
Accessing Memory Cards
• The appliance only supports memory
cards in the FAT16/32 file format. If you
insert a card prepared with a different
format (e.g. in cameras, MP3 players),
your navigation system may not recognize
it and will ask you to format it again.
•
Warning:
Formatting the memory card
irretrievably wipes out all data.
• Likewise you cannot just copy files onto
the memory card. In some cases they
must be converted by the Microsoft
ActiveSync program.
Data Exchange VIA Card Reader
You can transfer or synchronise data via
ActiveSync. This is also the correct method,
in particular, if files are to be transferred
that must be converted into a navigation
system-readable format.
However, if you wish to copy large quantities
of data (navigation maps) to the memory
card, these can also be stored directly to
the memory card.
Many computers already have memory
card devices. Insert the card in this and
copy the data directly to the card.
Because of the direct access significantly
faster transfer will be achieved.
2
1


