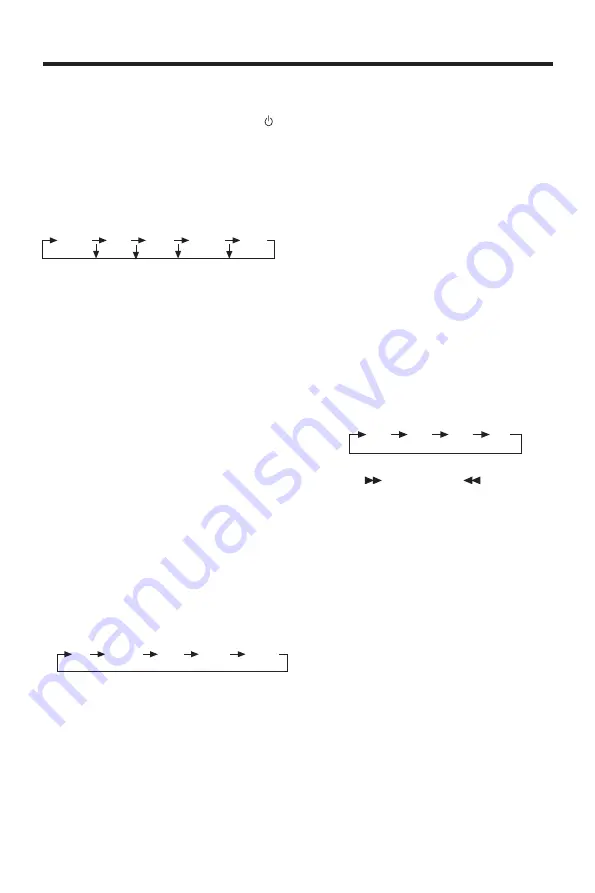
Pyle PLMRKT32 Owner'S Manual Download Page 8

8

OPERATION

FM1

FM2

FM3

AM

• SWITHCHING ON/OFF THE UNIT 

Switch on the unit by pressing any 
button. When system is on, press 
button (1) to turn off the unit.

• SOUND ADJUSTMENT

Press 

SEL

 button (3) shortly to select

the desired adjustment mode.
The adjustment mode will change in
the following order:

By rotating the audio knob (3) it is
possible to adjust the desired sound
quality.

• LOUDNESS

Press 

BND/LOU 

button (4) for 

several seconds to reinforce the bass
output. Press it for several seconds 
again to release this function.

• DISPLAY

Exhibit current frequency and 
activated functions on the display (6).

• AUXILIARY INPUT

This unit can be connected to a
portable audio player through the AUX
IN jack (13).

• MUTE

Press to mute the sound, press it (8)
again to resume the sound.

• EQUALIZATION

Press 

EQ

 button (7) to turn on

equalization function and to select
desired audio mode. There are five
kinds of mode as below:

• REMOTE SENSOR

Point the remote cantrol handset to 
the remote sensor 

IR 

(5). Press the 

function keys on the handset to 
control the system.

• RESET FUNCTION

RESET

 button (25) must be activated

with either a ball point pen or thin 
metal object.  The 

RESET

 button is to

be activated for the following 
reasons:

- Initial installation of the unit when all 

wiring is completed.

- All the function buttons do not 

operate.

- Error symbol on the display.

Note:

  If press 

RESET

 button (25), the 

unit can’t work yet, please use a cotton 
swab soaked in isopropyl alcohol to 
clean the socket on the back of the 
front panel.

RADIO OPERATION

• SWITCHING TO RADIO MODE

Press 

MODE

 button (11) shortly to 

select radio mode, the radio mode 
appears in the display together with 
the memory band and frequency.

• SELECTING THE FREQUENCY 

BAND

At radio mode, press 

BND/LOU(ENT)

button (4) shortly to select the desired
band.
The reception band will change in the
following order:

• SELECTING STATION

Press 


button (2) or 


button (24)

shortly to activate automatic seek
function.  Press for several seconds
until 

“MANUAL”

 appears on the

display, the manual tuning mode is
selected.  If both buttons have not
been pressed for several seconds,
they will return to seek tuning mode
and 

“AUTO”

 appears on the display.

• AUTOMATIC MEMORY STORING &

PROGRAM SCANNING

- Automatic Memory Storing
Press 

AS/PS

 button (10) for several

seconds, the radio searches from the
current frequency and checks the
signal strength until one cycle search
is finished.  And then 6  strongest
stations are stored into the
corresponding preset number button.
- Program Scanning
Press 

AS/PS 

button (10) shortly to

scan preset station. When the field
strength level is more than the
threshold level of stop level, the radio
is holding at that preset number for
several seconds with releasing mute,
then searches again.

VOL

BAS

TRE

BAL

FAD

(Volume)

(Bass)

(Treble)

(Balance)

(Fader)

FLAT

CLASSICS

POP M

ROCK M

DSP OFF

Summary of Contents for PLMRKT32

Page 1: ...OWNER S MANUAL Mobile Audio System PLL Synthesizer Stereo Radio Automatic Memory Storing Preset Equalization USB Interface Auxiliary Input Function Remote Control PLMR18 www pyleaudio com PLMRKT32 ...

Page 2: ...ng on off the unit 8 Sound adjustment 8 Loudness 8 Display 8 Mute 8 Equalization 8 Remote sensor 8 Reset function 8 Radio operation 8 Switching to radio mode 8 Selecting the frequency band 8 Selecting station 8 Automatic memory storing program scanning 8 Station storing 9 Scan 9 Mono Stereo 9 Weather band selection 9 USB play operation 9 SD MMC operation 11 Specification 12 Trouble shooting 13 CON...

Page 3: ... either from Front conventional DIN Front mount or Rear DIN Rear mount installation utilizing threaded screw holes at the sides of the unit chassis For details refer to the following illustrated installation methods 30º TAKE OUT SCREW BEFORE INSTALLATION Before install the unit please remove the two screws DIN FRONT MOUNT Method A Installation Opening This unit can be installed in any dashboard ha...

Page 4: ...rap to a solid metal part of the vehicle under the dashboard This strap also helps ensure proper electrical grounding of the unit 4 Front Panel Outer Trim Ring L Key Sleeve R Key Sleeve Dashboard Screwdriver Tabs Note to install the short threading terminal of the mounting bolt to the back of the unit and the other long threading terminal to the dashboard 10 Reconnect the cable to the vehicle batt...

Page 5: ...marked T Toyota N Nissan located on both sides of the unit to fasten the unit to the factory radio mounting brackets supplied with your vehicle To fasten the unit to the factory radio mounting brackets Align the screw holes on the bracket with the screw holes on the unit and then tighten the screws 5x5mm on each side Note the outer trim ring sleeve and the metal strap are not used for method B ins...

Page 6: ...MEMORY BACK UP B MAIN UNIT IGNITION SWITCH ACC POWER ANTENNA RED GROUND B YELLOW BLACK BLUE RCA CABLE ANTENNA CONNECTOR GREY Rch RED Lch WHITE WHITE WHITE BLACK REAR Lch SPEAKER VIOLET VIOLET BLACK GREY GREY BLACK FRONT Rch SPEAKER REAR Rch SPEAKER FUSE FUSE ...

Page 7: ...7 OPERATION LOCATION OF KEYS 1 2 3 4 5 6 7 8 9 10 11 12 13 14 15 16 17 19 20 21 22 23 18 24 25 ...

Page 8: ...te Error symbol on the display Note If press RESET button 25 the unit can t work yet please use a cotton swab soaked in isopropyl alcohol to clean the socket on the back of the front panel RADIO OPERATION SWITCHING TO RADIO MODE Press MODE button 11 shortly to select radio mode the radio mode appears in the display together with the memory band and frequency SELECTING THE FREQUENCY BAND At radio m...

Page 9: ...ory Press and hold it again to stop repeat PLAYING ALL TRACKS IN RANDOM Shortly press SHF button 17 to play all tracks stored in USB device in random order Shortly press it again to cancel the function Press and hold SHF button 17 will play all tracks in the current directory in the random order press and hold it again will exit this mode STATION STORING Press any one of the preset button 18 1 to ...

Page 10: ...urrent directory by volume knob Searching Track Directly Press AS PS Navi SCH button for one time It enters into Selecting track number mode You can use the volume knob 3 to search the track number Rotate the knob clockwise or counter clockwise to increase or decrease the track number in a sequence The corresponding track number such as TRACK 12 will appear on the display You can also use the M6 1...

Page 11: ...isc that has important files in it Because any wrong operation may cause files loss And our company assumes no responsibility for this SD MMC OPERATION There is a SD MMC interface 22 on the front panel of the unit When you insert a SD MMC card in the SD MMC interface the unit will search the MP3 files or WMA files in the card and start to play MP3 files or WMA files automatically The operation is ...

Page 12: ...m Output Power 4 x 40 Watts Current Drain 15 Ampere max CD PLAYER Signal to Noise Ratio More than 55 dB Channel Separation More than 45 dB Frequency Response 40 Hz 18 KHz RADIO FM Frequency Coverage 87 5 to 107 9 MHz IF 10 7 MHz Sensitivity S N 30 dB 4 μV Stereo Separation 25 dB AM Frequency Coverage 530 to 1710 KHz IF 450 KHz Sensitivity S N 20 dB 36 dBu SPECIFICATION ...

Page 13: ... the ignition key to ACC The fuse is blown Replace the fuse No sound Volume is in minimum Adjust volume to a desired level Wiring is not properly Check wiring connection connected The operation keys The built in microcomputer Press the RESET button do not work is not operating properly Front panel is not properly fixed due to noise into its place The radio does not The antenna cable is not Insert ...

Page 14: ...8800 0C3023 02 ...

Reviews: